
Creating a Simple Custom Particle System
Although Motion provides a wide variety of particle system presets, many times you’ll
want to create something completely new. Creating a particle system begins with selecting
a layer in your project to use as the source for a cell in a new particle emitter.
You can use any layer in your project as a source for a cell in an emitter, including still
graphics, animation or video clips, or shapes created in Motion. The layer you select when
you create an emitter becomes the first cell in that particle system. In the Layers list, cells
appear as a sublayer under the emitter layer. The cell specifies the look of the actual
particles generated in the Canvas.
Note: You can also use a group as the source for an emitter cell, but your computer’s
processing performance may slow drastically.
To create an emitter
1
Create a layer to serve as the cell source for the particles that your emitter will generate.
This example uses an image of a simple white circular gradient, such as the “basic blur”
image located in the Library (in the Particle Images subcategory of the Content category).
2
Move the object in the Canvas to the location where you want the center of your particle
system to be.
672
Chapter 14
Working with Particles
3
Select the object, then do one of the following:
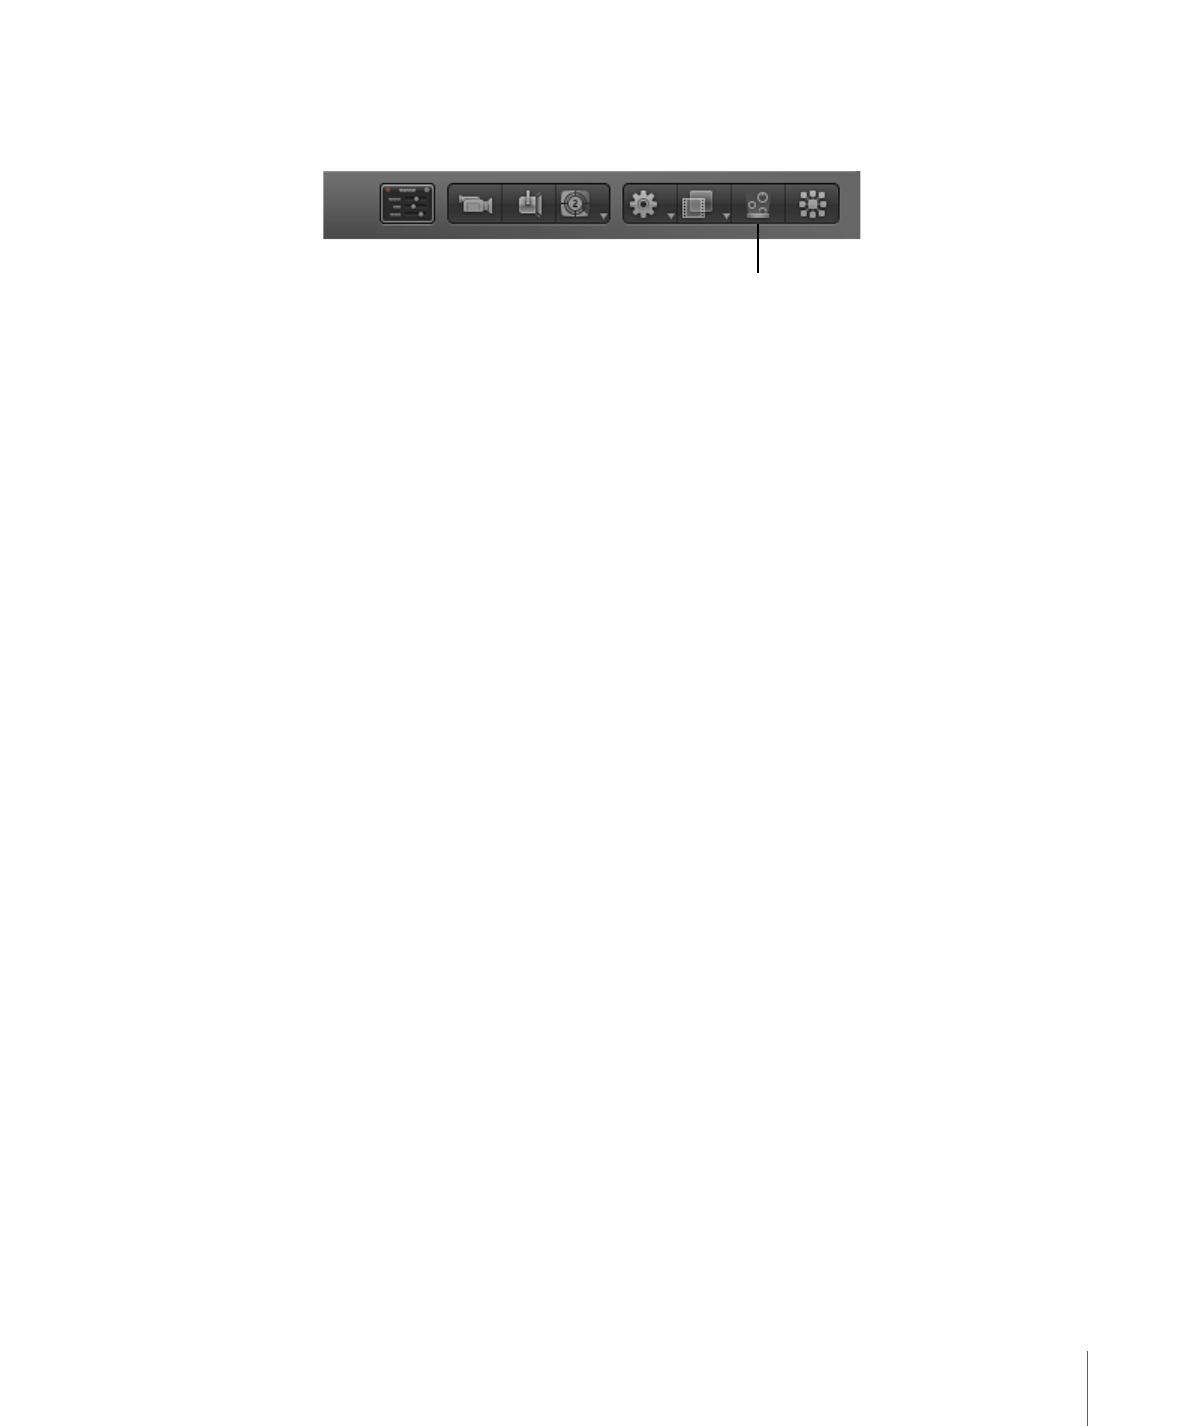
• In the toolbar, click the Make Particles button.
Create a particle emitter.
• Press E.
After you add an emitter to the project, the following occurs:
• An emitter appears in the Layers list and is selected.
• A cell containing the image to be “particle-ized” appears underneath the emitter.
• The original source layer (the cell source) is disabled.
Note: Changes made to the original source layer, such as opacity or shearing, are also
applied to the particles even after the emitter is created.
• In the Canvas, the emitter bounding box appears.
• The first particle appears in the Canvas in the same location as the original layer.
Although it appears as if the particle is selected, the bounding box represents the entire
emitter.
• The Emitter HUD appears. If you have hidden the HUD, press F7.
Note: For projects with a frame rate greater than 30 frames per second (fps), at times
only the bounding box (not the first particle) might appear at the first frame of your
project. Because Motion generates particles at a default rate of 30 per second, there is
no guarantee that a particle will appear on every frame.
673
Chapter 14
Working with Particles
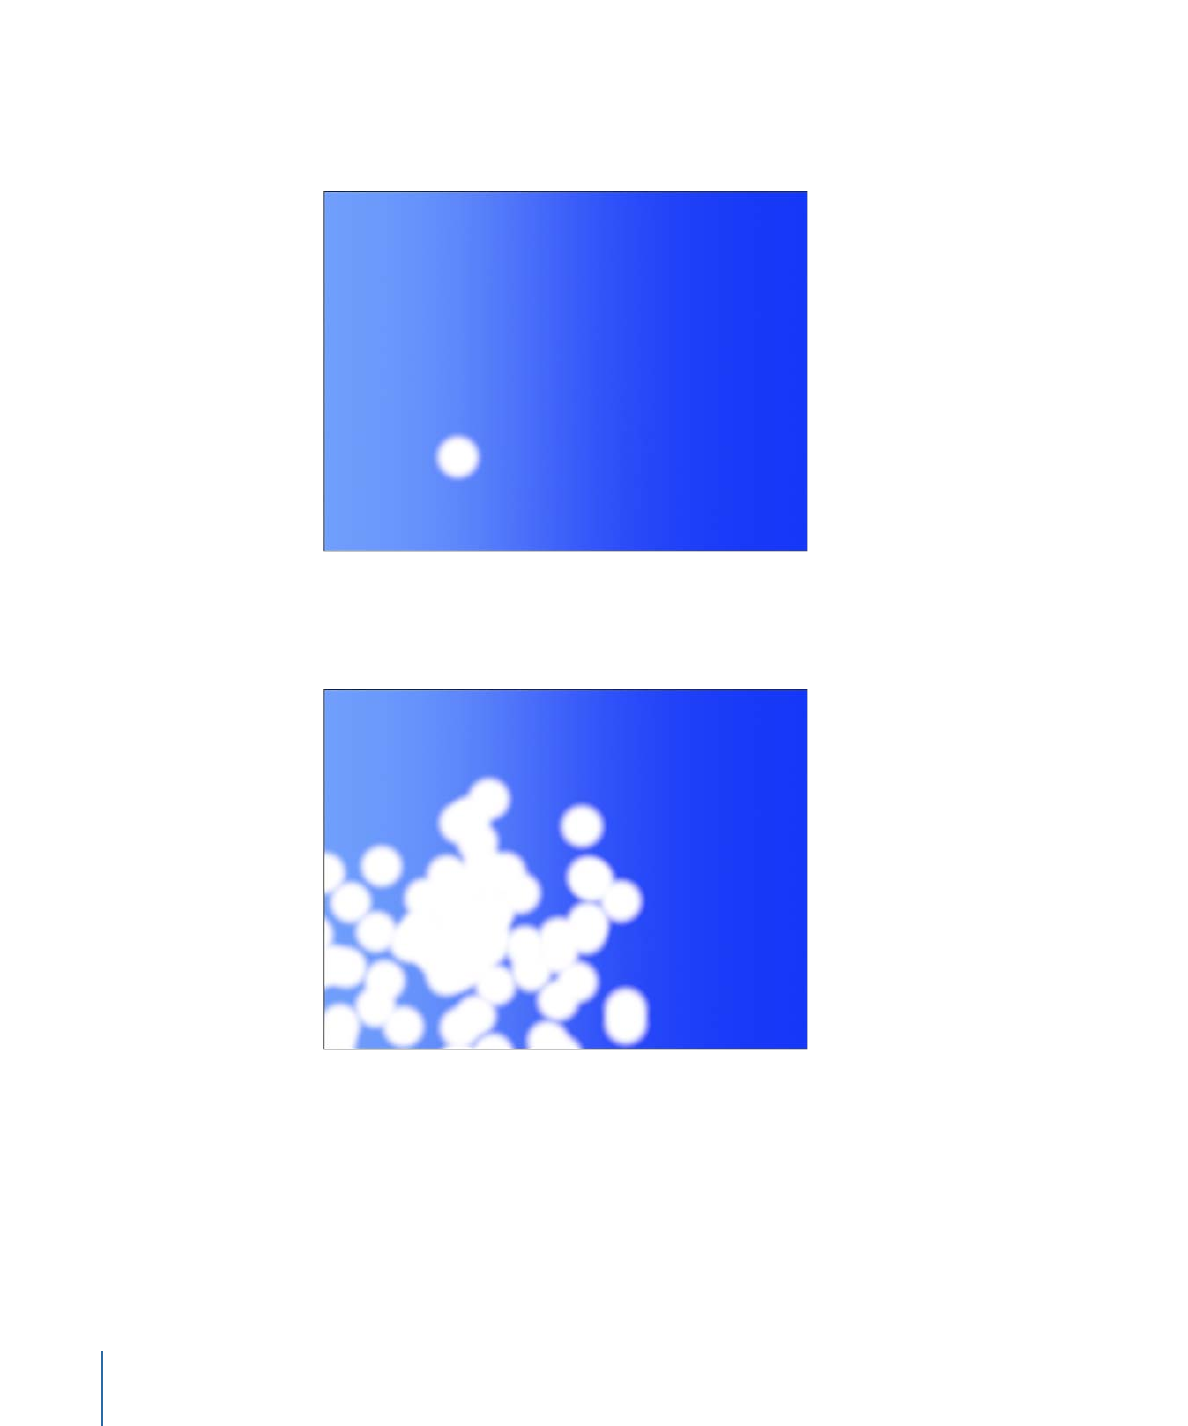
By default, the first frame of a new particle system (with a single cell) has one particle.
If you play your project (press Space bar), additional particles are generated and emerge
from the center of the emitter.
By default, new cells emit one particle per frame in all directions (for 30-fps projects),
and each particle moves 100 pixels per second away from the emitter over a lifetime
of 5 seconds (150 frames in a 30-fps project).
Note: The Initial Number parameter in the Particle Cell Inspector allows you to change
the default behavior so a particle system begins with a burst of particles at the first
frame. For more information, see
Emitter and Cell Parameters
.
674
Chapter 14
Working with Particles

The Predictability of Particle Systems
When you create a particle system or modify a parameter of an existing particle system,
the path of each particle is immediately calculated and predetermined. Although the
number and motion of particles might seem random, they are completely predictable
based on that system’s parameters. Playing the same particle system twice with the
same parameters results in exactly the same particle motion. If you want to choose a
new predetermined set of random values, you can change the Random Seed setting
repeatedly until you obtain a result you like.