Example 2: Creating Animated Pixie Dust
This example shows you how to create a particle system that uses two different cells to
generate a streak of particles that trails behind another animated layer. Using two cells
adds more variation to a particle system than can be achieved with a single set of cell
parameters.
To create a two-cell particle system that leaves a trail
1
Drag the first image file into the Canvas.
723
Chapter 14
Working with Particles
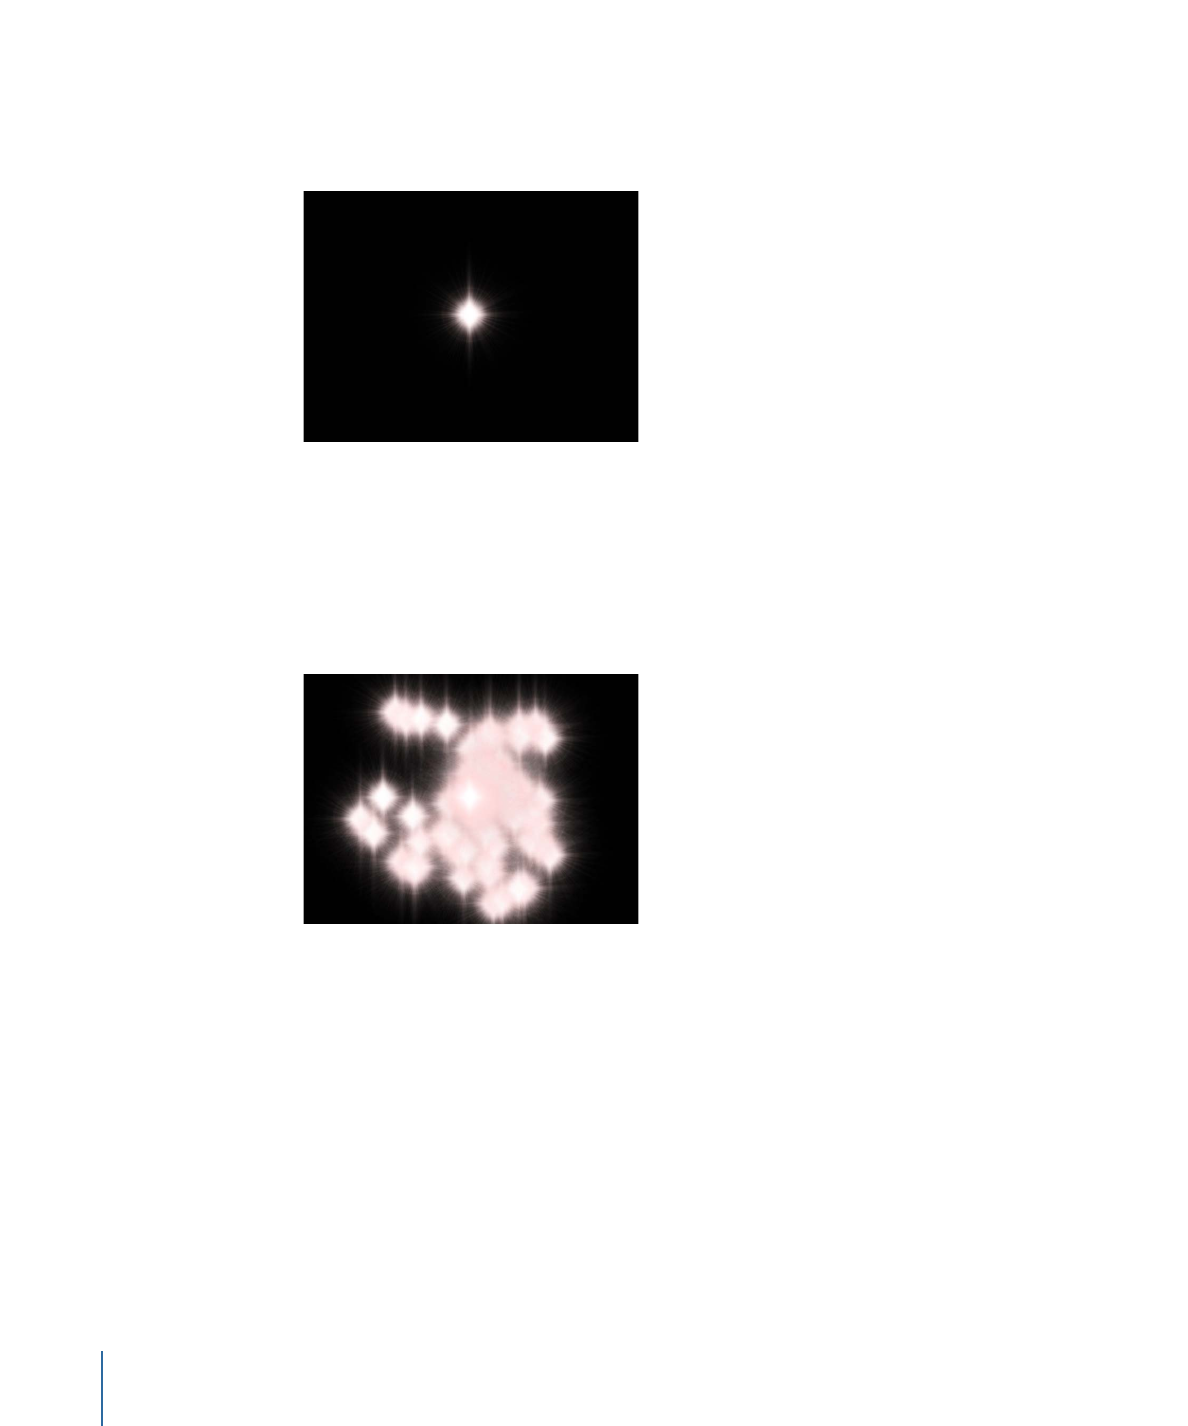
This example uses the “Flare01” image from the Particle Images subcategory in the Content
category of the Library. This is a small image of a lens flare against black, with a built-in
alpha channel.
2
With the flare object selected, click the Make Particles button in the toolbar (or press E).
An emitter is added to the project, but nothing happens yet because the playhead is at
the first frame of the project, and only one particle has been created. Move the playhead
forward a few seconds to view the particle system at a frame where more particles have
been generated. You can also play the project while you make your modifications to the
particle system.
3
To create a variety of particles, drag additional image layers onto the emitter you just
created.
This example uses the “Spark12” file, also located in the Content folder in the Library.
724
Chapter 14
Working with Particles
This results in the following image:
4
To make the particles generated by each different cell mingle together, select the
Interleave Particles checkbox in the Emitter Inspector.
5
Select the “Flare01” cell in the Layers list, then set the Scale slider in the Particle Cell
Inspector to 15%.
Doing this reduces the size of the particles generated by this cell.
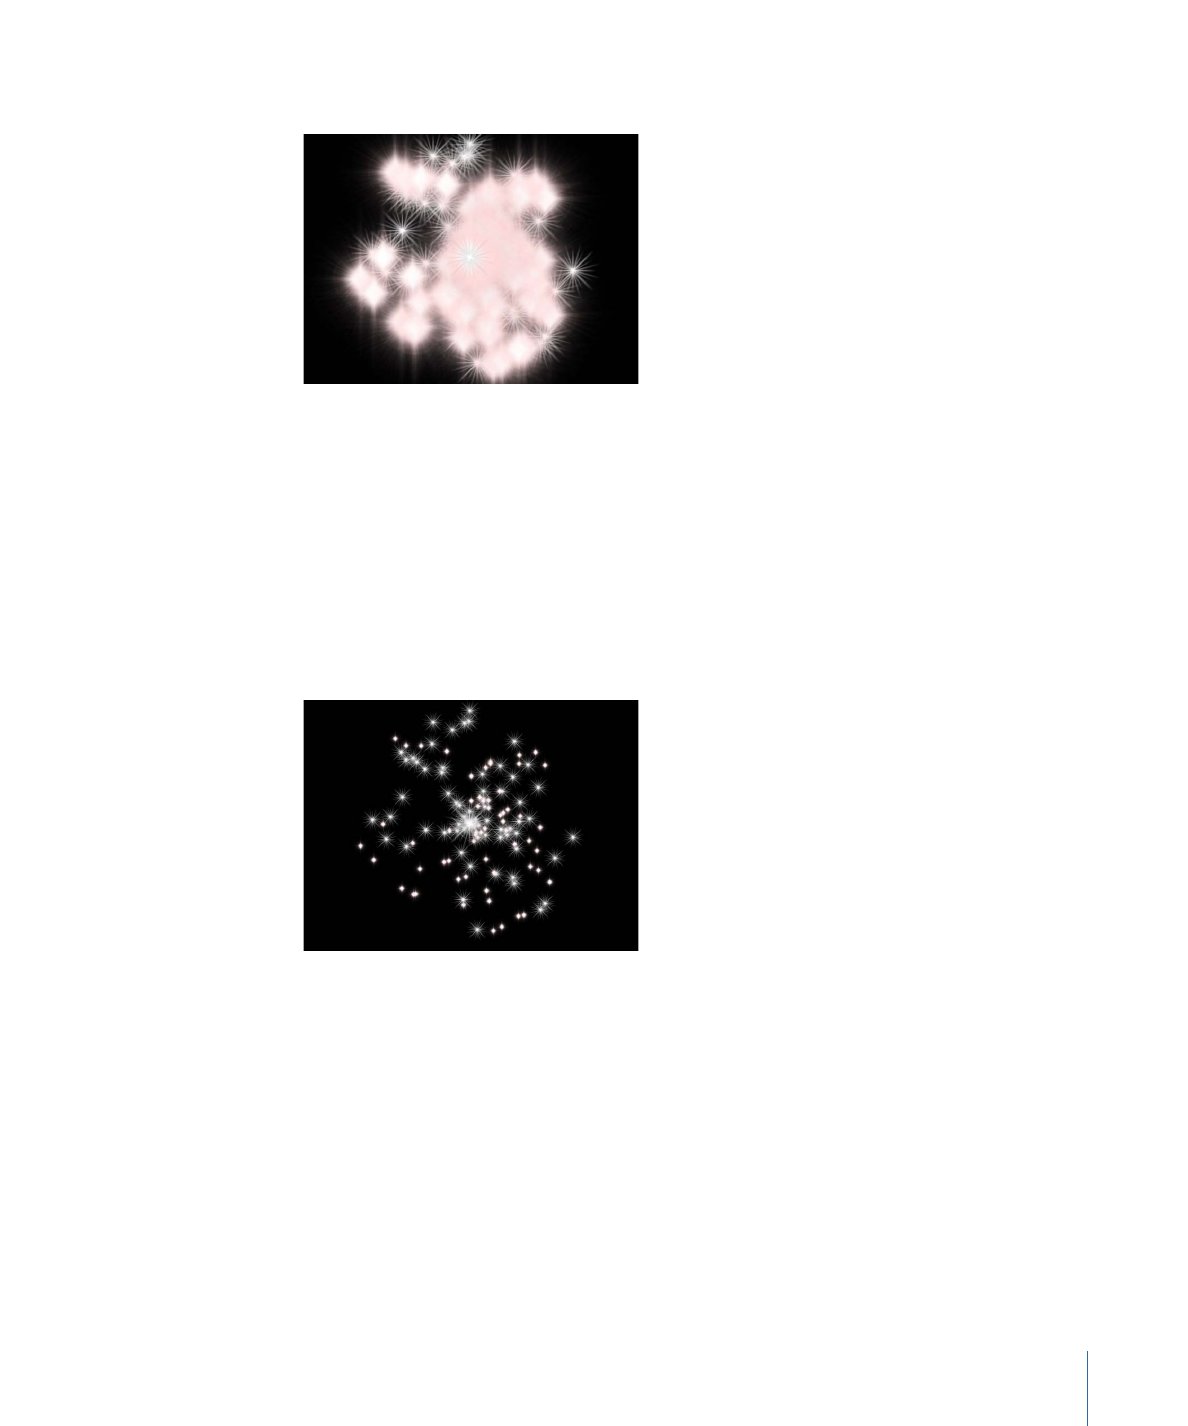
6
Select the “Spark12” cell in the Layers list, then set the Scale slider in the Inspector to
45%.
The resulting image should look approximately like this:
Note: If necessary, disable the original “Spark12” source layer.
7
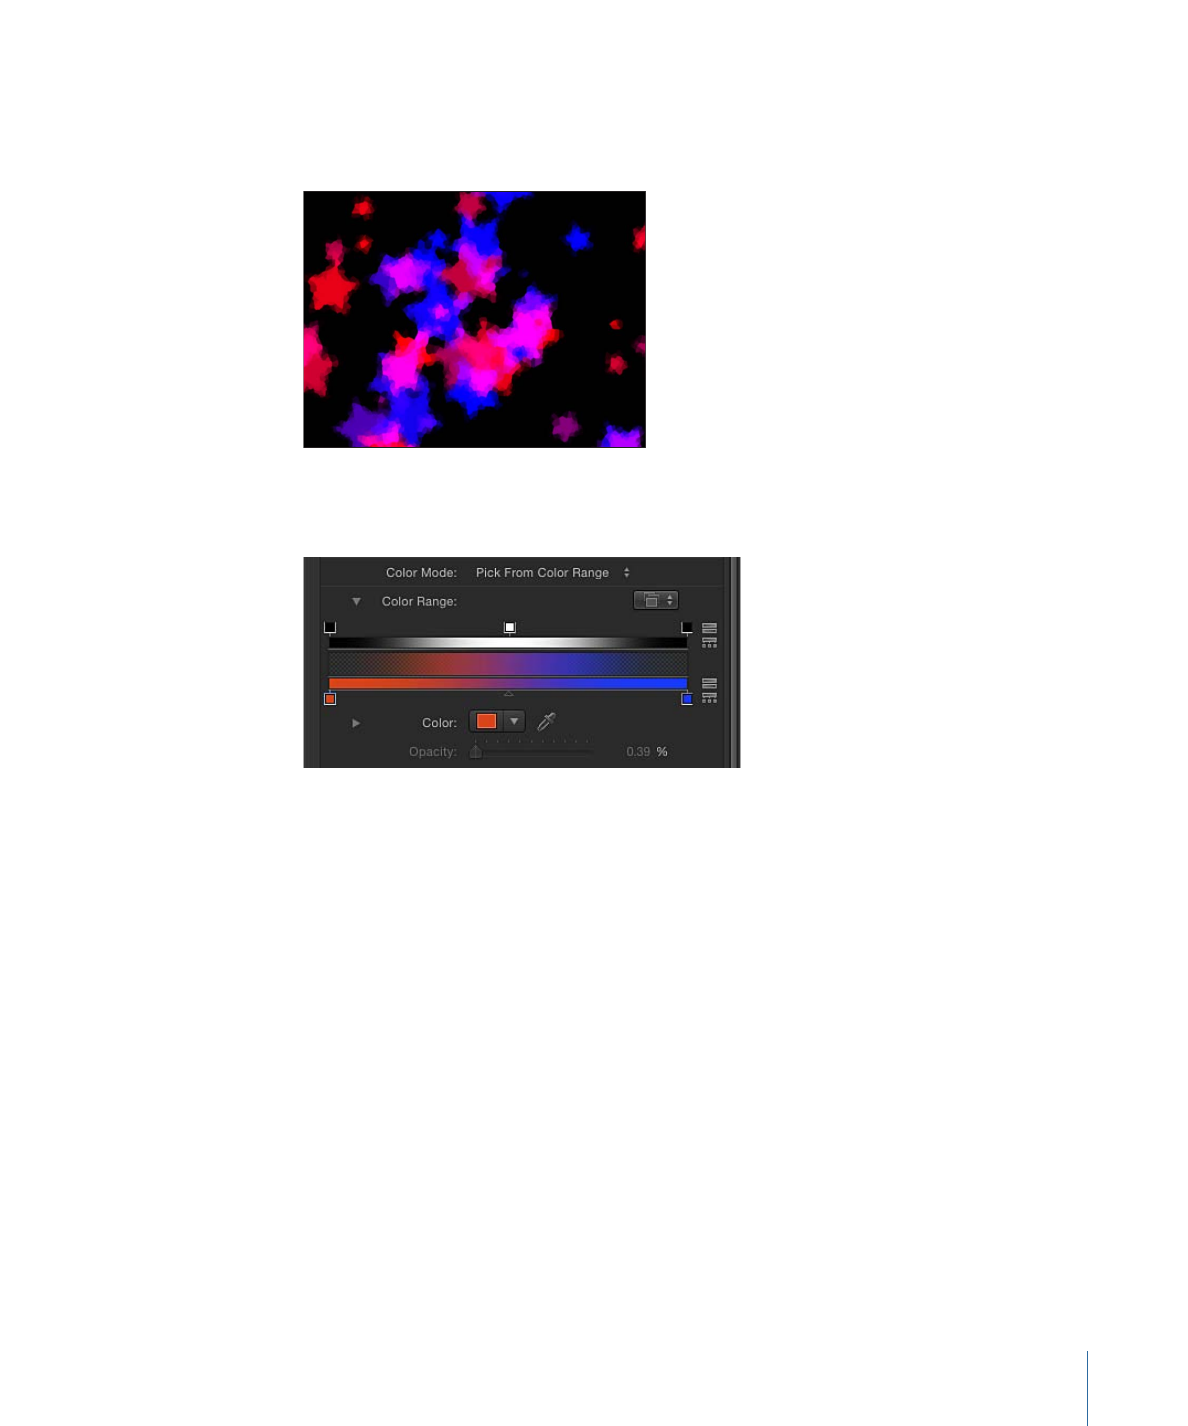
Next, change the color of the particles generated by the “Spark12” cell by doing the
following:
a
Choose Colorize from the Color Mode pop-up menu.
b
Click the color well in the Color section of the Inspector and choose a light red color
in the Colors window.
c
Close the Colors window.
725
Chapter 14
Working with Particles
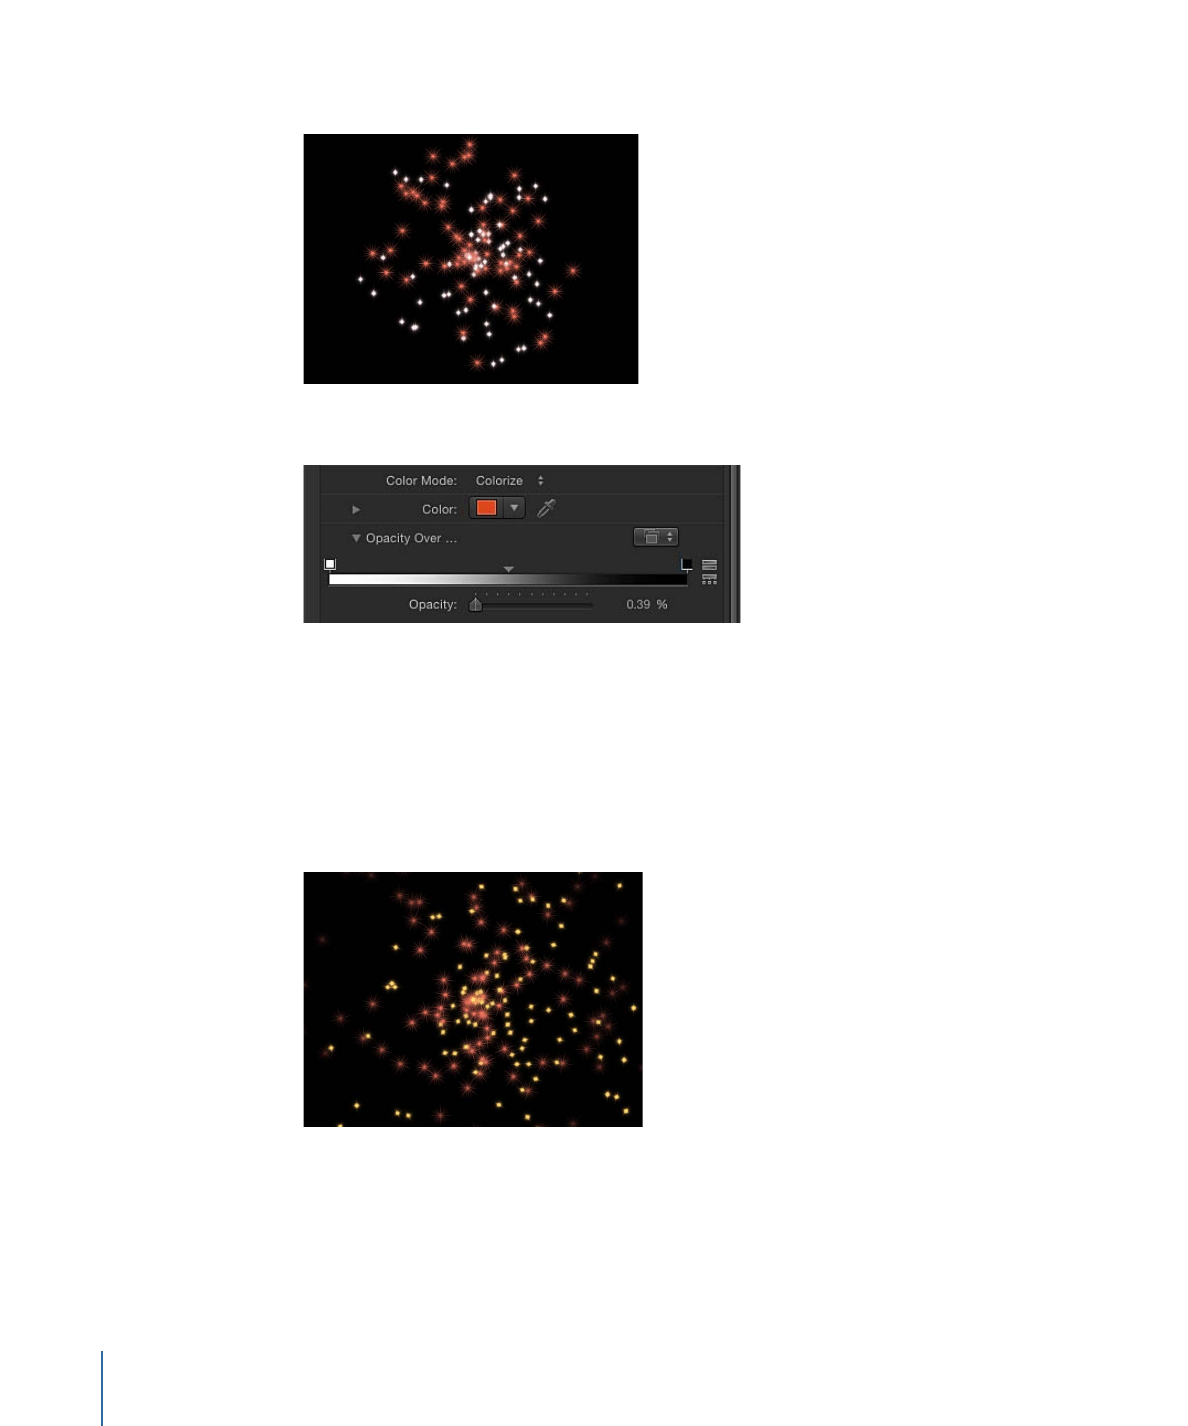
All particles generated by that cell are now red.
8
Use the Opacity Over Life control to make this cell’s particles fade out over their life.
9
To make the spark particles spin as they move away, set the Spin parameter value to 60.
10
In the Layers list, select the “Flare01” cell of the particle system. Its parameters appear in
the Inspector.
11
Follow the procedure in Step 7 to make these particles light yellow.
12
To make the particles generated from this cell spin in the opposite direction, set the Spin
parameter value to –60.
13
To create a trail of particles, the emitter must be animated to follow the required motion
path; do the following to create a motion path for the particle system:
a
Place the playhead at frame 1.
b
Click the Record button (or press A) to turn on animation recording.
726
Chapter 14
Working with Particles
Note: As an alternative to Step B (turning on the Record button), you can manually
add a keyframe to the emitter’s Position parameter in the Properties Inspector after
Step C. Any subsequent changes to the emitter’s position result in a keyframe at the
current playhead position (regardless of the Record button state).
c
Select the emitter and drag the particle system to the lower-left corner of the screen.
d
Press End to go to the last frame of the project.
e
Drag the emitter toward the upper-right corner.
f
Disable Record (press A).
g
Click the Play button to begin playback.
14
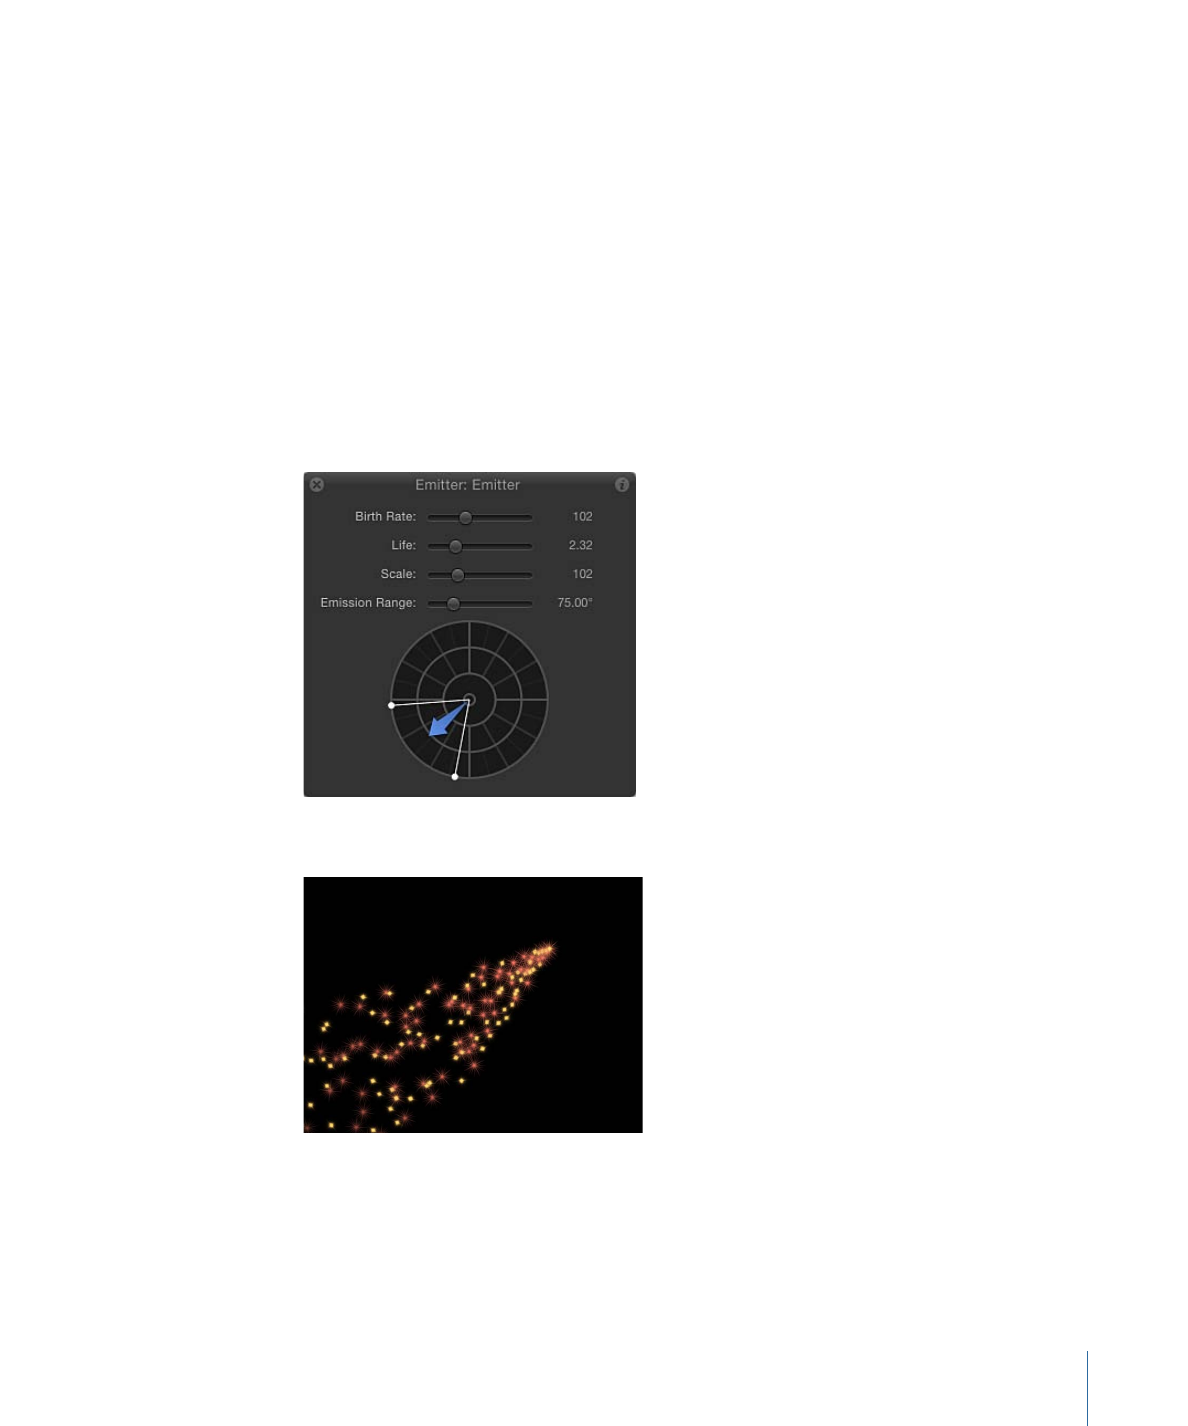
Use the following illustration as a guide to adjust the Emission Range and Angle so the
particles appear to follow behind the emitter.
The result should look something like this:
You might want to adjust the Emitter parameters for Birth Rate, Life, and Speed to
customize the effect to your liking.
727
Chapter 14
Working with Particles
To turn the system into 3D particles
1
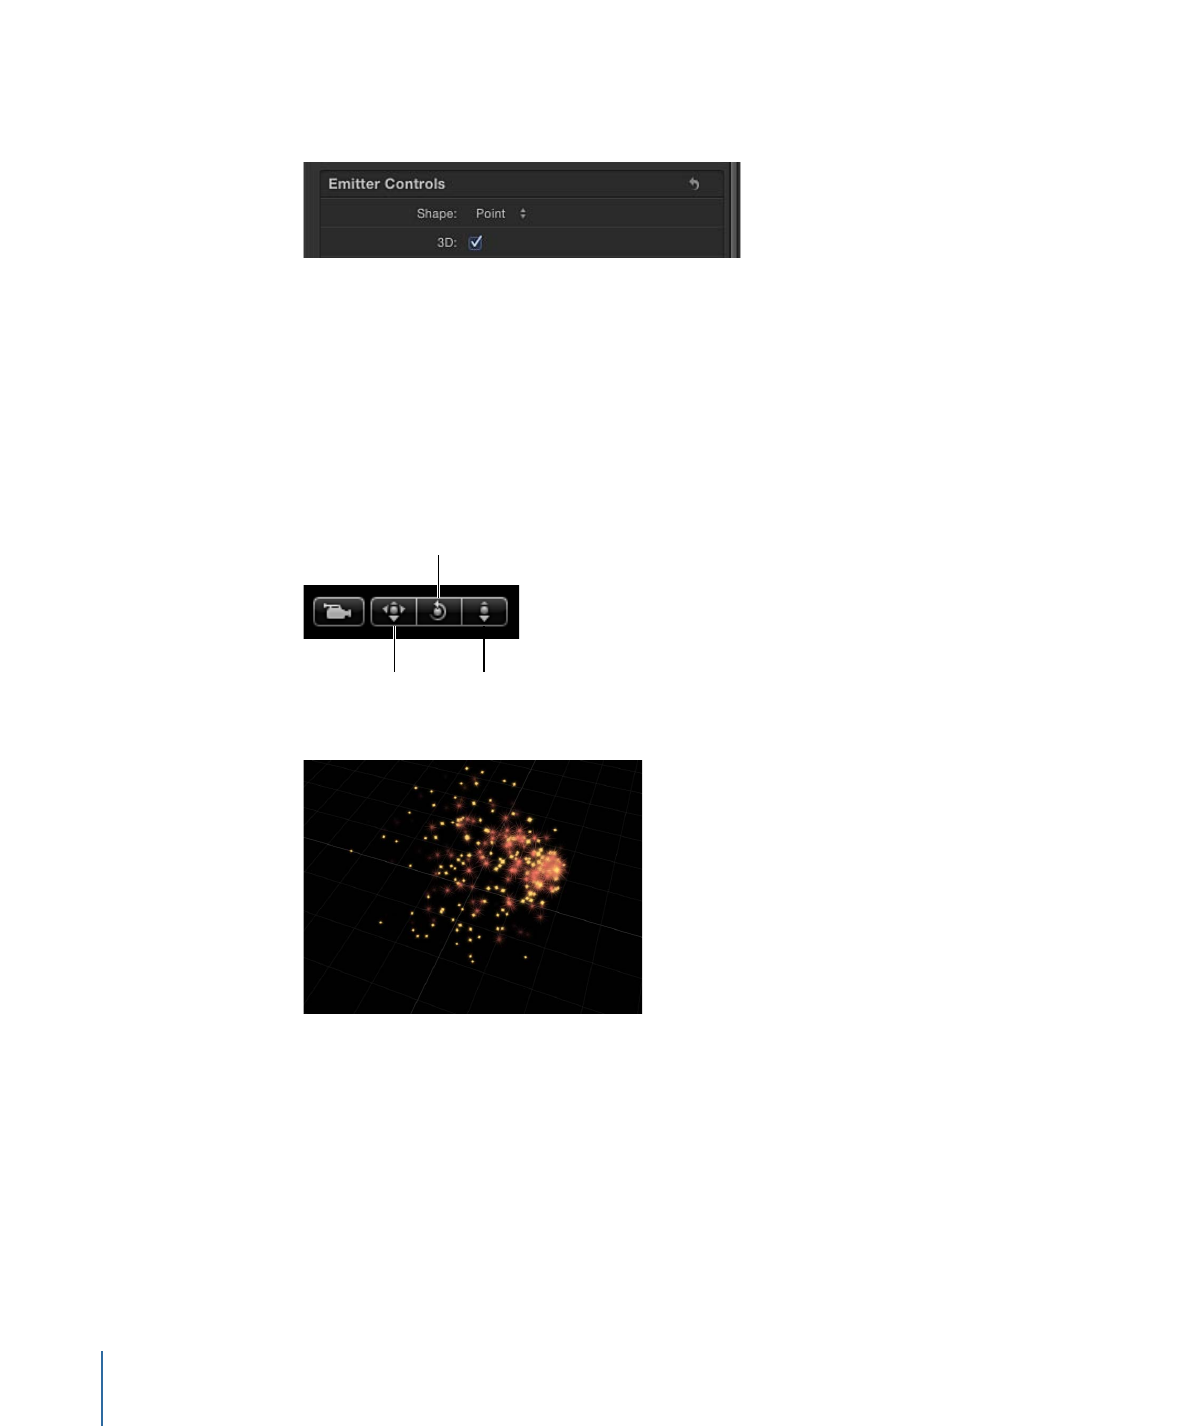
In the Emitter Inspector, select the 3D checkbox.
2
If your project does not contain a camera, click the New Camera button in the toolbar.
If your project is a 2D project, a dialog appears asking if you want to switch your 2D
groups to 3D.
3
Click Switch to 3D.
A camera is added to the project, and your layers are turned into 3D layers.
4
In the 3D View tools (in the upper-right corner of the Canvas), drag the Orbit tool (the
center tool).
Pan tool
Dolly tool
Orbit tool
As the camera rotates, you can see that the particles are emitted in Z space.
728
Chapter 14
Working with Particles
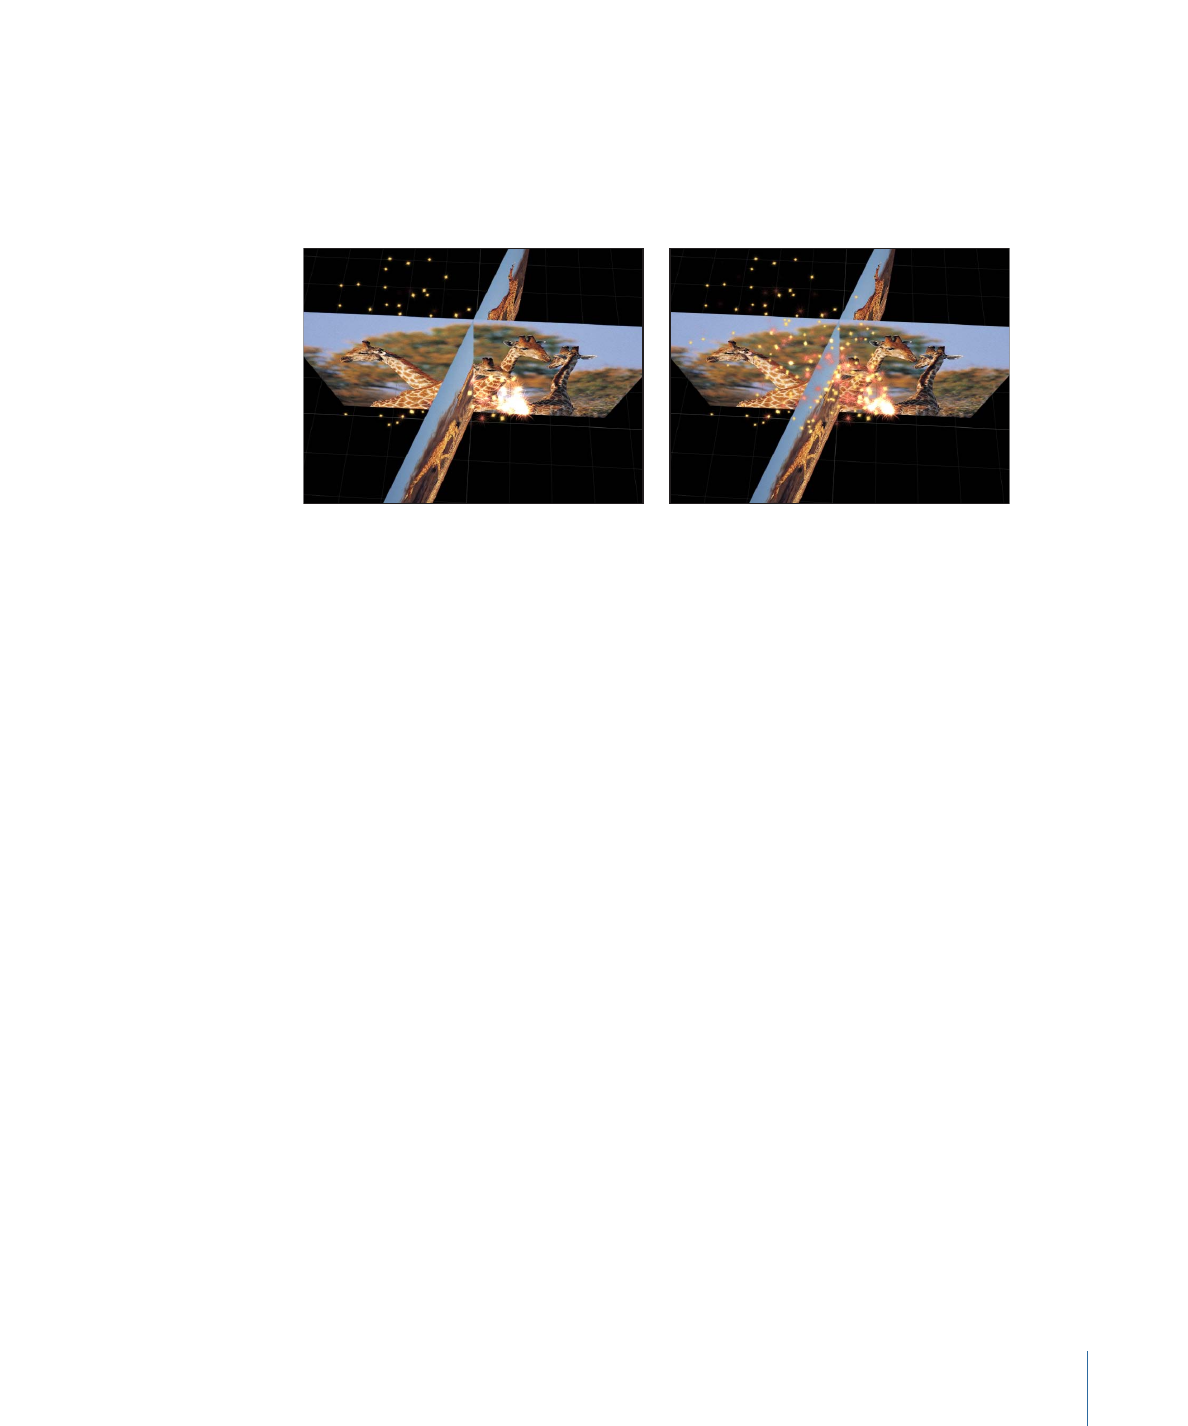
If you want your particles to intersect with other rotated layers, choose In Global 3D
(Better) from the Render Particles pop-up menu in the Emitter Inspector. In the following
image on the left, Global 3D is selected so the particles intersect with other objects in
the project that are transformed in 3D space. In the image on the right, Local 3D is selected
so the particles do not intersect with other objects.