Editing Generators
In this section, the Checkerboard generator parameters are edited to modify the
appearance of the default generator.
To edit the Checkerboard generator
1
Add the Checkerboard generator to your project.
Note: For information on adding a generator to your project, see
Adding a Generator
.
The default Checkerboard generator appears in the Canvas, Layers list, and Timeline, and
the HUD appears.
The Checkerboard generator HUD contains controls for editing and animating the
checkerboard, such as Opacity, Blend Mode, Width, Height, Color, Size (of the checkers),
and Contrast. The only Checkerboard parameters that do not appear in the HUD are
Center and Pixel Aspect Ratio (which appear in the Generator Inspector).
2
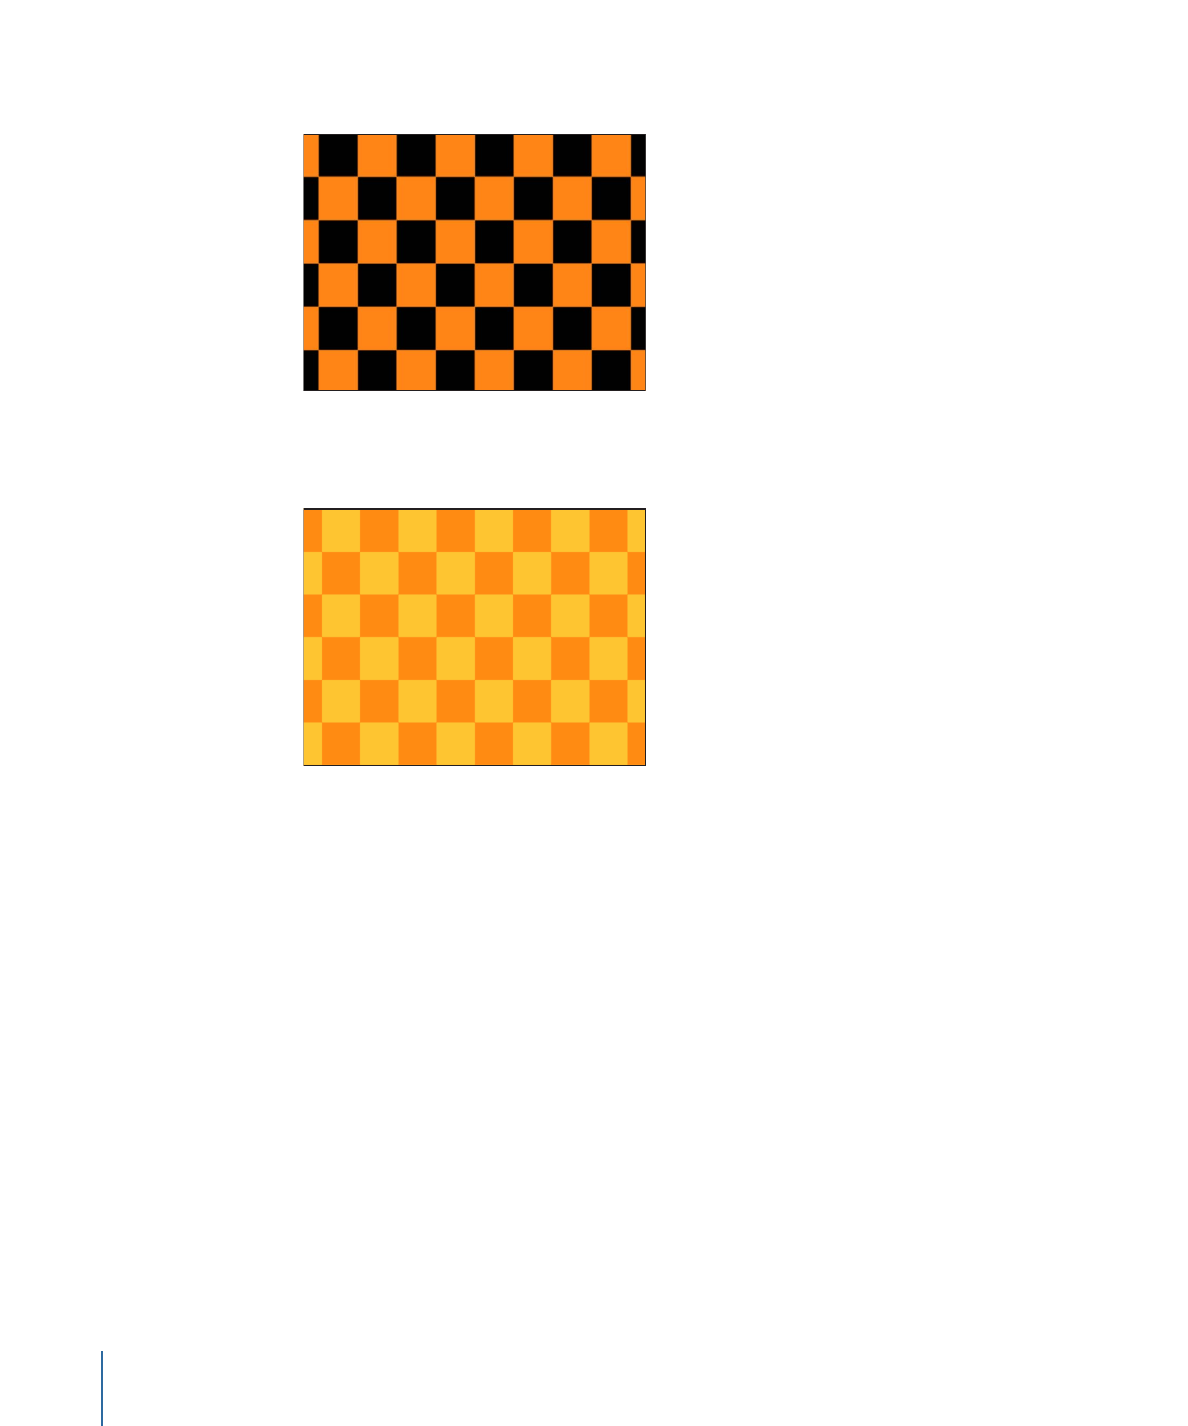
In the HUD, click the Color 1 color well and select a color from the Colors window.
941
Chapter 18
Working with Generators

Color 1 is replaced with the new color.
3
Click the Color 2 color well and select a color from the Colors window.
Color 2 is replaced with the new color.
4
Drag the Size slider to change the size of the squares.
The checker size is 80 by default. Drag the slider to the left to make smaller checkers, and
to the right to make larger checkers.
To change the size of the generator (rather than the size of the checkers), adjust the Width
and Height parameters.
Note: You can also use standard object scaling-methods—the onscreen transform controls
or the Scale parameter in the Properties Inspector. However, scaling generators in this
manner changes the size of the checkers and has a greater impact on your system’s
performance.
5
Drag the Contrast slider to adjust the contrast between Color 1 and Color 2.
942
Chapter 18
Working with Generators

Although the checkerboard pattern does not change, adjusting the Contrast parameter
can create dramatically different textures.