Navigating in the Timeline
Motion provides many controls for navigating the Timeline. You can drag the playhead
to “scrub” through your project as quickly or slowly as you want, or immediately jump
to a specific frame. Additionally, you can jump to object boundaries, markers, and other
important indicators in the Timeline.
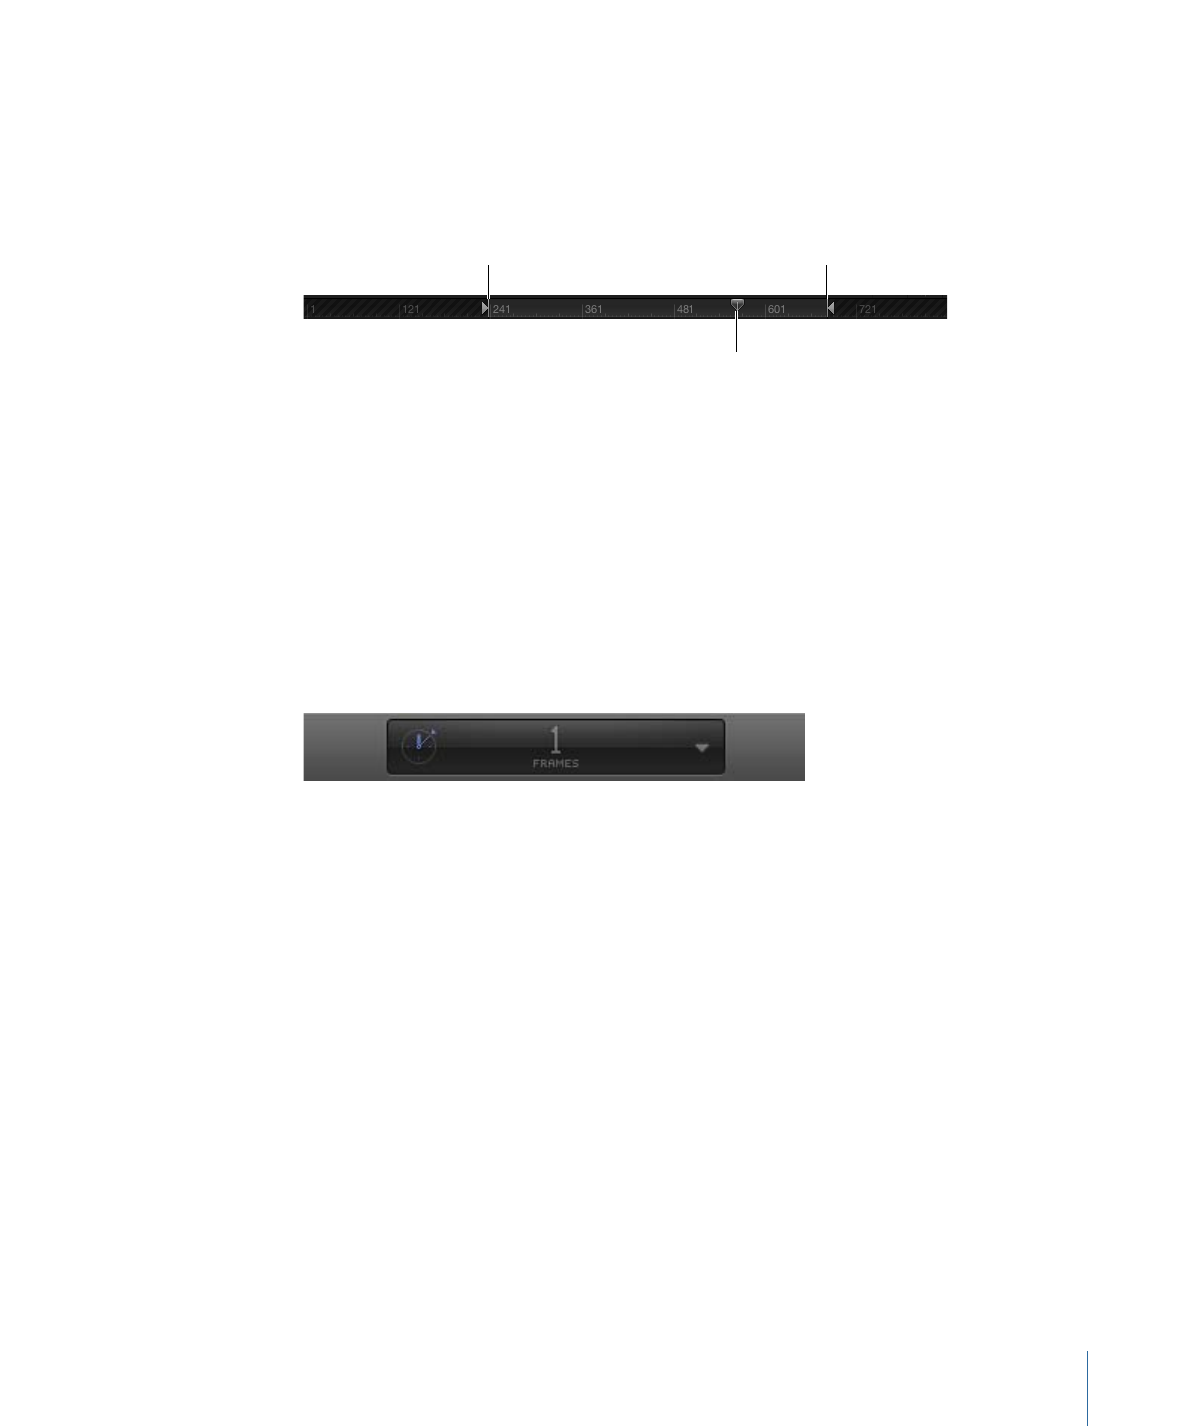
Many navigation tasks are accessible via the timing display in the toolbar.
Note: The timing display can be set to show frames or timecode. To set the timing display
duration to frames, choose Show Frames from the pop-up menu on the right side of the
timing display (the inverted arrow).
To move the playhead to a new point in time
Do one of the following:
µ
Double-click the current frame number in the timing display, enter a new frame number,
then press Return.
µ
Drag left or right over the current frame number in the timing display to rewind or
advance.
µ
Drag the playhead in the Timeline ruler to the frame you want.
µ
Click the Timeline ruler at the frame number where you want to move the playhead.
µ
With the Canvas or Project pane active, enter a new frame number, then press Return to
jump to that frame.
µ
With the Timeline active (and no objects selected), enter a new frame number, then press
Return to jump to that frame.
Important:
When the Timeline is active and an object is selected, typing a number and
pressing Return moves the selected object, rather than the playhead.
349
Chapter 8
Using the Timeline

To move forward a specific number of frames
µ
Type a plus sign (+), then type the number of frames to move forward.
Important:
When the Timeline is active and an object is selected, typing a number and
pressing Return moves the selected object, rather than the playhead.
To move backward a specific number of frames
µ
Type a minus sign (–), then type the number of frames to move backward.
Important:
When the Timeline is active and an object is selected, typing a number and
pressing Return moves the selected object, rather than the playhead.
To move ahead or back in seconds, minutes, or hours
1
Double-click in the timing display.
2
Do any of the following:
• To move forward in seconds, type a plus sign (+), enter the number of seconds to move
forward, then enter a period. For example, to move 2 seconds ahead, enter “+2.” (with
a period after the number), then press Return. To move ahead in minutes, enter two
periods after the number, and to move ahead in hours, enter three periods after the
number.
• To move backward in seconds, enter a minus sign (–), enter the number of seconds to
move backward, then enter a period. For example, to move 2 seconds backward, enter
“–2.” (with a period after the number), then press Return. To move backward in minutes,
enter two periods after the number, and to move backward in hours, enter three periods
after the number.
Important:
When the Timeline is active and an object is selected, typing a number and
pressing Return moves the selected object, rather than the playhead.
To play back your project
µ
Press the Space bar.
To move forward or backward one frame at a time
Do one of the following:
µ
Click the “Go to next frame” or “Go to previous frame” button in the transport controls
(to the right of the Play button).
µ
Choose Mark > Go to > Previous Frame or Next Frame.
µ
Press the Left Arrow key to move backward or the Right Arrow key to move forward.
To move forward or backward ten frames at a time
Do one of the following:
µ
Choose Mark > Go to > 10 Frames Back or 10 Frames Forward.
µ
Press the Shift key, then press the Left Arrow or Right Arrow key.
350
Chapter 8
Using the Timeline

To jump to the beginning of the project
Do one of the following:
µ
Click the “Go to start of project” button in the transport controls.
µ
Choose Mark > Go to > Project Start.
µ
Press Home.
To jump to the end of the project
Do one of the following:
µ
Click the “Go to end of project” button in the transport controls.
µ
Choose Mark > Go to > Project End.
µ
Press End.
To jump to the next keyframe
Do one of the following:
µ
With an animated object selected, press Shift-K.
µ
With an animated object selected, choose Mark > Go to > Next Keyframe.
To jump to the previous keyframe
Do one of the following:
µ
With the animated object selected, press Option-K.
µ
With the animated object selected, choose Mark > Go to > Previous Keyframe.
For information on displaying keyframes in the Timeline, see
Timeline View Options
.
In addition to moving to new positions in the ruler, you can navigate to objects in the
Timeline, such as objects, markers, and keyframes. For more information on markers, see
Adding Markers
. For more information on keyframes, see
Keyframes and Curves
.
To jump to the beginning or end of an object in the Timeline
1
Select the object to navigate to.
2
Do one of the following:
• Choose Mark > Go to > Selection In Point or Selection Out Point.
• Press Shift-I (for the In point) or Shift-O (for the Out point).
351
Chapter 8
Using the Timeline