Editing in the Mini-Timeline
You can perform many nonlinear editing functions in the mini-Timeline. You can drag
clips or images from the File Browser, or objects from the Library (such as replicators or
shapes) to the mini-Timeline. You can also move, trim, and slip objects to change which
portion of the object appears at which point in time. For more information on editing
functions such as Move, Trim, and Slip, see
Editing Objects in the Timeline
.
To add an object to the mini-Timeline
1
Drag the item from the File Browser to the mini-Timeline.
As you drag, a tooltip appears to indicate the frame where your edit will take place.
2
When you reach the desired frame, release the mouse button.
The object is added to the project beginning at that frame.
360
Chapter 8
Using the Timeline
You can also add multiple objects to the mini-Timeline at once. You can choose to add
the objects sequentially (one after another) or as a composite (all at the same point in
time).
Tip: If the Timeline contains project markers, you can snap the imported object to a
marker. Drag the imported item over the mini-Timeline, then release the mouse button
when a black bar appears at the snap point. The layer’s In point is aligned to the project
marker.
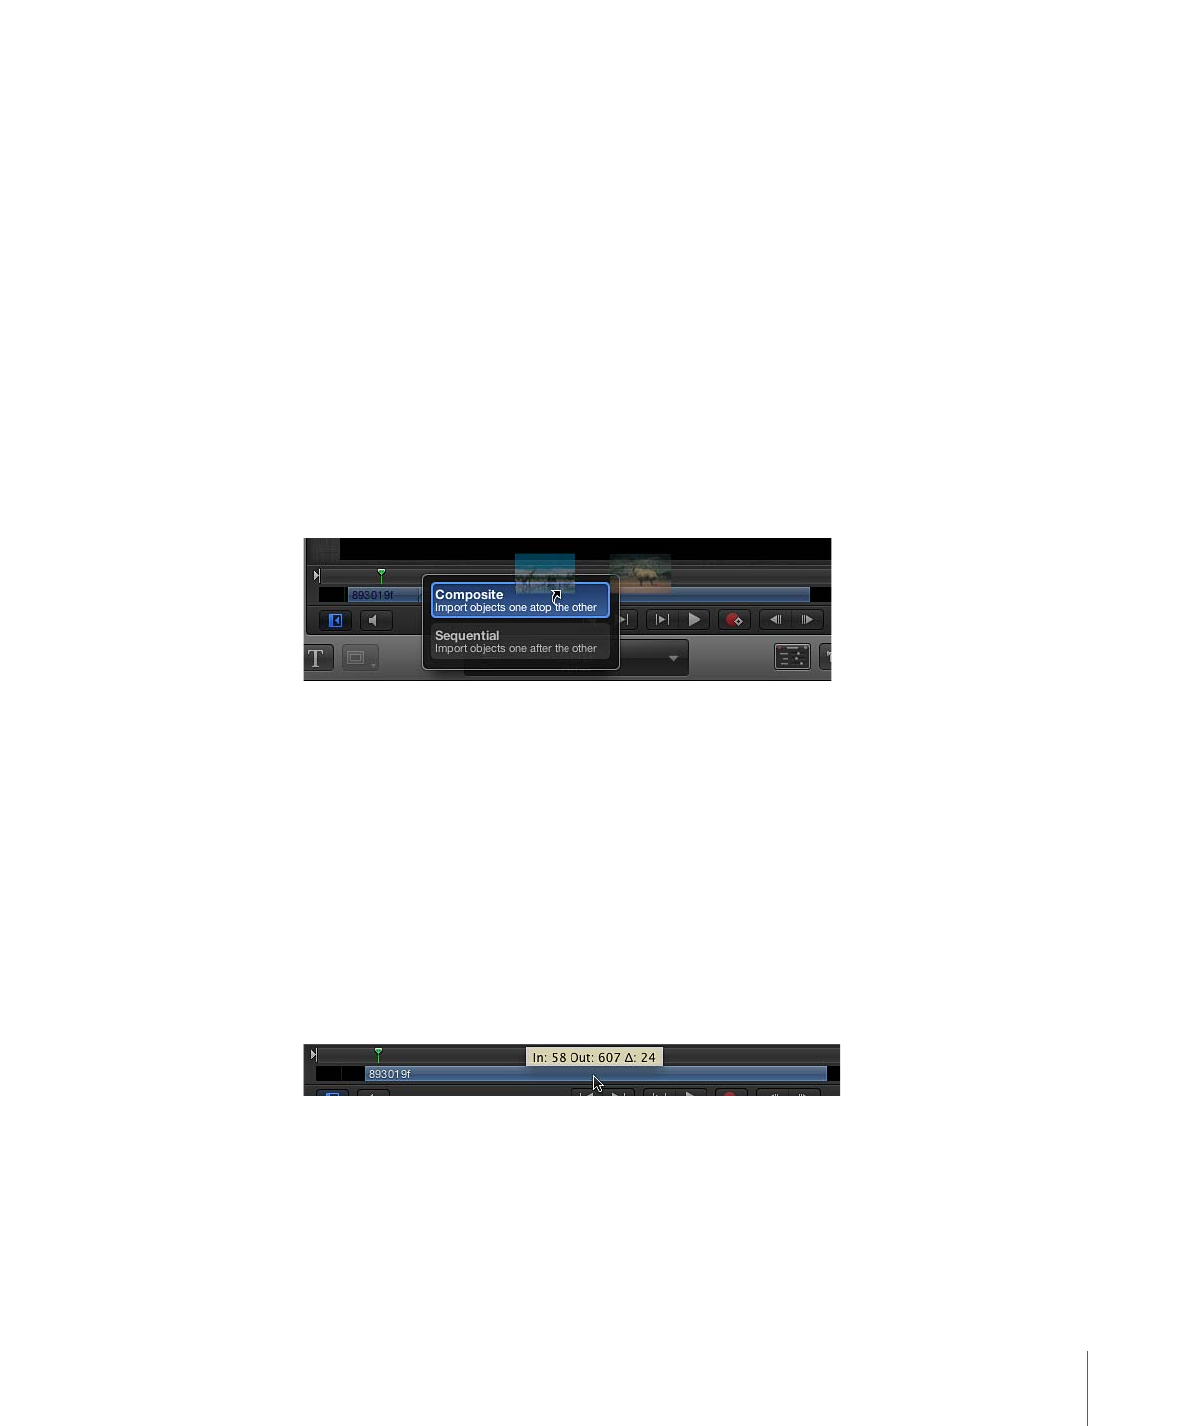
To add multiple objects to the mini-Timeline
1
Shift-click to select multiple items in the File Browser, then drag them onto the
mini-Timeline.
As you drag, a tooltip appears to indicate the frame where your edit will take place.
2
Continuing to hold down the mouse button, drag to the desired frame.
A drop menu appears.
3
Choose an edit type from the drop menu, then release the mouse button.
Depending on the item dragged to the Timeline, up to four drop options are available.
For more information on the Timeline drop menu, see
Adding Layers to the Track Area
.
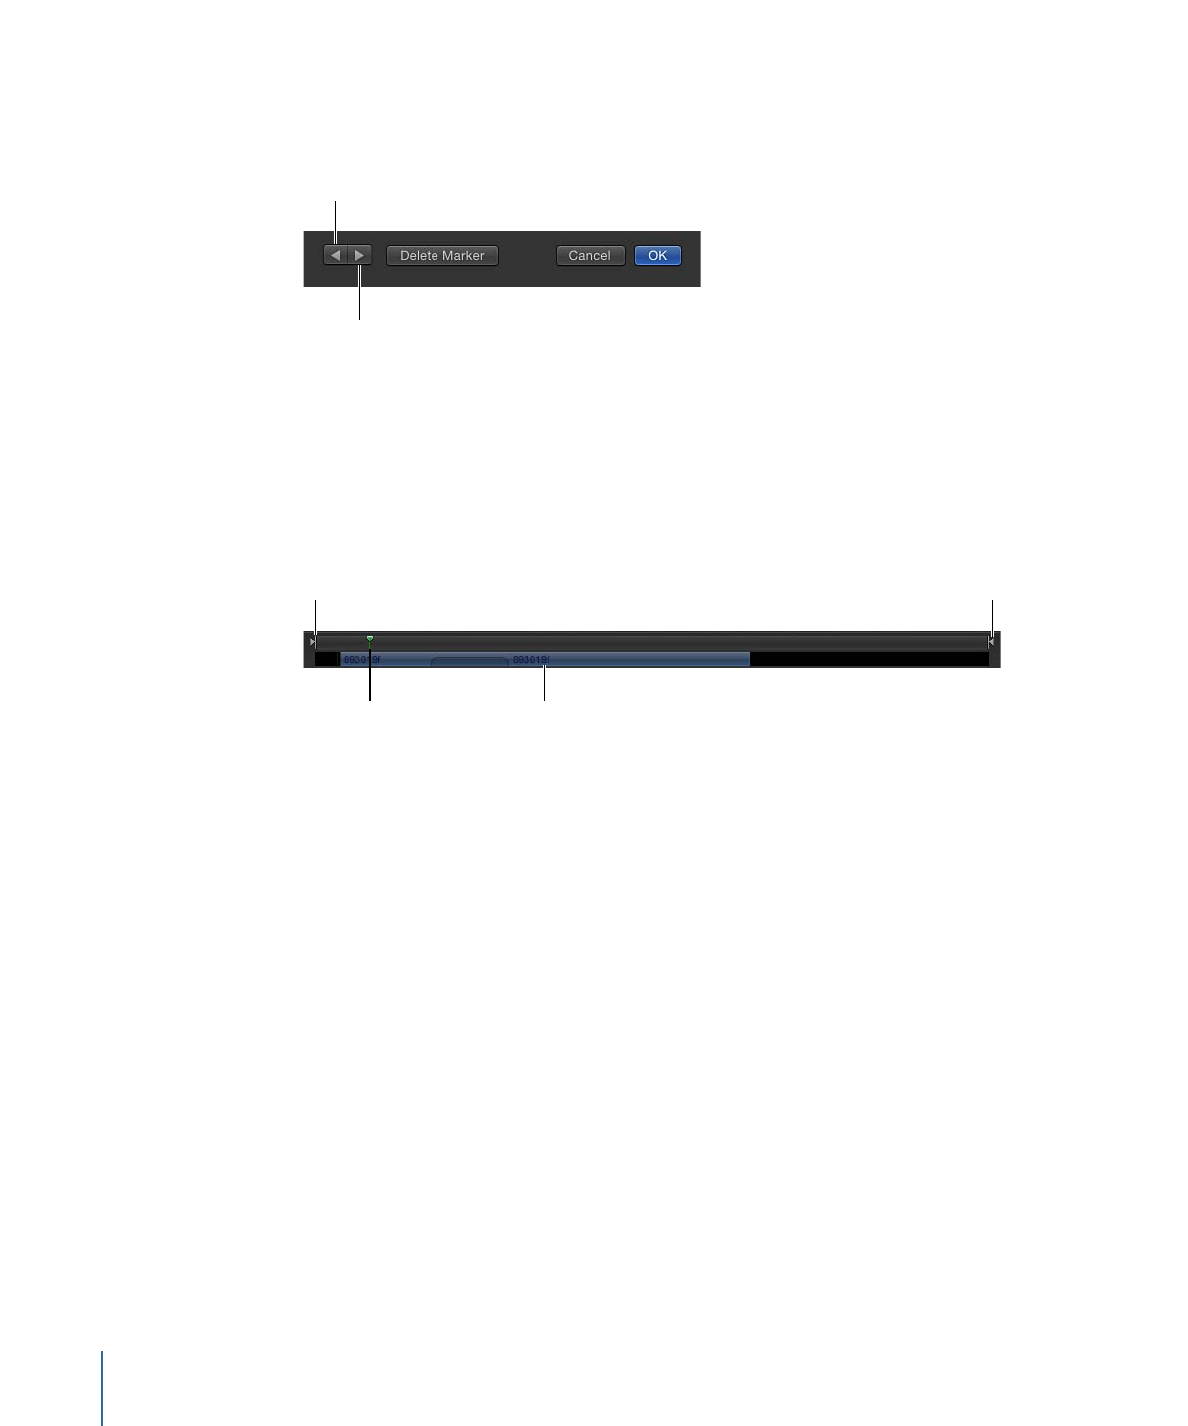
To move an object in time
1
In the Layers list, Timeline Layers list, or Canvas, select the object you want to move.
The object appears in the mini-Timeline.
2
In the mini-Timeline, drag the object to the left or right to reposition it in time.
A tooltip appears to indicate the new In and Out point of the object, as well as the amount
of change from the previous position.
3
When you reach the position you want, release the mouse button.
To shorten or lengthen (trim) an object
1
Select the object to display it in the mini-Timeline.
2
Position the pointer over the beginning or ending edge of the blue bar in the
mini-Timeline.
361
Chapter 8
Using the Timeline
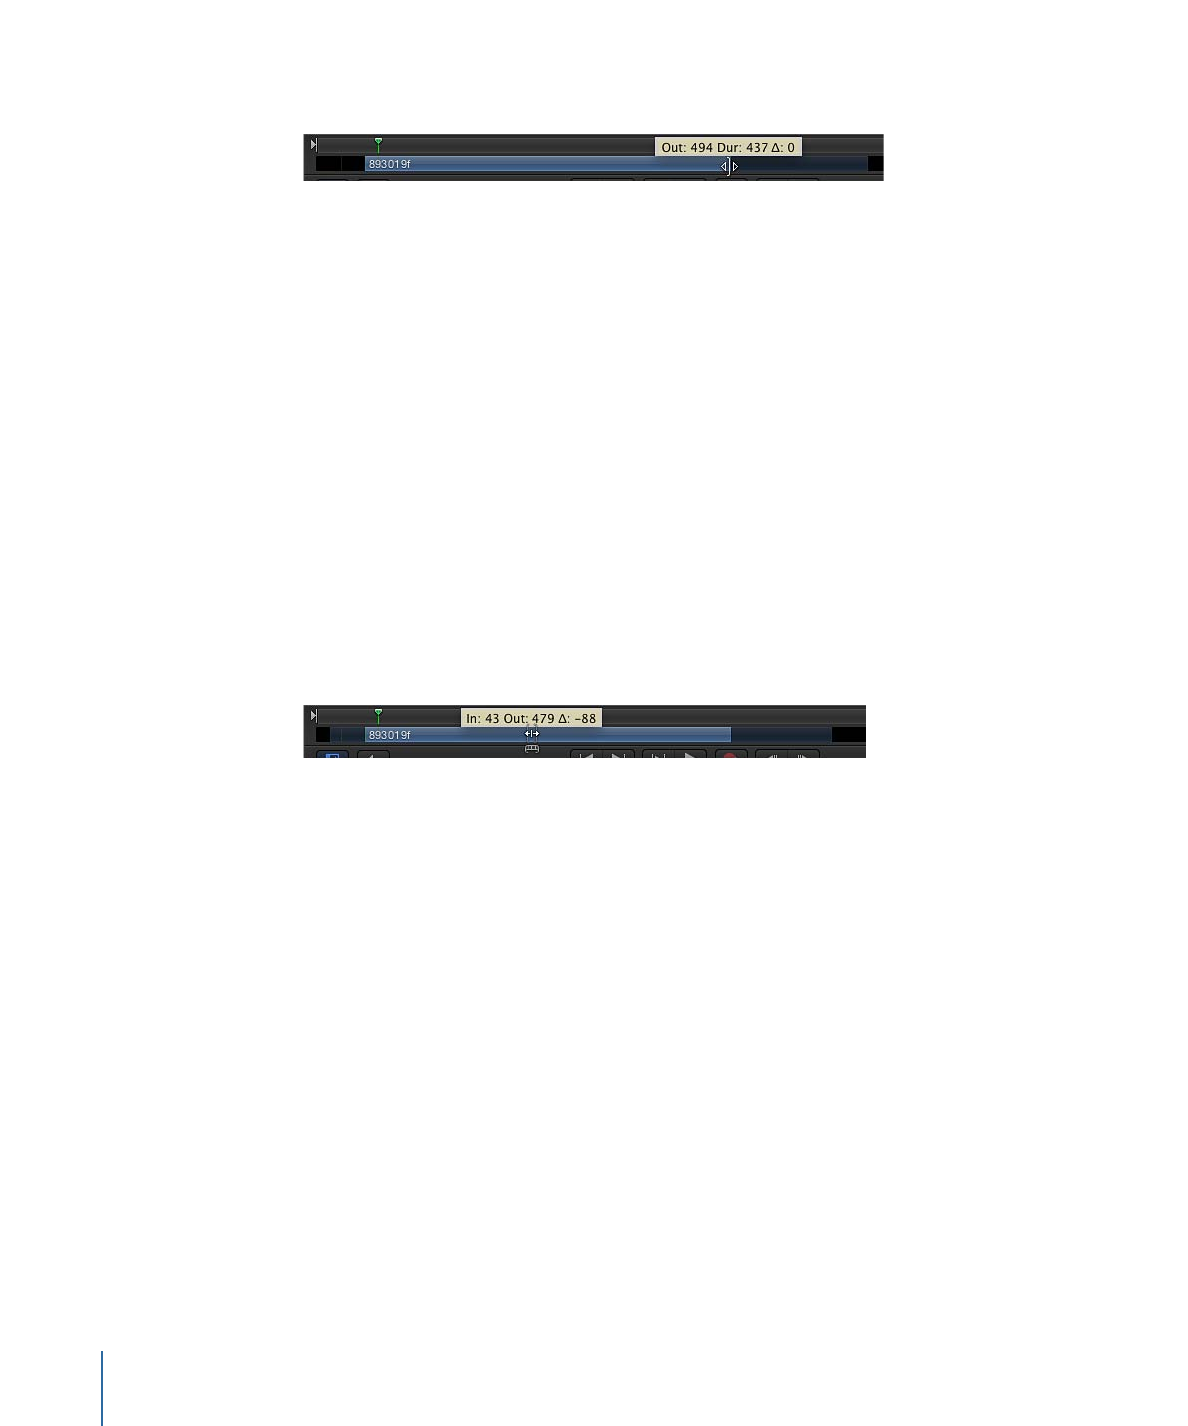
The pointer changes to a trim pointer.
3
Drag the edge of the bar to change its duration.
A tooltip appears to indicate the new In or Out point and the amount of change that
your edit is causing.
You cannot trim an object to be longer than the amount of frames available in the
corresponding media file unless its End Condition is set to Hold, Loop, or Ping Pong in
the Timing controls of the Properties Inspector.
To slip a video clip (or other multi-frame object) in the mini-Timeline
1
Select the multi-frame object you want to modify.
2
Position the pointer over the body of the clip in the mini-Timeline and hold down the
Option key.
The pointer changes to a slip pointer.
3
Continuing to hold down the Option key, drag left or right in the mini-Timeline to use a
later or earlier part of the clip.
A tooltip appears to indicate the new In and Out points.
Note: You cannot slip a clip if it has not been trimmed first. For more information, see
Slipping Video Layers
.
To snap the playhead to a project marker in the mini-Timeline
µ
Press Shift and drag the playhead in the mini-Timeline.
The playhead snaps to the frame that contains a project marker.
362
Chapter 8
Using the Timeline

Behaviors are sophisticated animation and simulation effects that you can apply to your
project and adjust using a simple set of graphical controls. Behaviors can be used to
create basic motion effects or complex simulated interactions between multiple objects.
You can add behaviors to objects (cameras, lights, image layers, or groups) or properties
in a project to create animated effects without needing to create or adjust keyframes.
Drag a behavior onto an object, and the object is animated based on the type of behavior
you applied. You can modify and customize these effects by adjusting behavior parameters
in the HUD or in the Behaviors Inspector.
This chapter covers the following:
•
Behavior Concepts
(p. 363)
•
Browsing for Behaviors
(p. 367)
•
Applying and Removing Behaviors
(p. 368)
•
Modifying Behaviors
(p. 375)
•
Working with Behaviors
(p. 378)
•
Changing the Timing of Behaviors
(p. 383)
•
Animating Behavior Parameters
(p. 390)
•
Saving and Sharing Custom Behaviors
(p. 392)
•
Basic Motion Behaviors
(p. 395)
•
Parameter Behaviors
(p. 419)
•
Retiming Behaviors
(p. 444)
•
Simulation Behaviors
(p. 450)
•
Additional Behaviors
(p. 476)
Behavior Concepts
Behaviors are designed to be flexible and can be combined with one another to create
all kinds of effects. Using behaviors, motion graphics design becomes interactive, allowing
you to create complex motion effects and simulated object interactions very quickly.
363