Trimming Objects
Trim an object bar when you want to shorten or lengthen its duration in the Timeline.
You can shorten or lengthen the beginning or end of the object by dragging from the
left or right edge of the object bar (the In and Out points).
You can also trim an object bar (change its In and Out points) by using menu commands
and corresponding keyboard shortcuts. This allows you to trim multiple objects
simultaneously, as well as make trimming changes on the fly while your project is playing
back.
337
Chapter 8
Using the Timeline
Note: Video and audio objects cannot be trimmed to be longer than the duration of their
source media. To extend a video or audio object bar beyond the duration of its source
media, you must change the object’s End Condition to Loop, Ping Pong, or Hold in the
object’s Properties Inspector. This limitation does not apply to other objects, such as still
images, cameras, text, and shapes, all of which you can extend without restriction. You
can also change the effective duration of a clip without adding or removing frames by
changing the clip’s playback speed. For more information on the Timing controls, see
Retiming
.
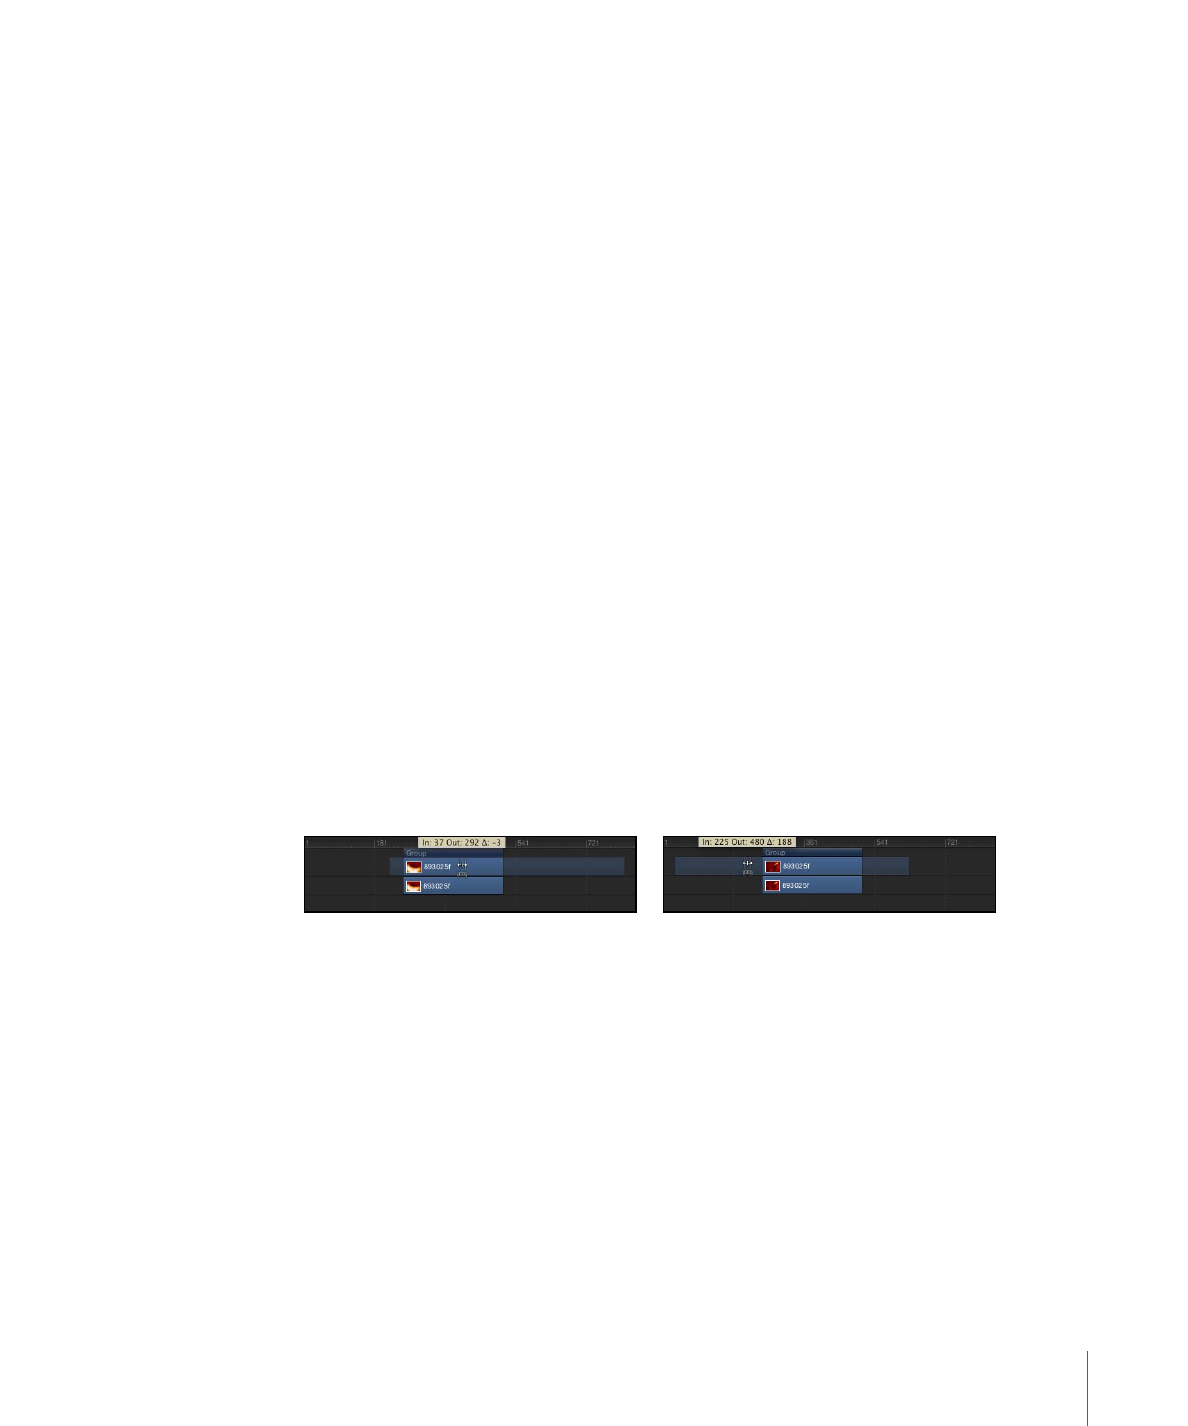
When you trim a video object in the track area, Motion provides a visual representation
of how much additional footage is available in the object’s source clip: a dimmed extension
on either end of the object bar indicating that unused frames exist in the source video
clip. If you see no dimmed extensions when you trim an object bar, there are no unused
frames in the source clip. Consequently, you cannot lengthen the object bar (unless you
change the object’s End Condition in the Properties Inspector for the clip).
Unused frames
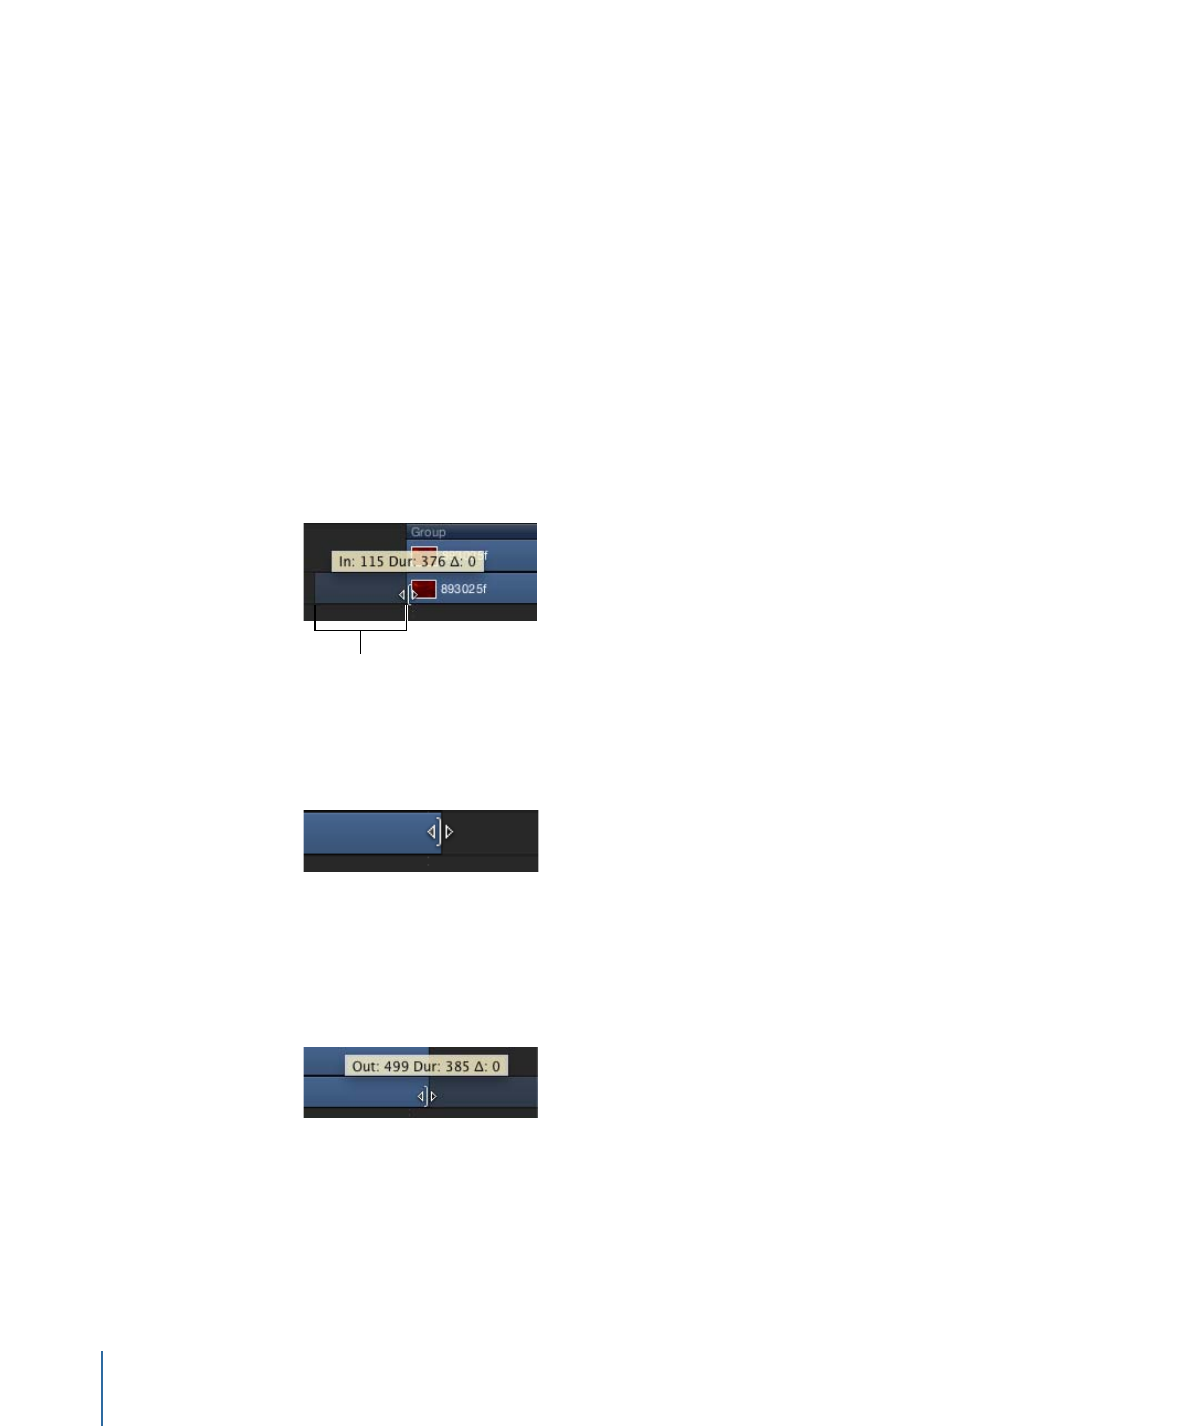
To trim an object bar
1
Move the pointer to one end of the object bar you want to trim.
The pointer changes to a trim pointer.
2
Drag the end of the bar until it reaches the frame where you want the object to start or
end.
As you drag, a tooltip indicates the new In or Out point, and the new duration of the
object.
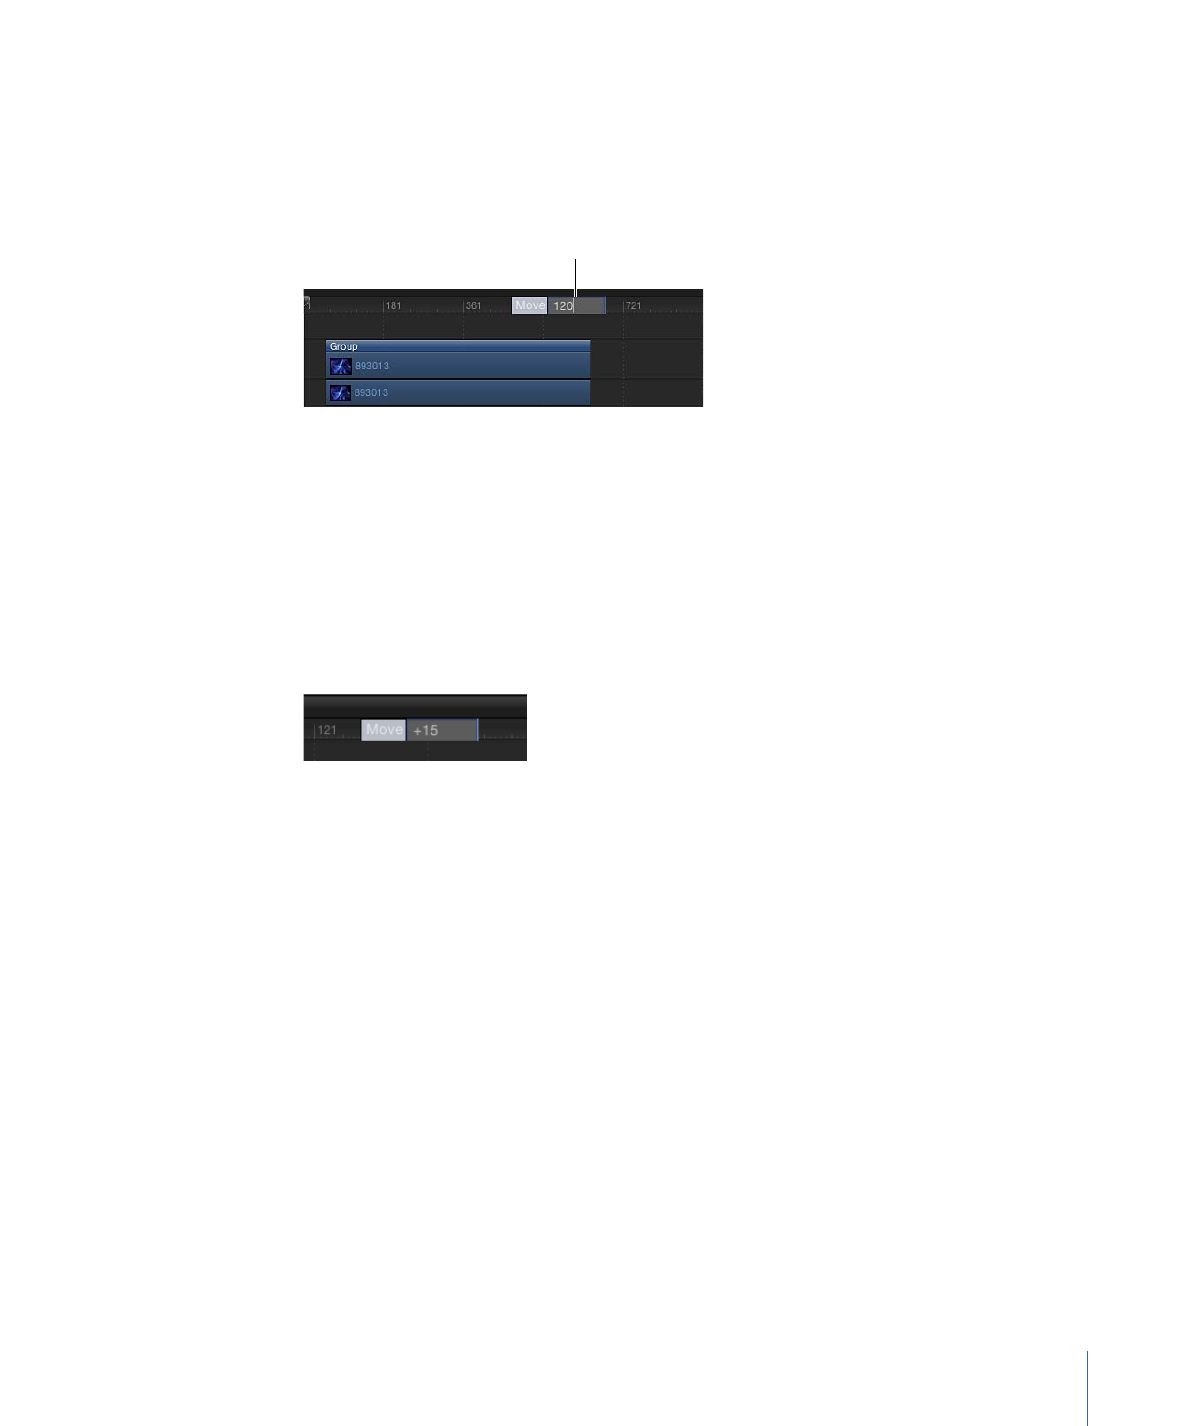
To trim an object bar and snap its In or Out point to neighboring object bars
µ
Press Shift as you drag the edge of the object bar in the track area.
Vertical lines appear in the track, corresponding to the In and Out points of other object
bars. The active object bar snaps to these lines as you drag.
338
Chapter 8
Using the Timeline
To change an object bar’s In or Out point
1
Select the object bar to trim.
2
Place the playhead at the frame where you want the new In or Out point.
3
Choose Mark > Mark In (or press I) to set a new In point or choose Mark > Mark Out (or
press O) to set a new Out point.
To trim multiple objects at the same time
1
Select the object bars to trim.
2
Place the playhead at the In or Out position you want.
3
Choose Mark > Mark In (or press I) or Mark > Mark Out (or press O) to set a new In or Out
point.
All selected objects are trimmed to the new point.
Note: If an object has insufficient source media to complete the trim, the bar moves as
far as it can toward the new point.