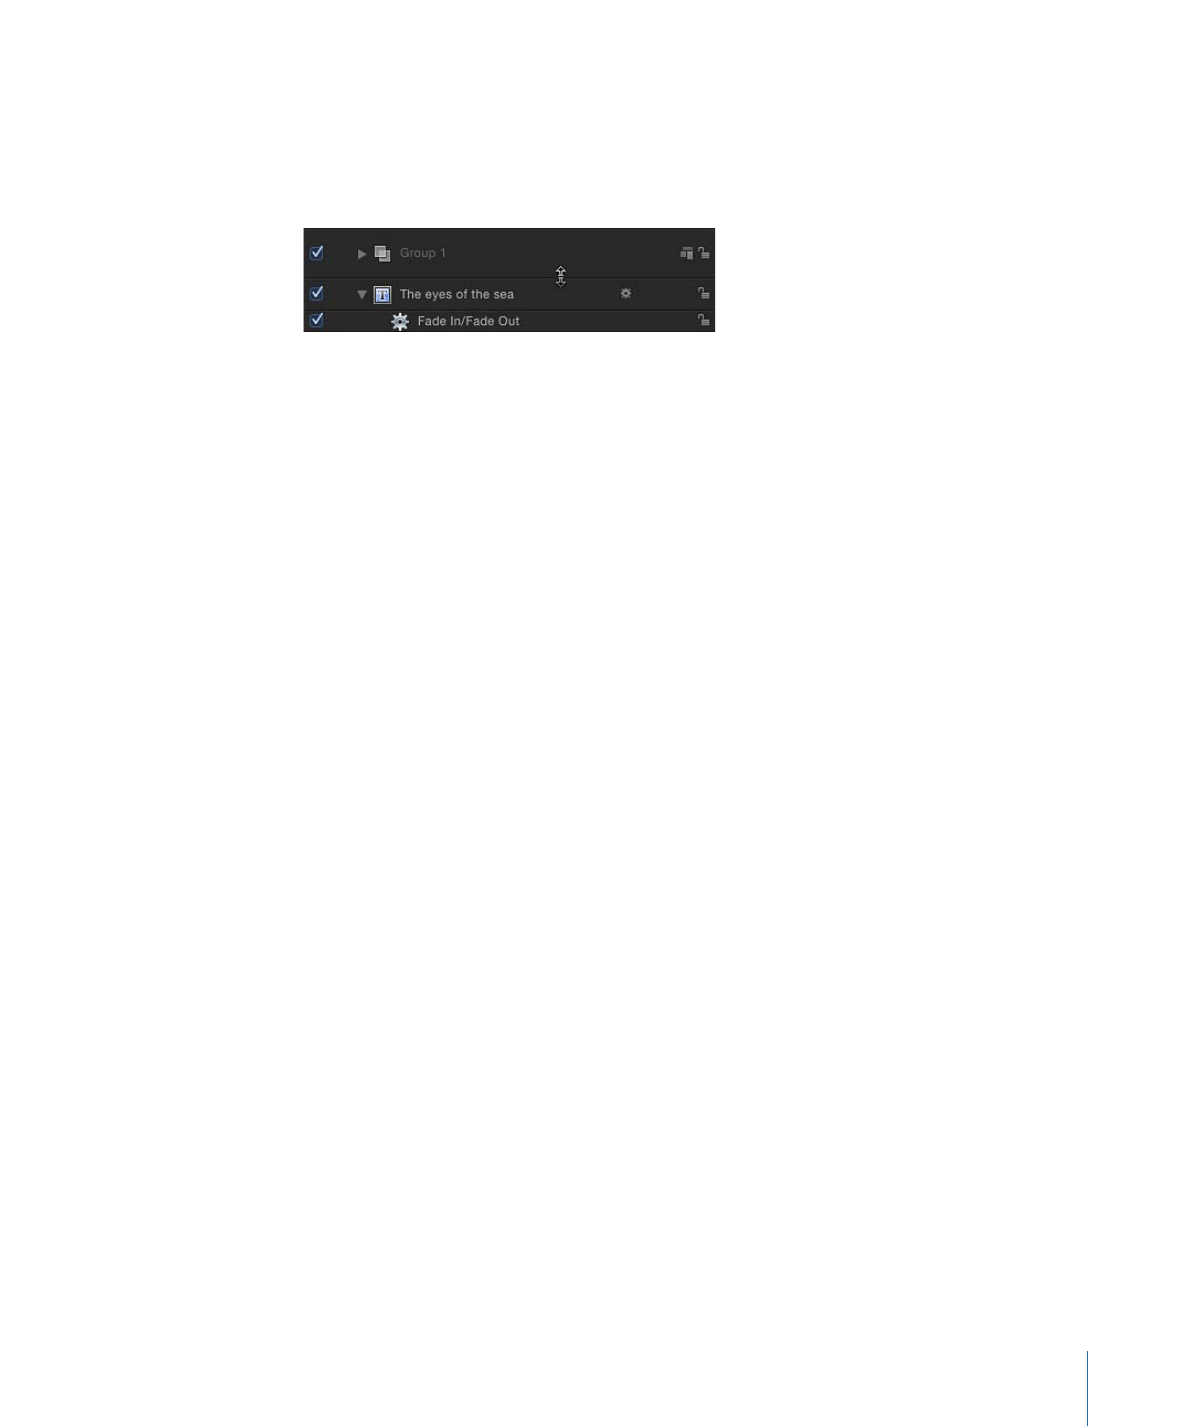
Adding Objects to the Timeline Layers List
You can add images and clips to your project by dragging them into the Timeline layers
list. When you drag an image or clip from the File Browser or Media list into the Timeline
layers list, you can choose whether to add the item to an existing group, add it to a new
group, or have it replace an existing layer. When you add a layer to the Timeline layers
list, a corresponding timebar appears in the track area. The new layer can appear above
or below an existing layer; where you release the mouse button determines placement
of the new layer.
325
Chapter 8
Using the Timeline

Library effects (behaviors, filters, and so on) can also be dragged into the Timeline layers
list. However, because effects objects are applied to media layers (images, video, audio,
and so on), they cannot be grouped by themselves.
Note: You can also drag images and clips to the Timeline track area. For more information,
see
Adding Layers to the Track Area
.
To add a layer to a group
1
Drag an item from the File Browser, Library, or Media list, and position the pointer over
the Timeline layers list.
• If you position the pointer over a group, the track is highlighted with a white border.
• If you position the pointer between layers in a group, the position indicator appears.
• If you position the pointer over an existing layer, the pointer becomes a curved arrow,
indicating that you are about to replace the existing layer with the new media item.
2
Release the mouse button to add the layer to the group.
The new layer is placed in the group below the other layers in the list, or between the
layers where you dragged it. If you dragged onto an existing layer, a new layer replaces
the previous one.
Note: If the media item is a clip with multiple audio tracks, a drop menu will appear,
allowing you to choose between mixing down the multiple tracks to stereo or importing
audio tracks individually.
To create a new group on top of existing groups
1
Drag an item from the File Browser, Library, or Media list into the Timeline layers list, at
the upper edge of the top group.
2
When the position indicator appears, release the mouse button.
A new group is created above other existing groups in the hierarchy or “stack” of groups
and layers.
To create a group above existing groups
1
Drag an item from the File Browser, Library, or Media list into the Timeline layers list,
below the lower edge of the bottom layer.
2
Release the mouse button.
A new group is created above the other existing groups in the hierarchy or “stack” of
groups and layers.
Note: Objects such as cameras and lights that are saved to the Library can also be dragged
to the Timeline.
326
Chapter 8
Using the Timeline