
Navigating with Markers
You can jump from your current playhead position to a nearby project marker forward
or backward.
To jump to the next marker
µ
Control-click the Timeline ruler, then choose Next Marker from the shortcut menu.
The playhead jumps to the starting position of the next project marker.
You can also choose Mark > Go To > Next Marker or press Command–Option–Right Arrow.
To jump to the previous marker
µ
Control-click the Timeline ruler, then choose Previous Marker from the shortcut menu.
The playhead jumps to the starting position of the previous project marker.
You can also choose Mark > Go To > Previous Marker or press Command–Option–Left
Arrow.
359
Chapter 8
Using the Timeline
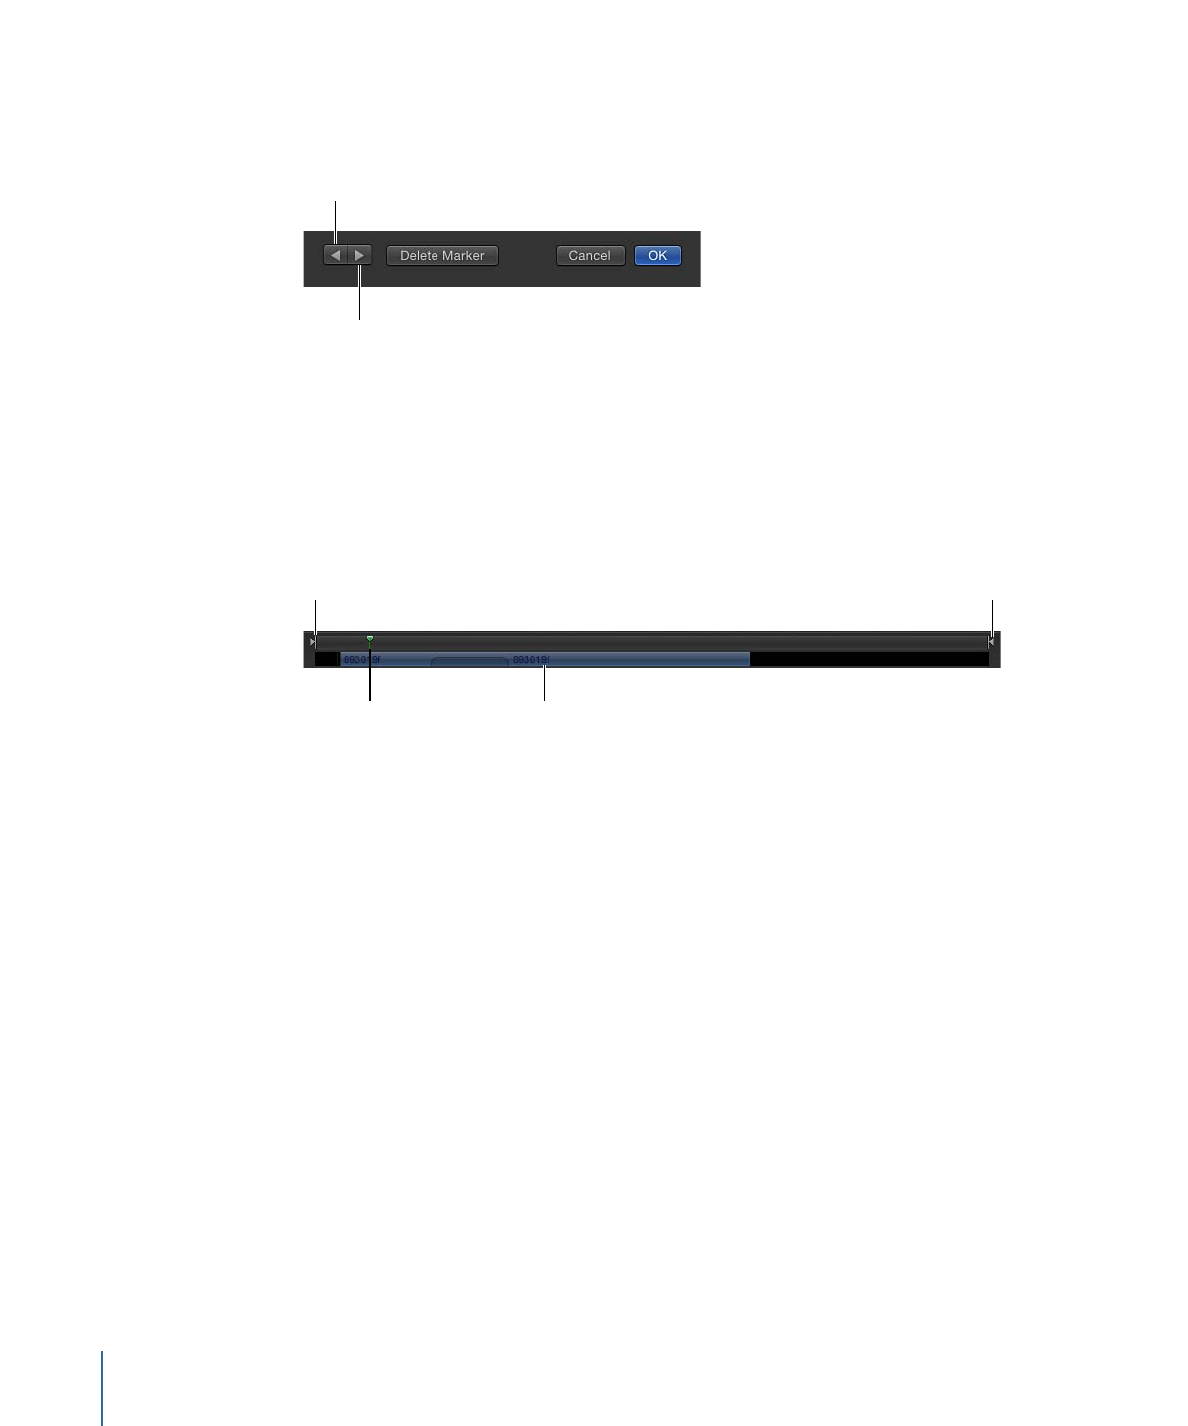
You can also navigate to adjacent markers via the Edit Marker dialog. In that case, the
dialog remains open and the contents are replaced with the information for the next
marker.
Go to previous marker
Go to next marker
Mini-Timeline
The mini-Timeline lies just above the transport controls and below the Canvas. This control
provides an at-a-glance look at where selected objects fit into your overall project. The
mini-Timeline also has a playhead to indicate which frame you are viewing as well as In
point and Out point markers to identify the play range. The length of the mini-Timeline
represents the entire duration of the project.
In point marker
Playhead
Selected object
Out point marker
You can drag the playhead through the mini-Timeline to scrub your project, or to jump
to a specific point in time. In the mini-Timeline, you can also change the play range of
the entire project as well as move, trim, or slip a selected object.