
About the Timeline
The Timeline is located under the toolbar in the area of the Motion interface known as
the Timing pane. In addition to the Timeline, the Timing pane contains two related
partitions that can be shown or hidden: the Audio Timeline and the Keyframe Editor (for
more information, see
Working with Audio Tracks
and
Animating in the Keyframe Editor
).
The Timeline itself consists of two areas: the Timeline layers list on the left and a track
area on the right. You can add images and clips to your project via the Timeline, just as
you add files to the Layers list or the Canvas. You can drag objects into the Timeline layers
list, or drag them into the Timeline track area. The Timeline ruler, located above the track
area, provides a precise reference for managing timing and synchronizing effects. Using
controls in the Timeline layers list, you can lock tracks to prevent changes, temporarily
hide an object from view, and manage links between audio and video.
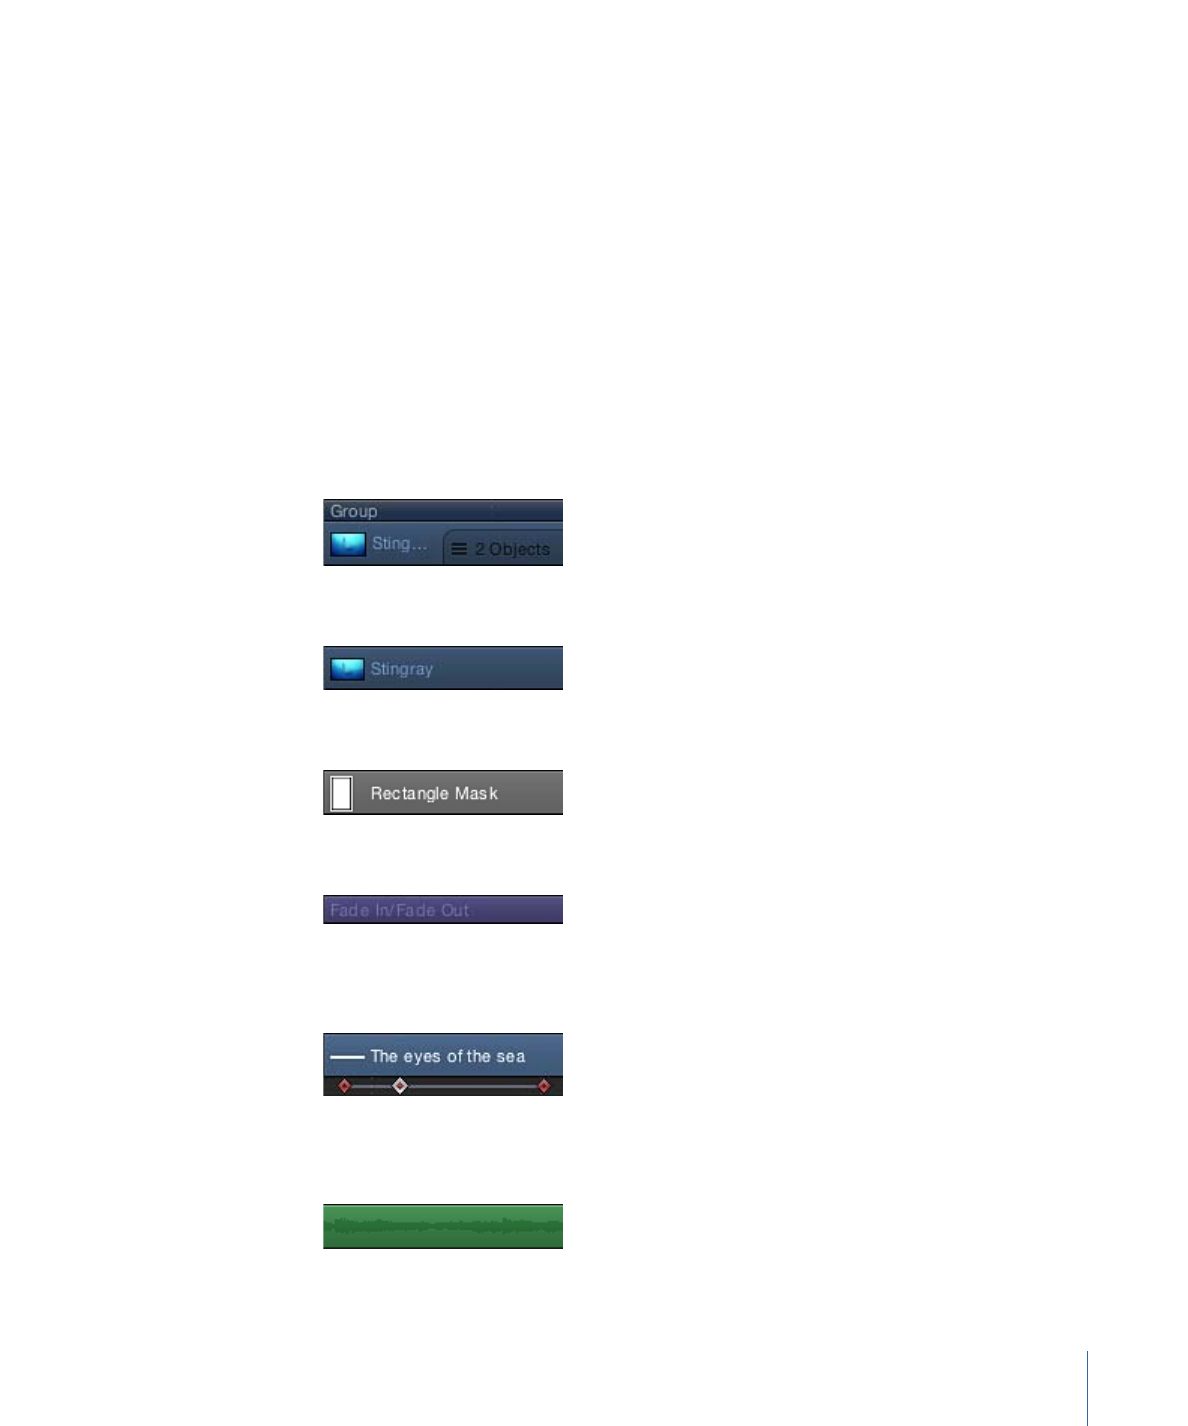
Timeline layers list
Timeline ruler
Track area
Although you can create and modify many types of effects without ever using the Timeline,
it is an essential tool when you want to manipulate the timing of your project’s contents.
Still, there are occasions when you might want to hide the Timeline to make more room
for other areas of the Motion project window.
To hide the Timeline
Do one of the following:
µ
Click the Show/Hide Timeline button in the lower-right corner of the Motion project
window.
µ
Press Command-7.
The Show/Hide Timeline button dims, and the Timeline collapses. For more information,
see
Timeline View Options
.
318
Chapter 8
Using the Timeline
Note: To collapse the entire Timing pane (Timeline, Audio Timeline, and Keyframe Editor),
make sure that all three buttons in the lower-right corner of the Motion project window
are dimmed.