Masking Objects in a 3D Project
When working in a 3D project, you might want to mask a layer after it is transformed or
the camera is rotated. You can immediately switch a transformed object into a “work
view” using the Isolate button in the Layers list or Timeline, or the Isolate command in
the Object menu. After you add a camera to a project, the Isolate option becomes available
for any layer, group, or camera in the project.
1197
Chapter 20
Using Shapes, Masks, and Paint Strokes
Note: Masks can be applied to the layers in a 3D group, but not the 3D group itself (unless
you’ve activated the Flatten checkbox in the Group Inspector). For more information
about the Flatten checkbox, see
Mask Parameters
.
To isolate a layer
1
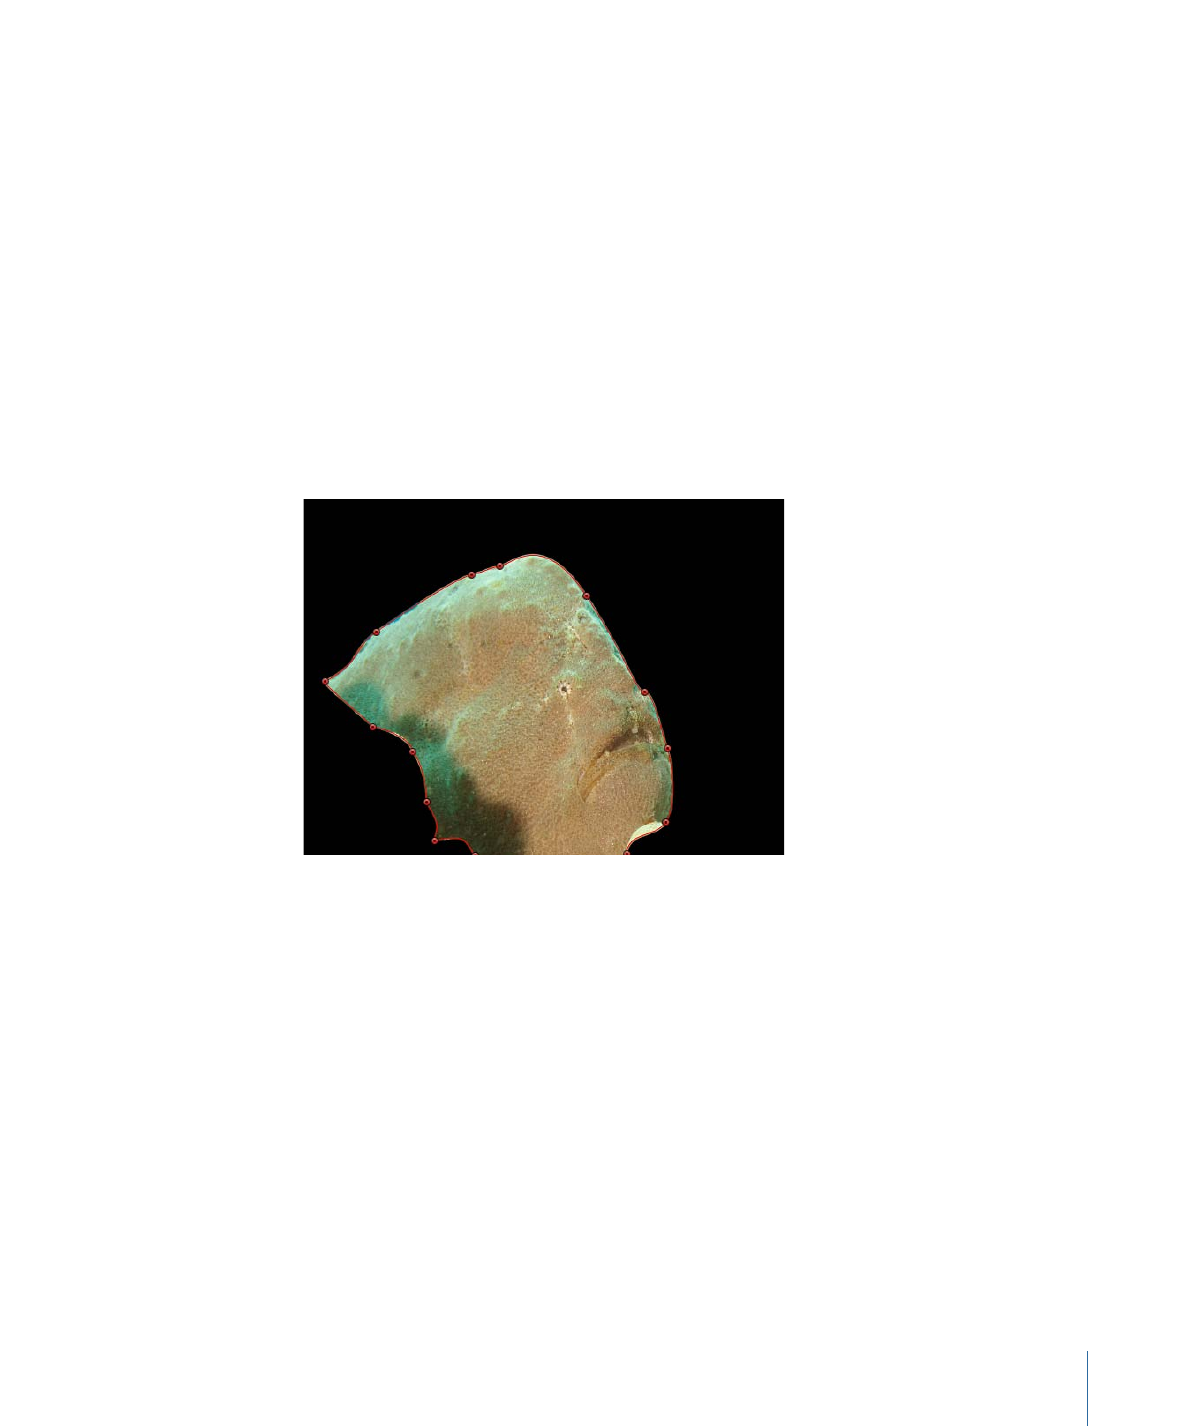
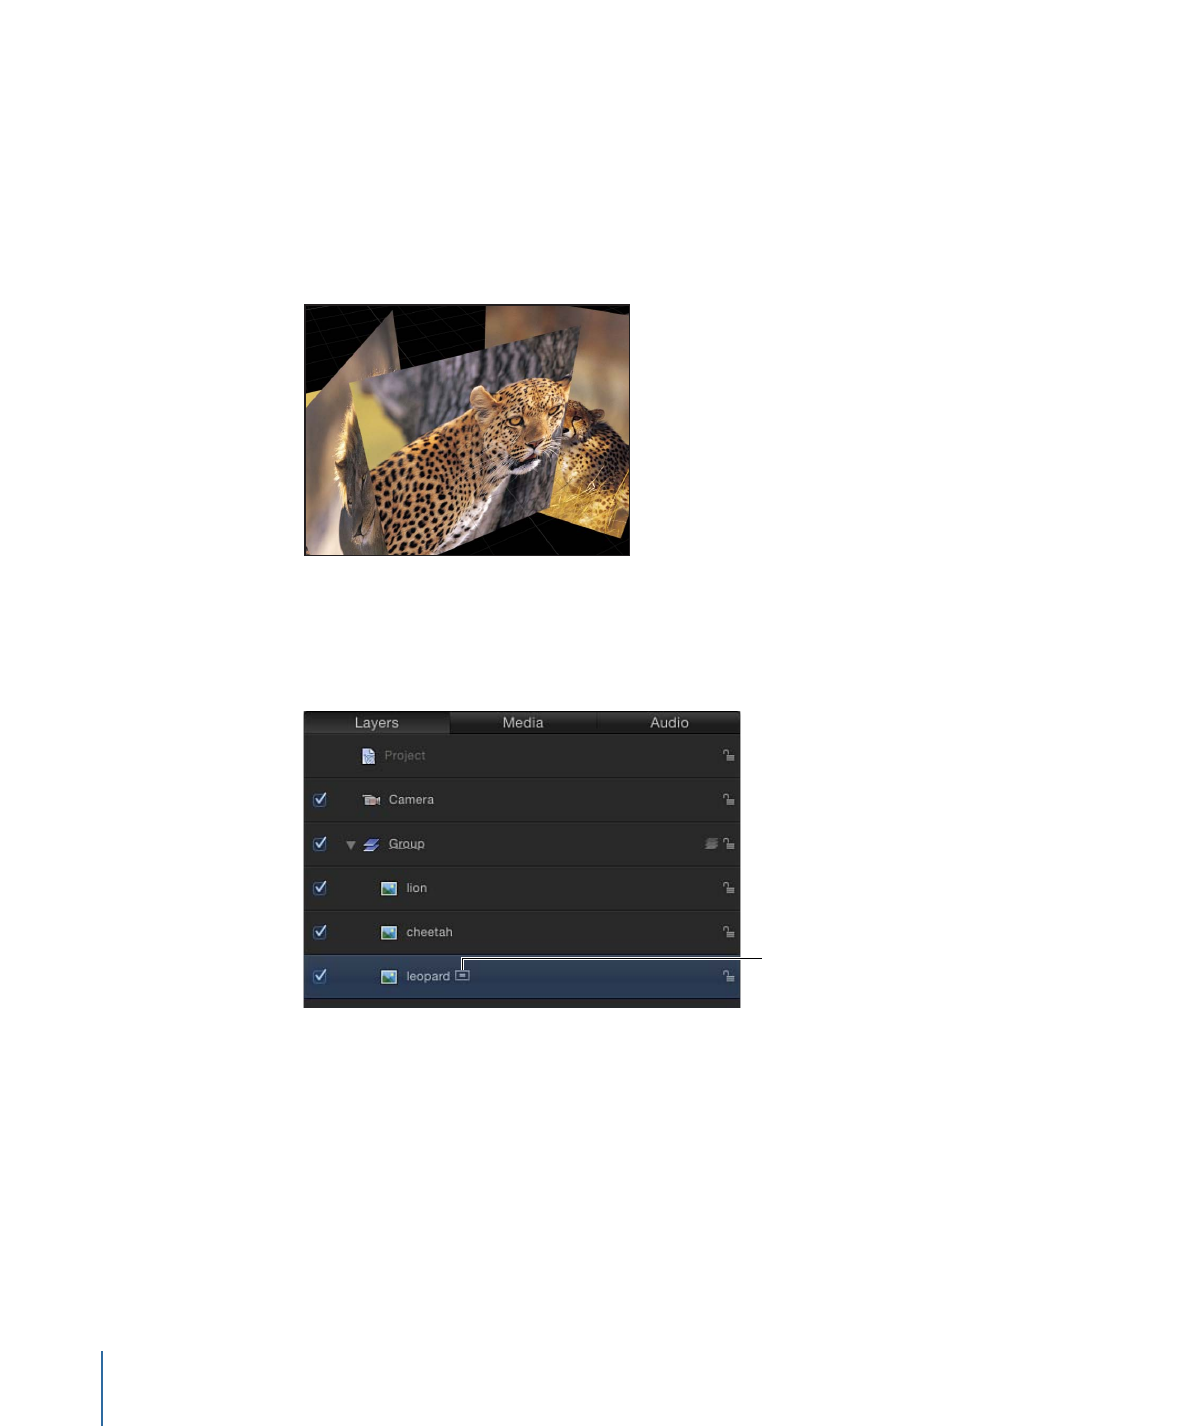
In the 3D project, select the layer to mask.
In this example, the center leopard image is the layer to be masked.
The Isolate button appears to the right of the layer name in the Layers list.
Note: A project must contain a camera before you can access the Isolate option.
2
Click the Isolate button or choose Object > Isolate.
Inactive Isolate button
Note: You can also Control-click the layer or group and choose Isolate from the shortcut
menu.
1198
Chapter 20
Using Shapes, Masks, and Paint Strokes
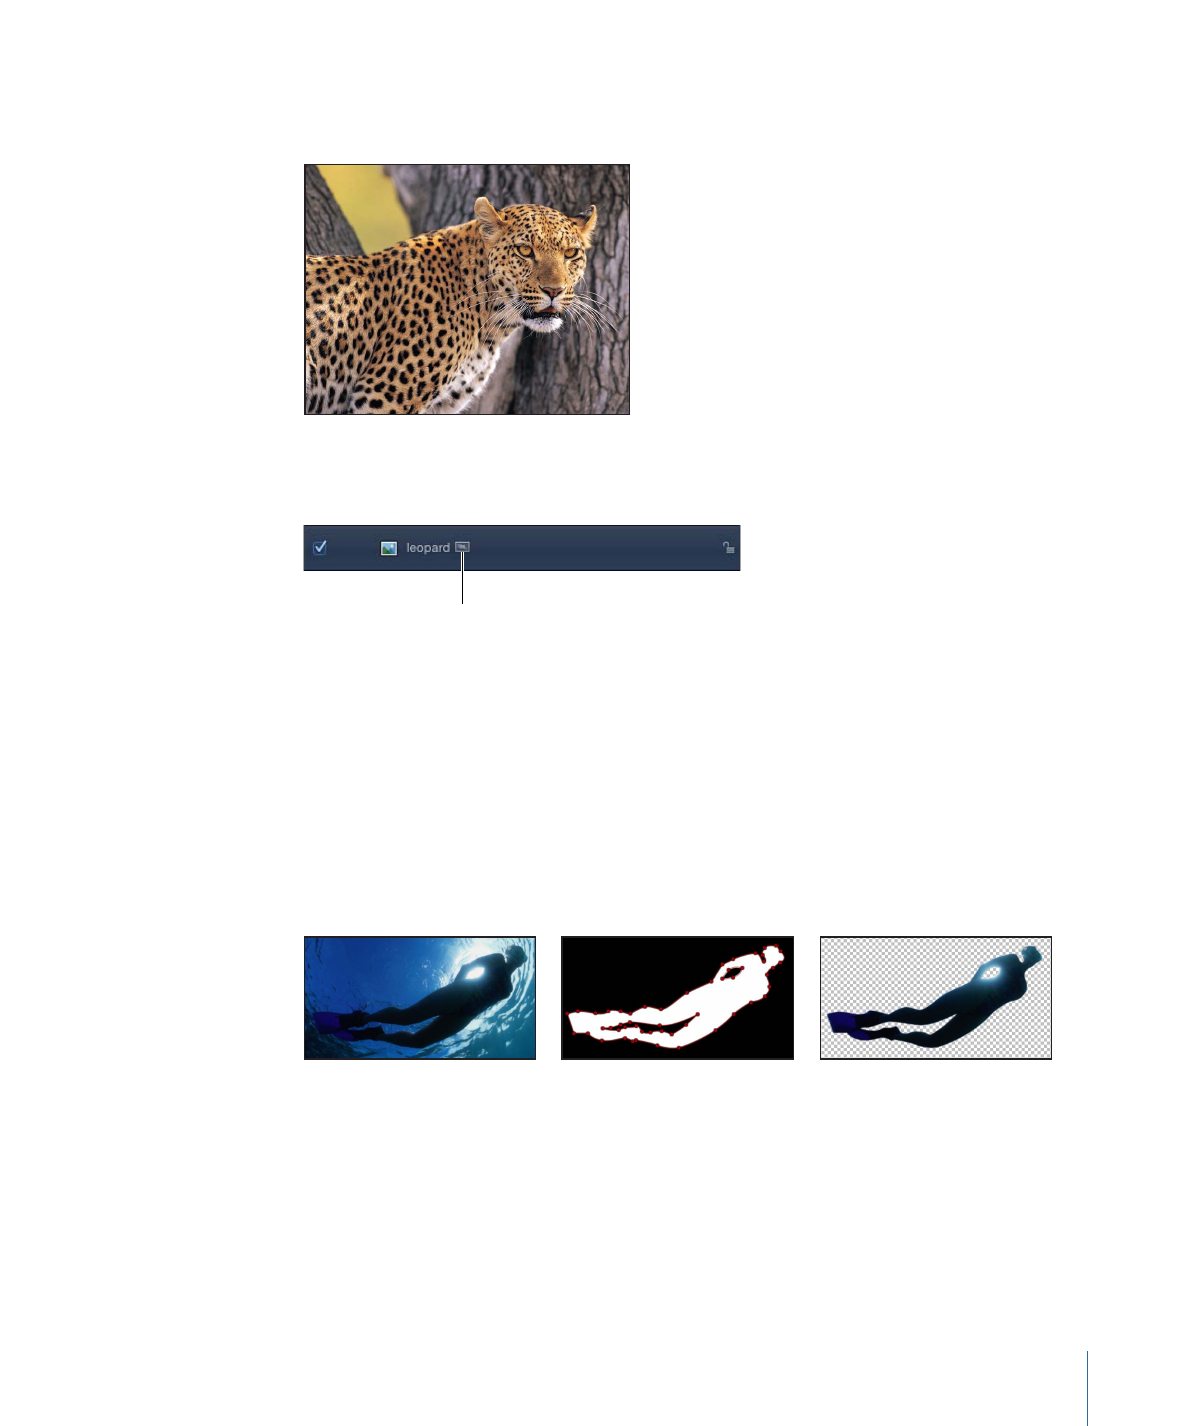
The layer is switched into “work view,” allowing you to mask the layer at its original
orientation.
3
To return to your previous view (the view before you isolated the layer), click the Isolate
button again.
Active Isolate button
Note: Clicking a camera’s Isolate button activates that camera’s view.