
Keyframing a Mask’s Shape for Animation and Rotoscoping
You can keyframe a mask’s animation parameter to change its shape over time. This can
serve many purposes. For example, you can animate a subtractive mask to change the
shape of a hole in a foreground object, allowing other layers in the background to show
through.
A more conventional use of animated masks is to rotoscope a foreground subject.
Rotoscoping is the process of manually tracing a foreground subject to isolate it from
the background. The end result is similar to a blue screen or green screen effect. Why
would you bother? In a wide variety of situations, keying is impractical or impossible if
the shot wasn’t well planned. Even for shots where keying is possible, manual rotoscoping
is often necessary to create garbage or holdout mattes to improve the effect. (For more
information on creating garbage and holdout mattes or masks using masks, see
Using
Masks to Aid Keying Effects
.)
All mask animation is stored in the Shape Animation parameter. It’s worth noting that
animated masks trigger the same motion blur as any other keyframed parameter in
Motion. For example, if you animate a layer’s position so it moves really fast, the layer is
blurred when you enable motion blur. If you animate a layer’s mask so it also moves fast,
the edges of the mask are blurred as well. This is important because an animated mask’s
blur should ideally match any blur present in the foreground subject.
To rotoscope a subject by animating a mask
1
Choose View > Resolution > Full to ensure that you are viewing the Canvas at full
resolution.
Important:
If the Canvas resolution is not set to full, the outlines of objects and images
may shift slightly. As a result, masks created to trace a subject at less than full resolution
may not be accurate.
1205
Chapter 20
Using Shapes, Masks, and Paint Strokes
2
Move to the first frame where the mask animation should begin, then draw a mask that
accurately isolates the subject.
3
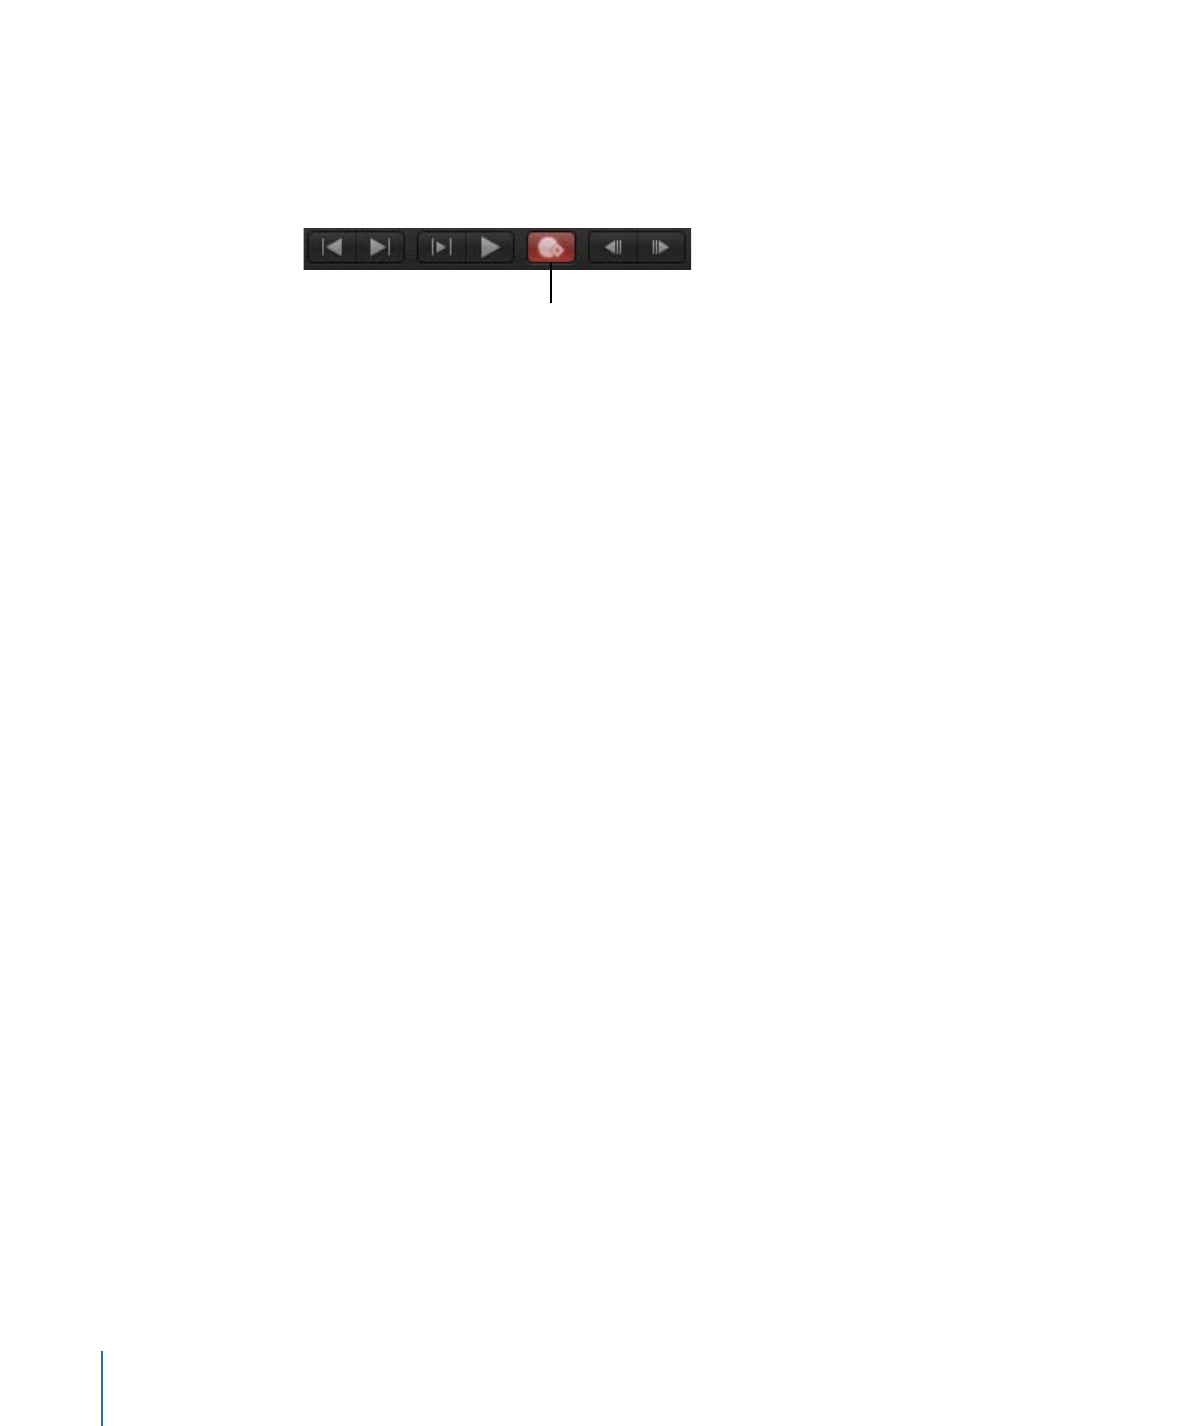
When you’re finished drawing the first mask, click the Record button in the transport
controls (or press A).
Active Record button
4
Move to the first frame of the Timeline where you want to change the shape of the mask,
then make any necessary changes to its control points.
In this example, the best place to start when rotoscoping the dolphin is the frame where
all the fins are showing.
1206
Chapter 20
Using Shapes, Masks, and Paint Strokes
Note: For some tips on rotoscoping, see
Rotoscoping Tips
.
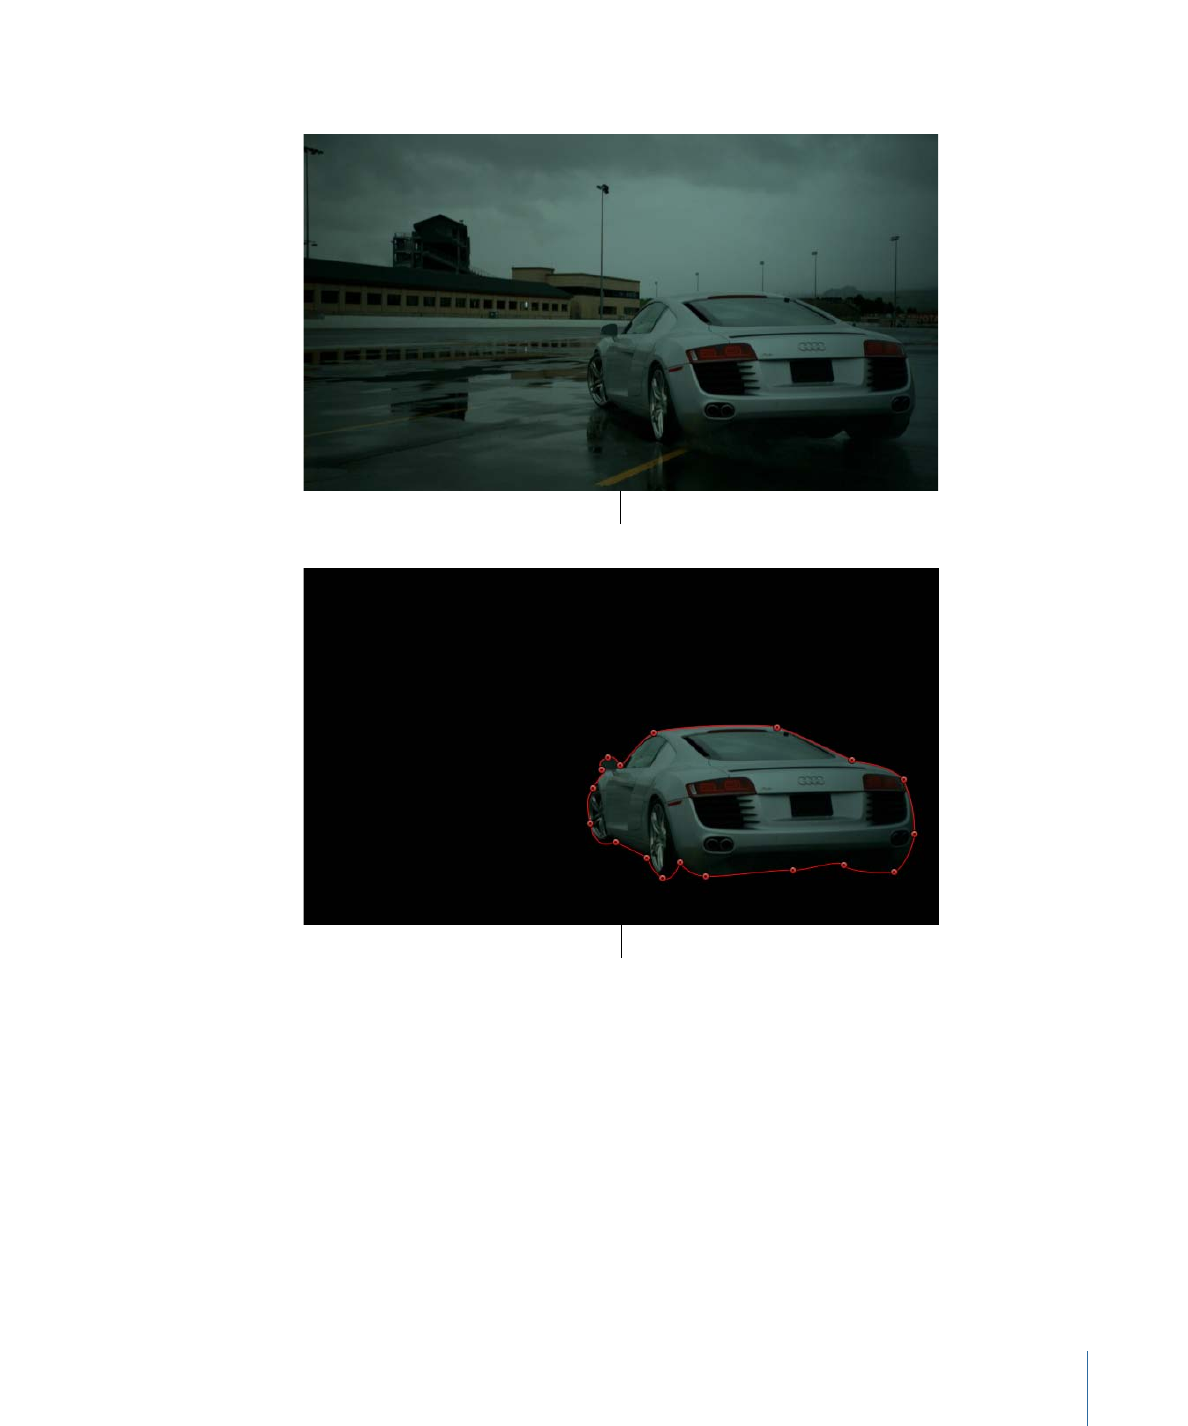
Original image
Masked image
1207
Chapter 20
Using Shapes, Masks, and Paint Strokes
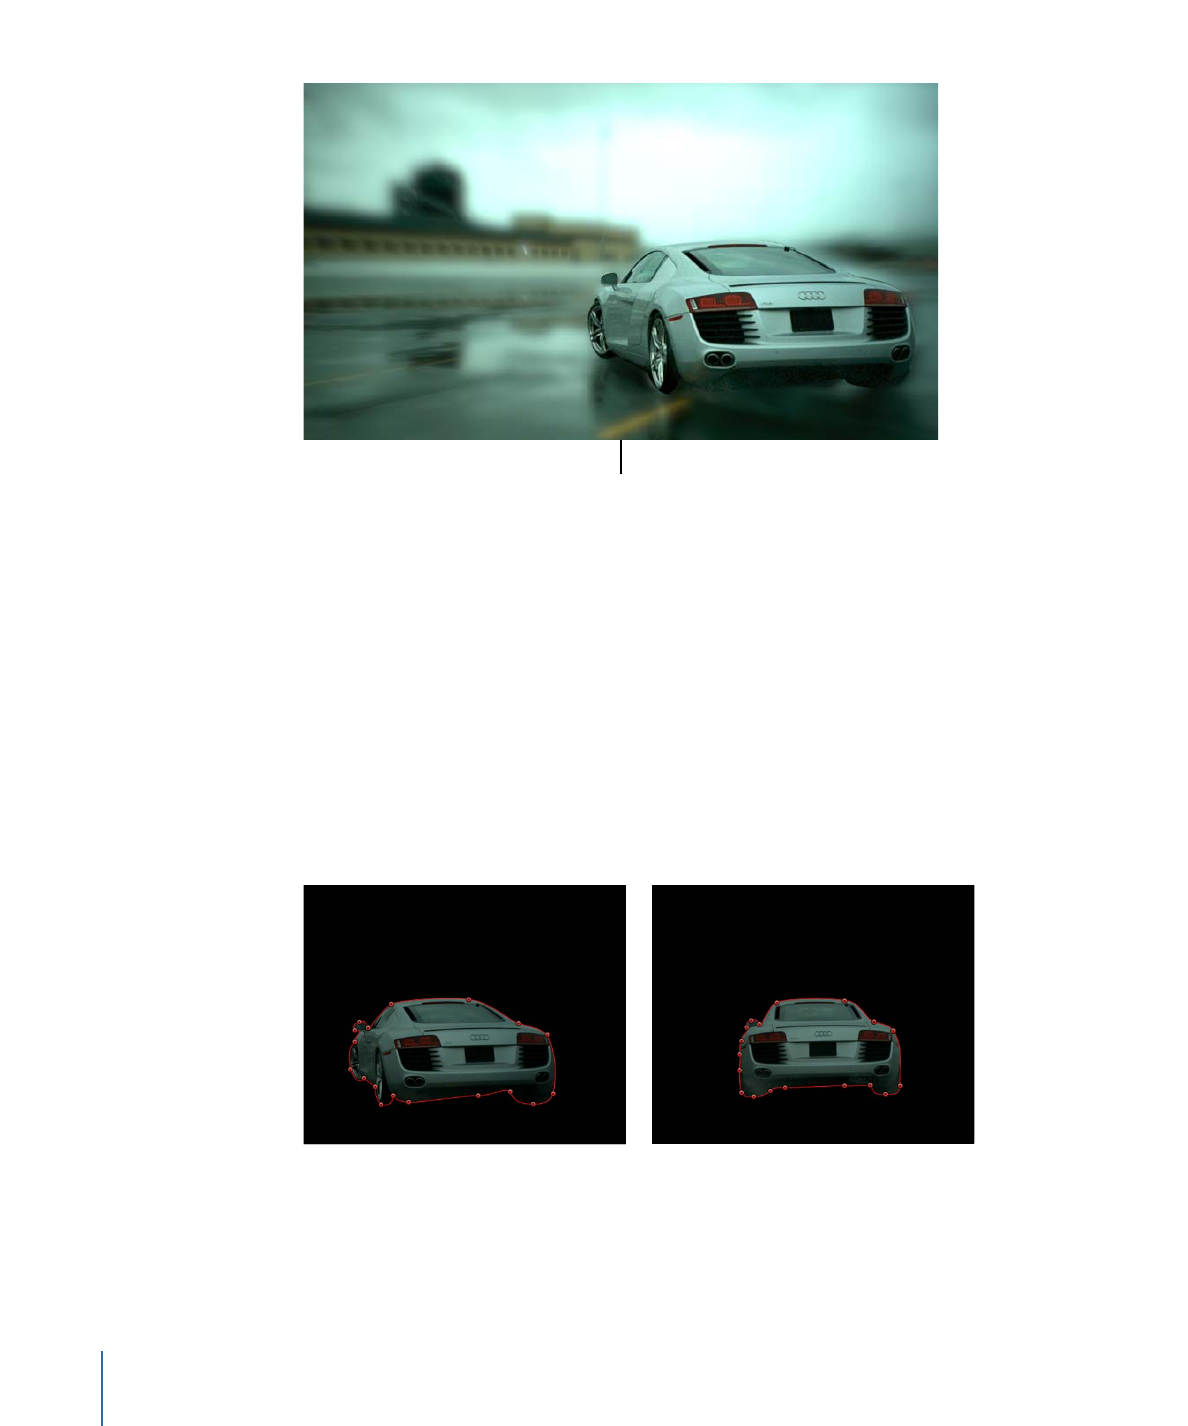
Composited image (Mask
allows different effects
to be applied to the
background image and
the foreground image.)
When rotoscoping a moving subject, it’s a good idea to play through the clip and examine
its direction and speed to get a sense of how the mask must be animated. You may find
it helpful to place markers indicating frames where the subject or camera stops, changes
direction, or changes speed, because these are likely candidates for your first pass of
keyframed mask changes.
By noting these changes, you can attempt to reduce the amount of keyframing by making
your first keyframed mask shape adjustments at these major changes in speed and
direction. Because animated masks are interpolated to change from one keyframed shape
to another, you can let Motion do some of your work for you.
Note: If the mask is deselected, you must select it in the Layers list so its control points
become visible in the Canvas. Make sure that the Show/Hide Masks button is selected in
the Layers list so masks are visible.
5
Continue moving the playhead and making changes.
1208
Chapter 20
Using Shapes, Masks, and Paint Strokes
One imprecise rule of thumb is to move to the frame that’s halfway between any two
keyframed mask shapes and make new adjustments. Continue keyframing shape changes
at the halfway point between every two keyframes until the mask accurately follows the
motion of the subject. For irregularly shaped objects or objects with complex motion,
don’t be surprised if you need to add a large number of keyframes. Nobody ever said
that rotoscoping was fast!
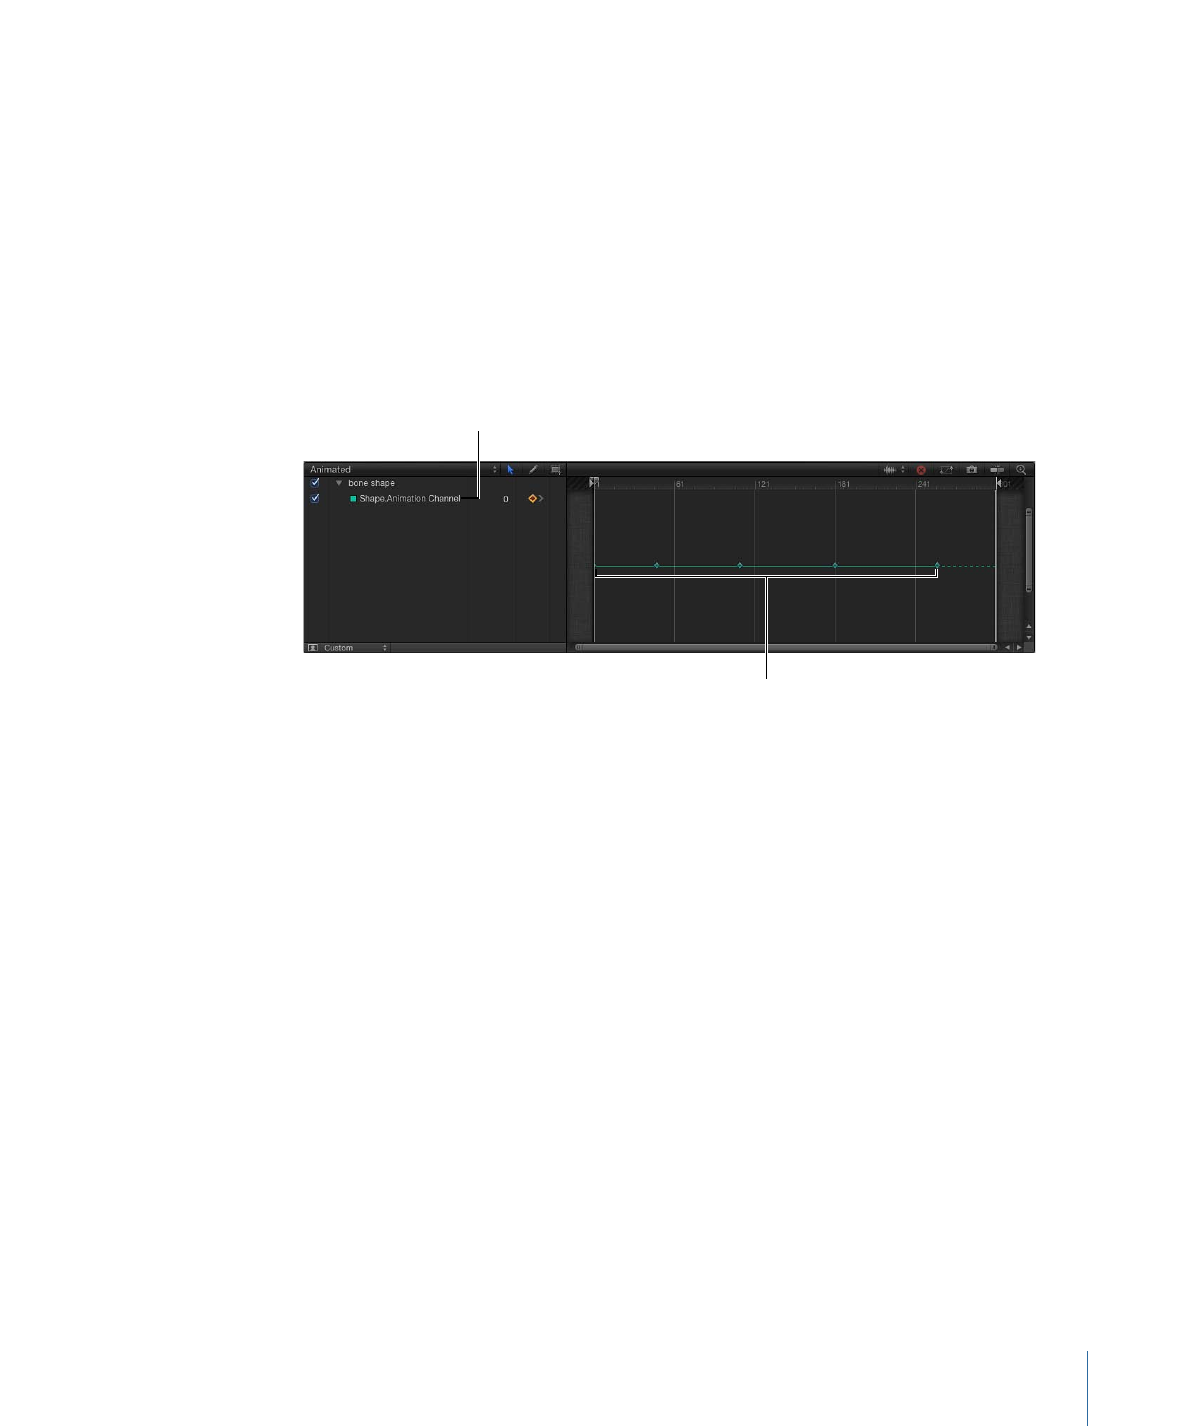
Every time you move the playhead to a new frame and make a change to the mask’s
shape, a keyframe is created in that shape’s Shape Animation parameter. If you move the
playhead directly on top of a previously existing keyframe, you change the mask’s shape
at that point without creating a keyframe.
Shape Animation
parameter keyframes
Shape Animation
parameter
Note: You can also transform masks as you would any other layer. If you move, rotate,
scale, or change the anchor point for a mask while animation recording is enabled, you
add keyframes to additional channels in the Keyframe Editor.
6
When you’ve finished animating the mask, disable Record (press A).
You can also create, delete, and edit the timing of a mask’s Shape Animation keyframes
in the Keyframe Editor. For simplicity, each change you make to a mask is recorded as a
single keyframe, no matter how many control points you edited. The Shape Animation
parameter only allows keyframes set to Constant—you cannot use any other form of
keyframe interpolation.
The process used to animate both masks and shapes is identical. To see an example of
shape animation, see
Animating Shapes
. For more information on keyframing in general,
see
Keyframes and Curves
.
1209
Chapter 20
Using Shapes, Masks, and Paint Strokes
Rotoscoping Tips
A good way to start rotoscoping an image is to find the frame with the most detail
showing in the subject you’re masking, and use that as your starting frame. For example,
if you’re masking someone walking, choose a frame where that person’s arms and legs
are out in mid-stride. This allows you to decide how many control points to start with.
Using the minimum number of control points you can to achieve the necessary level
of detail in your mask makes it much easier to animate.
It’s not always necessary to rotoscope an entire subject with a single mask. Motion
allows you to apply multiple masks to a single object, so you can rotoscope different
parts of a subject with separate masks. This can make your job much easier. For example,
if you’re rotoscoping someone carrying something while walking across a room, you
can use one mask for the upper part of the person’s body which doesn’t change shape
very much, and another two masks for the legs, which change shape considerably as
the person walks.
To pan the image in the Canvas while rotoscoping, press the Space bar. You can then
pan in the Canvas without losing your mask selection or progress.
You can also use the Track Points behavior to apply tracking data to a shape or mask.
For more information on the Track Points behavior, see
Shape Track Points Behavior
.