
Style Pane Parameters
The Style pane is available for all shapes and paint strokes.
Shape Style:
This pop-up menu allows you to apply a preset shape style (from the Shape
Styles category in the Library) to the selected shape. In addition to the preset styles, any
custom styles you have saved to the Library also appear in this list.
Fill:
By default, this checkbox is selected for new closed shapes, which are filled with the
color specified in the Fill Color controls. The Fill parameters allow you to modify the fill
of a shape.
• Fill Mode: This pop-up menu sets how a shape is filled. There are two options:
• Color: When this option is selected, the Fill Color controls appear and allow you to
pick a color to fill the shape. Fill opacity allows you to set the opacity of the fill.
1146
Chapter 20
Using Shapes, Masks, and Paint Strokes
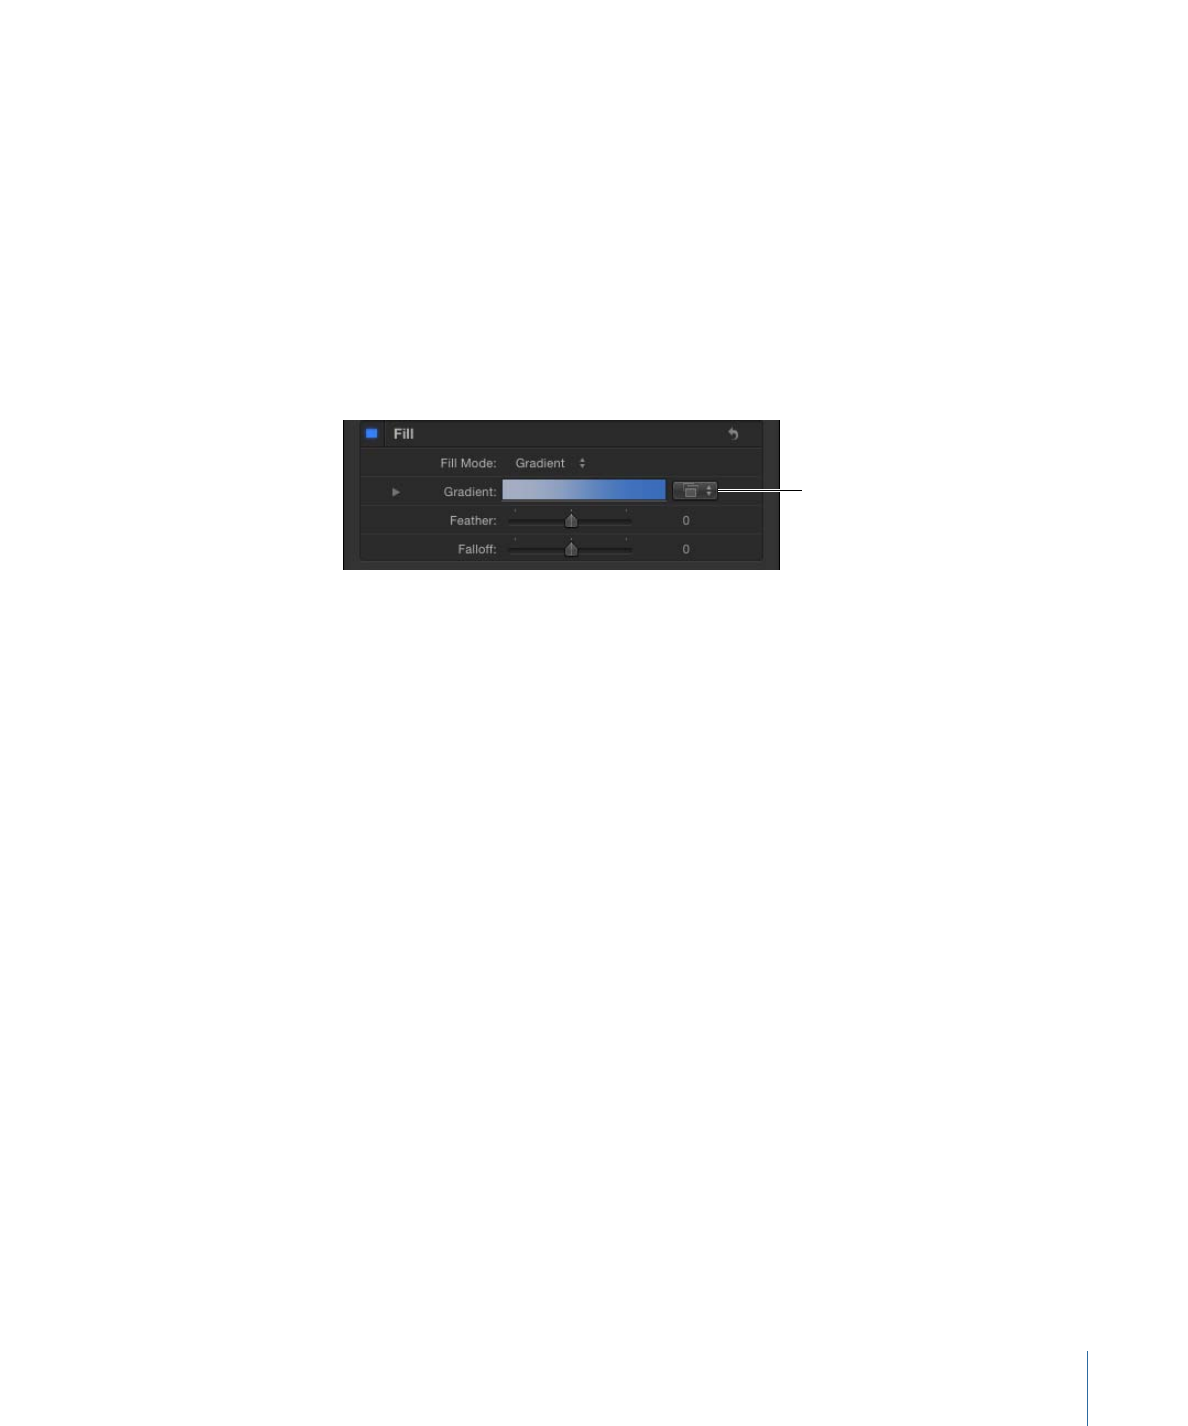
• Gradient: When this command is selected, the Gradient editor appears, as well as
the Gradient preset pop-up menu. The Gradient preset pop-up menu allows you to
apply a preset gradient (from the Gradients category in the Library) to the selected
shape. In addition to the preset gradients, any custom gradients you have saved to
the Library also appear in this list. Click the disclosure triangle to the left to display
the Gradient editor, which you can use to create your own custom color and opacity
gradients. For more information on using the gradient editors, see
Gradient Controls
.
The controls for the Gradient editor are identical to the gradient controls for text,
with one exception. The text gradient parameters include a dial to control the angle
of the gradient. The shape gradient parameters use Start and End point controls,
which are available in the Inspector or in the onscreen controls.
Gradient preset
pop-up menu
• Fill Color: These controls, available when Fill Mode is set to color, let you pick a color
fill for the shape. For more information on using the color controls, see
Color Controls
.
• Fill Opacity: This slider, available when Fill Mode is set to Color, adjusts the opacity of
the fill (independently of the outline, if enabled).
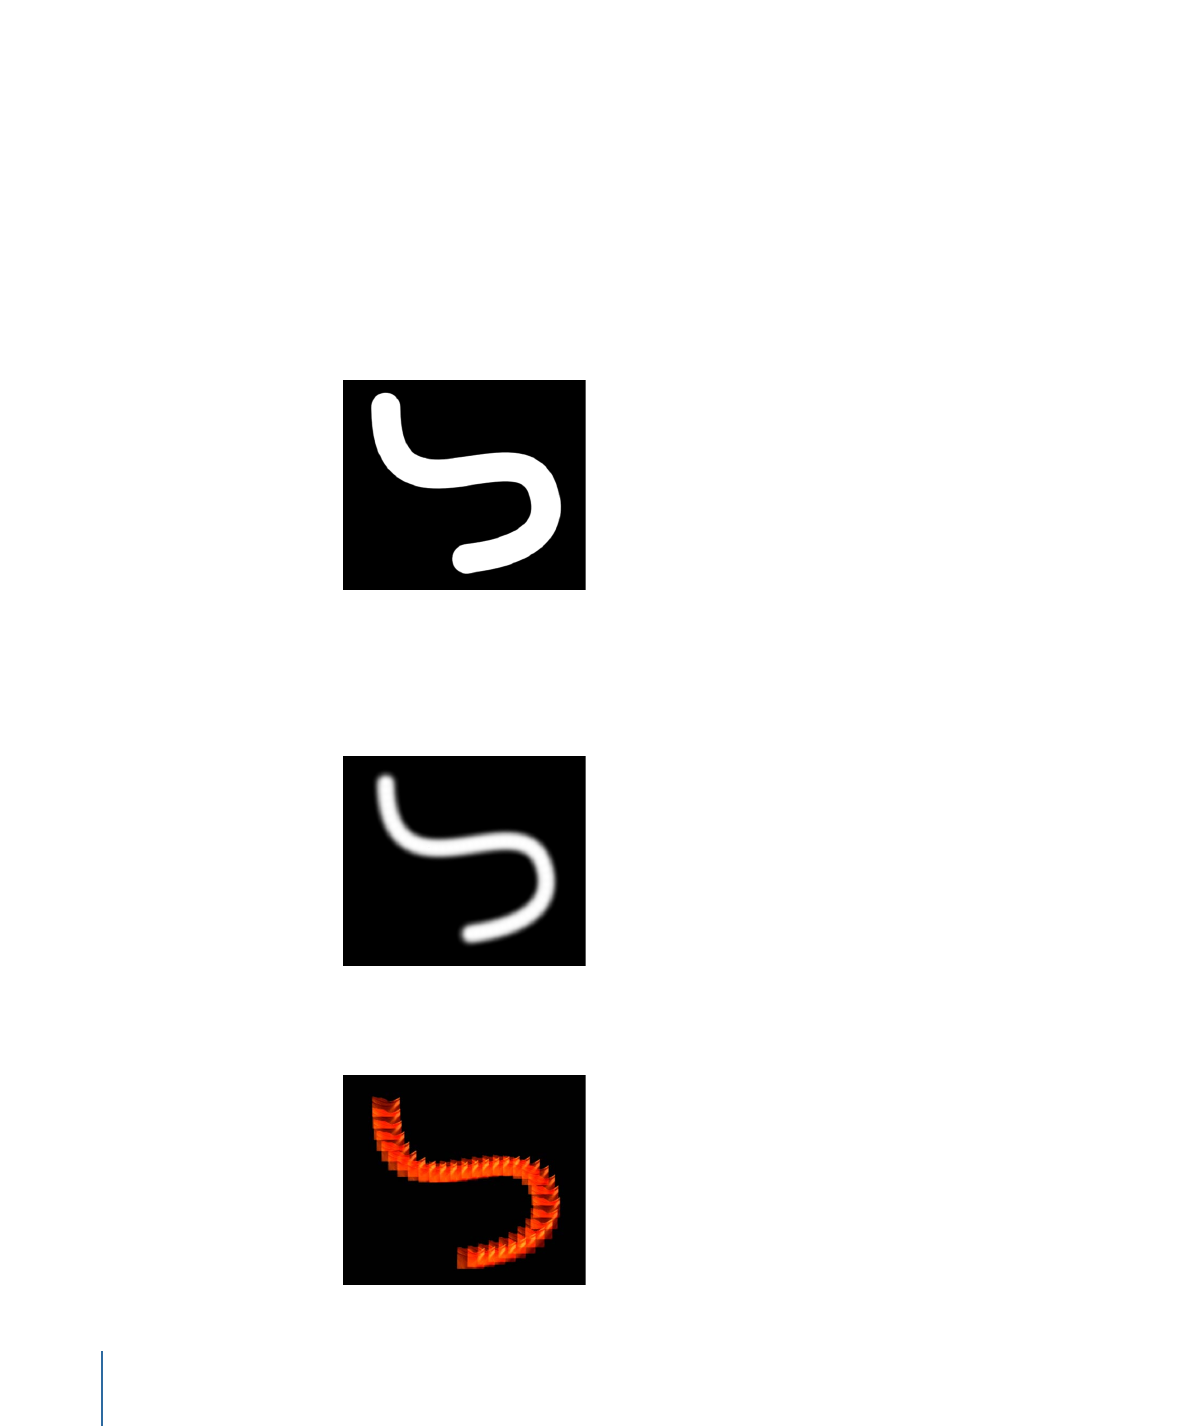
• Feather: A slider that feathers (softens) the edges of a shape. Positive feathering values
soften the edge of the shape from its edge outward. Negative feathering values soften
the edge of a shape inward from the edge.
Note: You cannot feather an object when the Outline checkbox is selected.
• Falloff: Controls how “steep” the feathering is. Higher values result in feathering that’s
pushed in farther inward, so the edge of the feathering effect is more transparent.
Lower values result in the “core” of the feathering effect being pushed farther outward,
so the edge of the feathering effect is less transparent.
1147
Chapter 20
Using Shapes, Masks, and Paint Strokes
Outline:
When this checkbox is selected, the shape outline appears in the Canvas and
the outline controls become available. By default, this checkbox is deselected for closed
shapes and is selected for open shapes and paint strokes. When you select the Outline
checkbox, the Brush Type, Brush Color, Brush Opacity, Width, First and Last Point Offsets,
Order, and other controls become available.
• Brush Type: This pop-up menu lets you choose a Solid, Airbrush, or Image brush to
create the outline.
• Solid: The default setting. Creates a solid outline along the shape spline or paint
stroke.
• Airbrush: Creates an outline made up of editable brush strokes referred to as dabs.
You can set the dabs to be close together so the line appears solid, or you can space
the dabs further apart. When Brush Type is set to Airbrush, the Stroke and Advanced
panes become available in the Shape Inspector.
• Image: Allows you to use a layer as a dab source. When Brush Type is set to Image,
the Stroke and Advanced panes become available in the Shape Inspector.
1148
Chapter 20
Using Shapes, Masks, and Paint Strokes
• Brush Color: Lets you pick a color to use for the outline or paint dabs. These color
controls are identical to the shape Fill Color controls (and all color controls throughout
Motion).
Note: When Stroke Color Mode (in the Stroke pane) is set to Color Over Stroke or Pick
From Color Range, Brush Color is not available.
• Brush Opacity: Defines the opacity of the entire stroke, regardless of the Brush Type
setting.
Note: When Stroke Color Mode (in the Stroke pane) is set to Color Over Stroke or Pick
From Color Range, the Brush Color and Brush Opacity parameters are unavailable. When
Stroke Color Mode (in the Stroke pane) is set to Use Brush Color, you can adjust the
opacity, in the Stroke pane, to change over the course of the stroke. For more
information on using the Opacity Over Stroke parameter, see
Stroke Pane Controls in
the Inspector
.
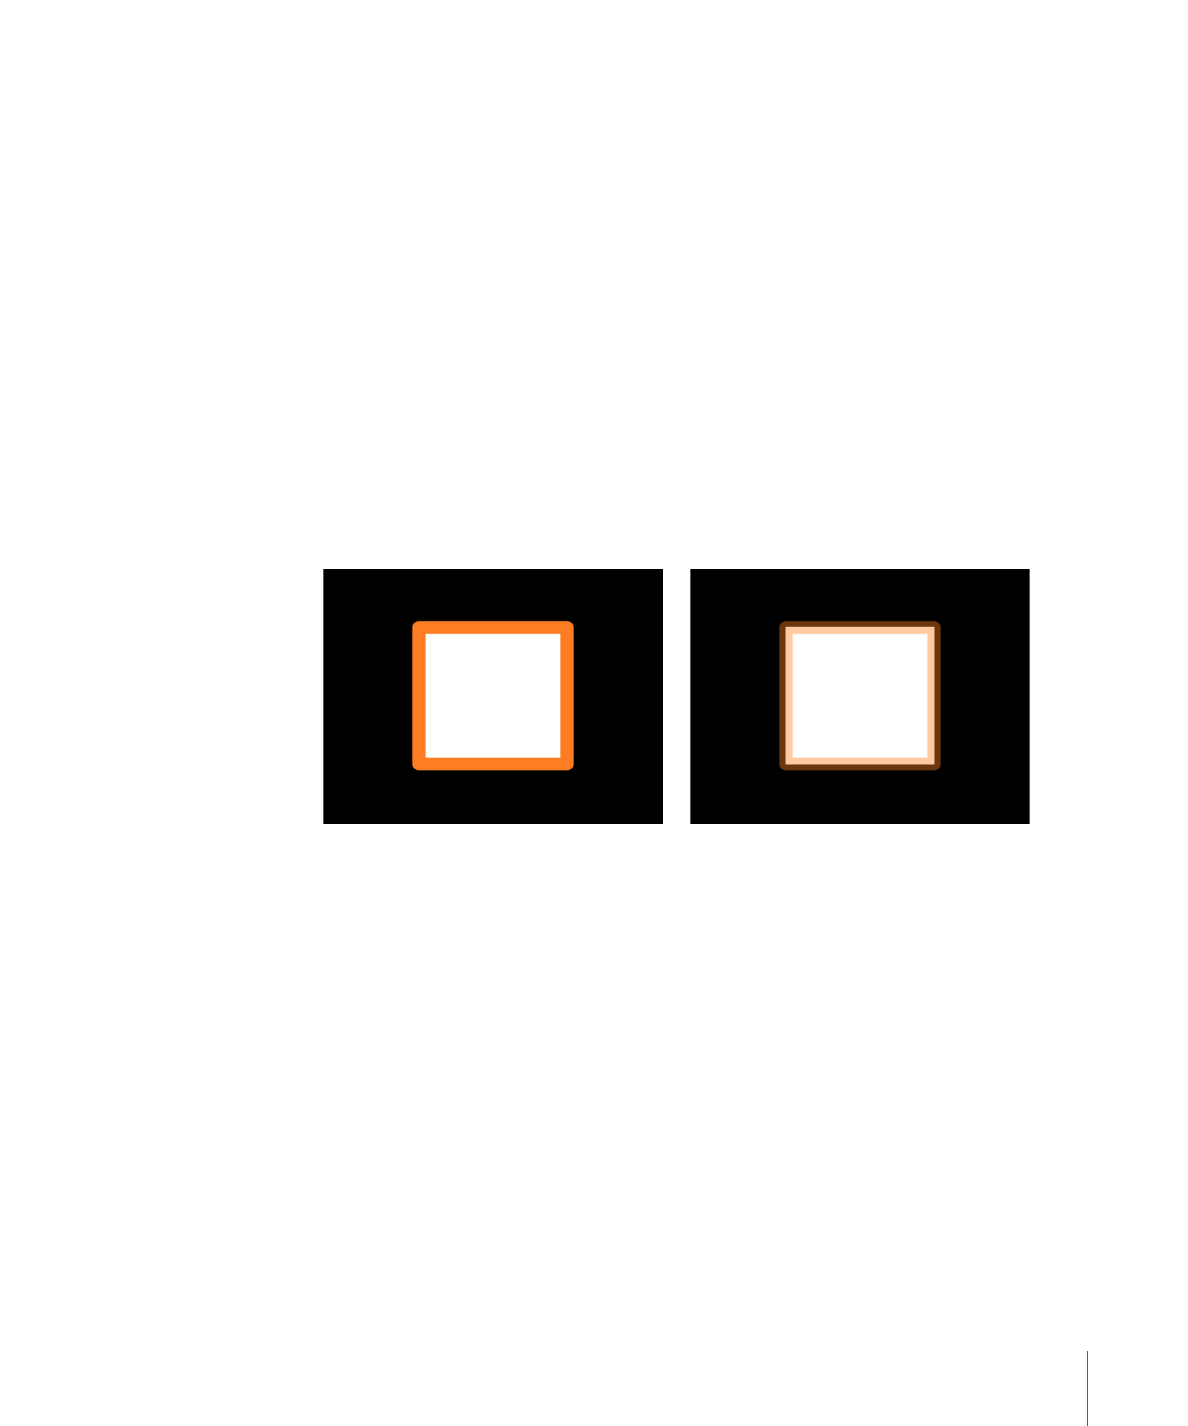
The Brush Opacity control allows you to define a different opacity value for a shape
and its outline.
Outline opacity set to 50%
Outline opacity set to 100%
• Brush Source: When Image is the selected Brush Type, drag a layer into the Brush Source
image well for use as the outline’s brush source. You can use images, image sequences,
QuickTime movies, text, and shapes as the brush source.
When a movie or image sequence is the brush source, additional parameters appear.
For more about Movie or image sequence parameters, see
Additional Parameters When
Brush Source Is a QuickTime Movie or Image Sequence
.
• Brush Profile: Available when Airbrush is the selected Brush Type, this gradient editor
allows you to create varying levels of opacity within the brush. The brush profile uses
the same opacity controls as a standard gradient editor. For more information, see
Gradient Controls
.
1149
Chapter 20
Using Shapes, Masks, and Paint Strokes
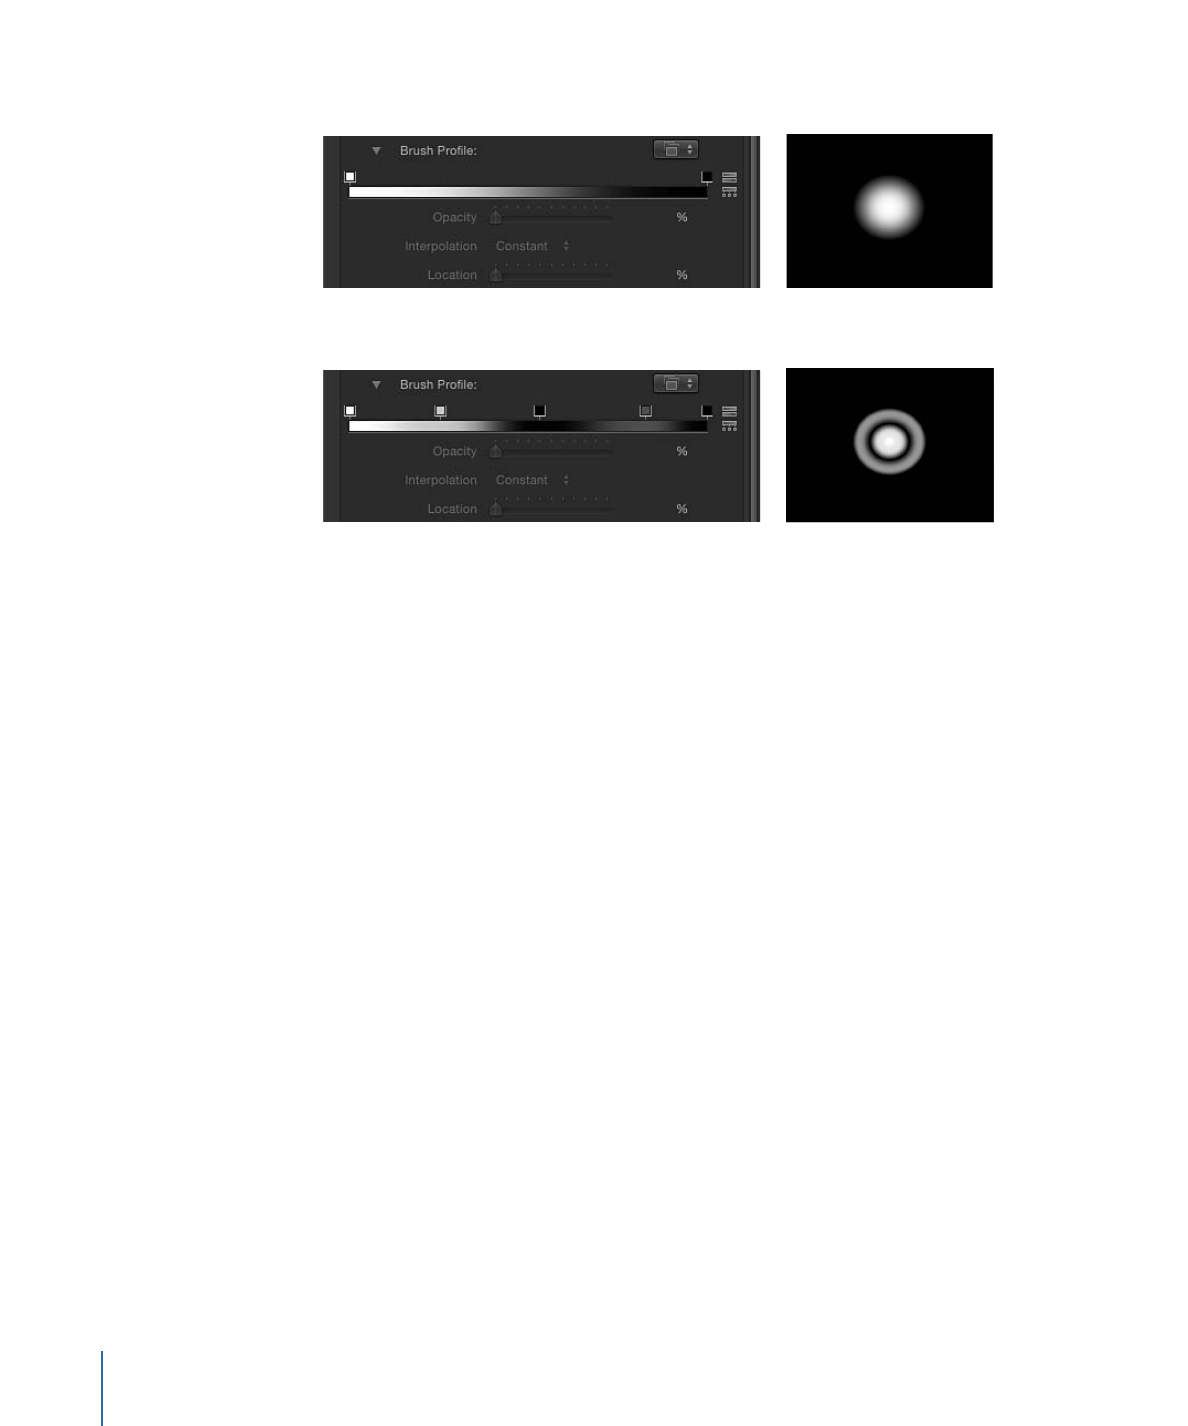
The default gradient creates a soft airbrush.
Modify the Brush Profile opacity gradient to create new brush looks.
• Width: A slider that changes the width of a shape’s outline or width of a paint stroke’s
dabs. On paint strokes, width adjustments will alter the size of the dab while also
maintaining the spacing between each dab.
Note: If you used the pressure parameters in the Paint Stroke Tool HUD to create
variations in the stroke when the stroke was created, adjusting the Width parameter
affects the width of the stroke uniformly.
• Preserve Width: When this checkbox is selected, the defined width of the outline/stroke
does not change when the shape is scaled. This option is only available when Solid is
the selected Brush Type.
• Joint: When Solid is the selected Brush Type, this pop-up menu lets you choose how
hard corners on a shape’s outline are drawn. There are three options:
• Square: All corners are squared off.
• Round: All corners are rounded.
• Bevel: All corners are cut at an angle.
• Start Cap: Pop-up menu that lets you choose the shape of an open outline’s start cap
(the shape of the edge of an outline). This option is only available when Solid is the
selected Brush Type.
There are five options:
• None: The stroke ends at the control point.
• Square: The cap is squared off.
• Round: The cap is rounded.
• Bevel: The cap is cut at an angle.
1150
Chapter 20
Using Shapes, Masks, and Paint Strokes

• Arrow: The cap is a customizable arrow. When Arrow is selected from the Start Cap
or End Cap pop-up menus, the Arrow Length and Arrow Width sliders appear.
• End Cap: Pop-up menus that let you choose the shape of an outline’s end cap. This
option is only available when Solid is the selected Brush Type.
There are five options:
• None: The stroke ends at the control point.
• Square: The cap is squared off.
• Round: The cap is rounded.
• Bevel: The cap is cut at an angle.
• Arrow: The cap is a customizable arrow. When Arrow is selected from the Start Cap
or End Cap pop-up menus, the Arrow Length and Arrow Width sliders appear.
• Spacing: Available for the Airbrush and Image brush types, this parameter defines the
space between dabs. A lower number creates a more solid line, and a higher number
creates a greater distance between dabs.
• Additive Blend: By default, dabs are composited together using the Normal blend mode.
Select this checkbox to composite all overlapping dabs together using the Additive
blend mode. This blend mode occurs in addition to whichever compositing method
is already in use. This checkbox is only available when Brush Type is set to Airbrush or
Image.
• Reverse Stacking: Available when Brush Type is set to Airbrush or Image, this parameter
inverts the order in which the dabs are stacked. To see the effect of this parameter,
dabs must be overlapping.
• First Point Offset: This parameter allows you to offset and animate the start point of the
outline. This is very useful for effects such as drawing a line across a map over time.
You can also use the Shape Write On behaviors to draw a stroke or outline over time.
For more information, see
Write On
.
• Last Point Offset: This parameter allows you to offset and animate the end point of the
outline.
1151
Chapter 20
Using Shapes, Masks, and Paint Strokes
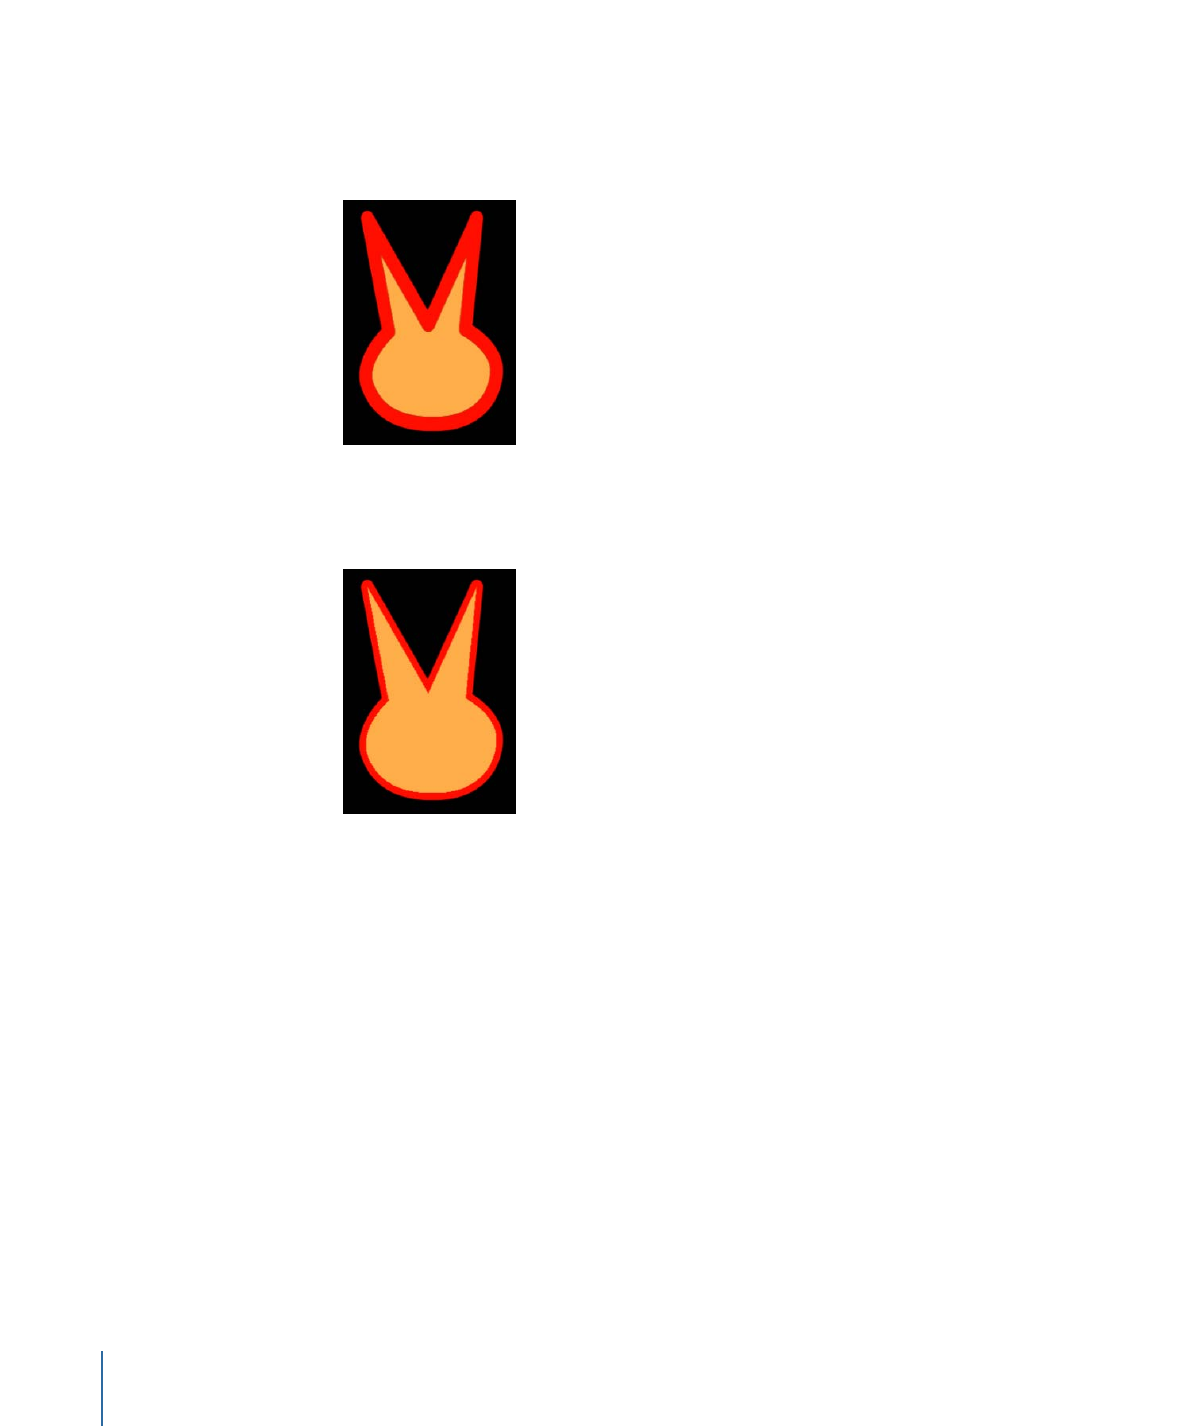
• Order: A pop-up menu lets you choose whether an outline is drawn over or under the
shape fill color or gradient. The effect is more apparent with thicker outline widths.
• Over Fill: Outlines appear on top of the selected fill of the shape.
Over Fill
• Under FIll: Outlines are obscured beneath the selected fill of the shape.
Under Fill