
Drawing Masks Using the Freehand Mask Tool
This section describes how draw a freehand mask. Like the Paint Stroke tool, the Freehand
Mask tool allows you to create a shape in one movement, rather than drawing the shape
in a point-by-point fashion (like a Bezier or B-Spline shape). For best results, use a stylus
and tablet when using the Freehand Mask tool. For more information on drawing masks,
see
Using Masks to Create Transparency
.
To draw a freehand mask
1
Select the layer to mask, choose the Freehand Mask tool from the mask pop-up menu in
the toolbar.
The Freehand Mask Tool HUD appears.
2
Adjust the controls in the Freehand Mask Tool HUD.
• To change the blend mode of the mask before it is drawn, use the Mask Blend Mode
pop-up menu in this HUD.
• Adjust the Feather slider to soften the mask. Positive values spread the feathering
outward, while negative values feather the shape inward.
1118
Chapter 20
Using Shapes, Masks, and Paint Strokes
3
Do one of the following:
• If using a mouse, click in the Canvas, but don’t release the mouse button.
• If using a tablet, touch the stylus on the tablet to begin drawing the mask in the Canvas.
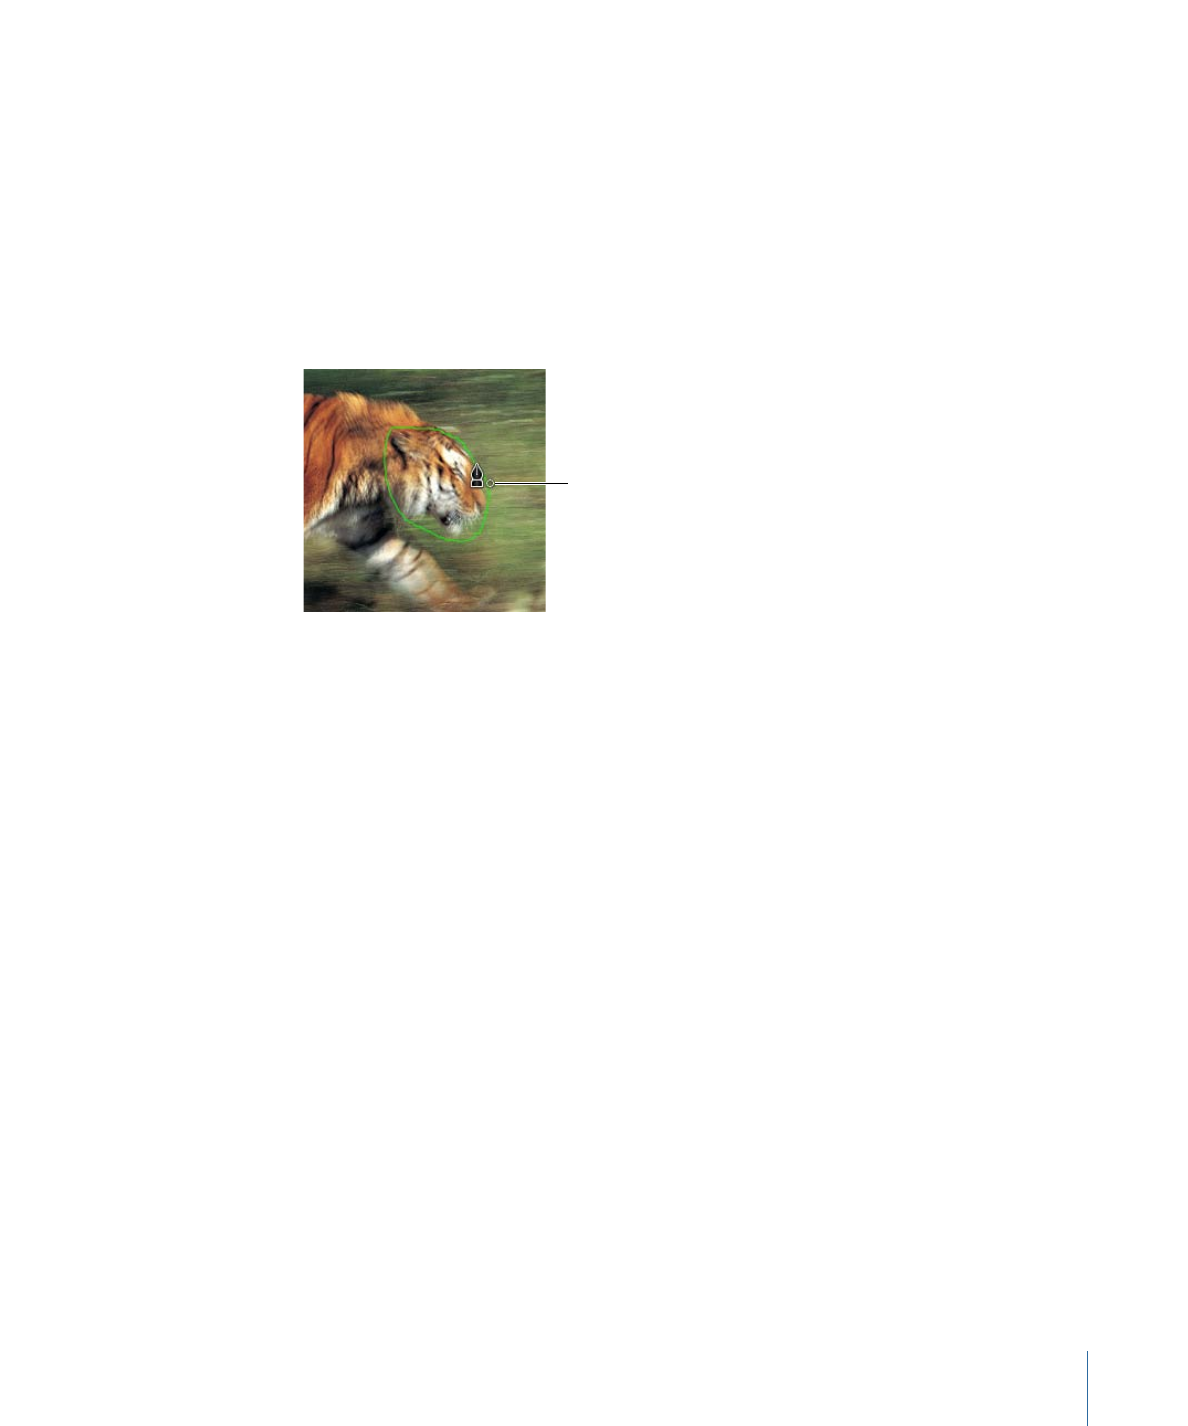
Continue drawing around the layer you are masking. To close the mask, finish the line at
the mask’s starting point. A small circle appears when the pointer is over the starting
point.
Note: If you don’t close the mask at its starting point, the mask is closed when you release
the mouse button.
A small circle indicates
target to close mask.
The mask is completed.
4
Edit your control points to fine-tune the mask.
For more information on editing control points, see
How to Edit Shapes
.