Drawing Masks and Shapes Using B-Splines
This section describes how to draw a B-Spline shape. These methods are identical whether
you’re using the shape or masking tools, but this section focuses on drawing shapes. For
more information on drawing masks, see
Using Masks to Create Transparency
.
To draw a B-Spline shape
1
Choose the B-Spline tool from the pop-up menu in the toolbar (or press B).
Note: If the Bezier tool is selected, pressing B once selects the B-Spline tool. If another
tool is selected, such as the Text tool, press B twice to select the B-Spline tool. The B-Spline
Mask tool is located in the mask pop-up menu in the toolbar.
1116
Chapter 20
Using Shapes, Masks, and Paint Strokes

The B-Spline Tool HUD appears. (If it does not appear, press F7.) To change the color of
the shape before it is drawn, use the color controls in this HUD. Select the Outline checkbox
to create an outline with the shape. The Width slider adjusts the width of the outline.
After you create the shape, the Shape HUD appears.
2
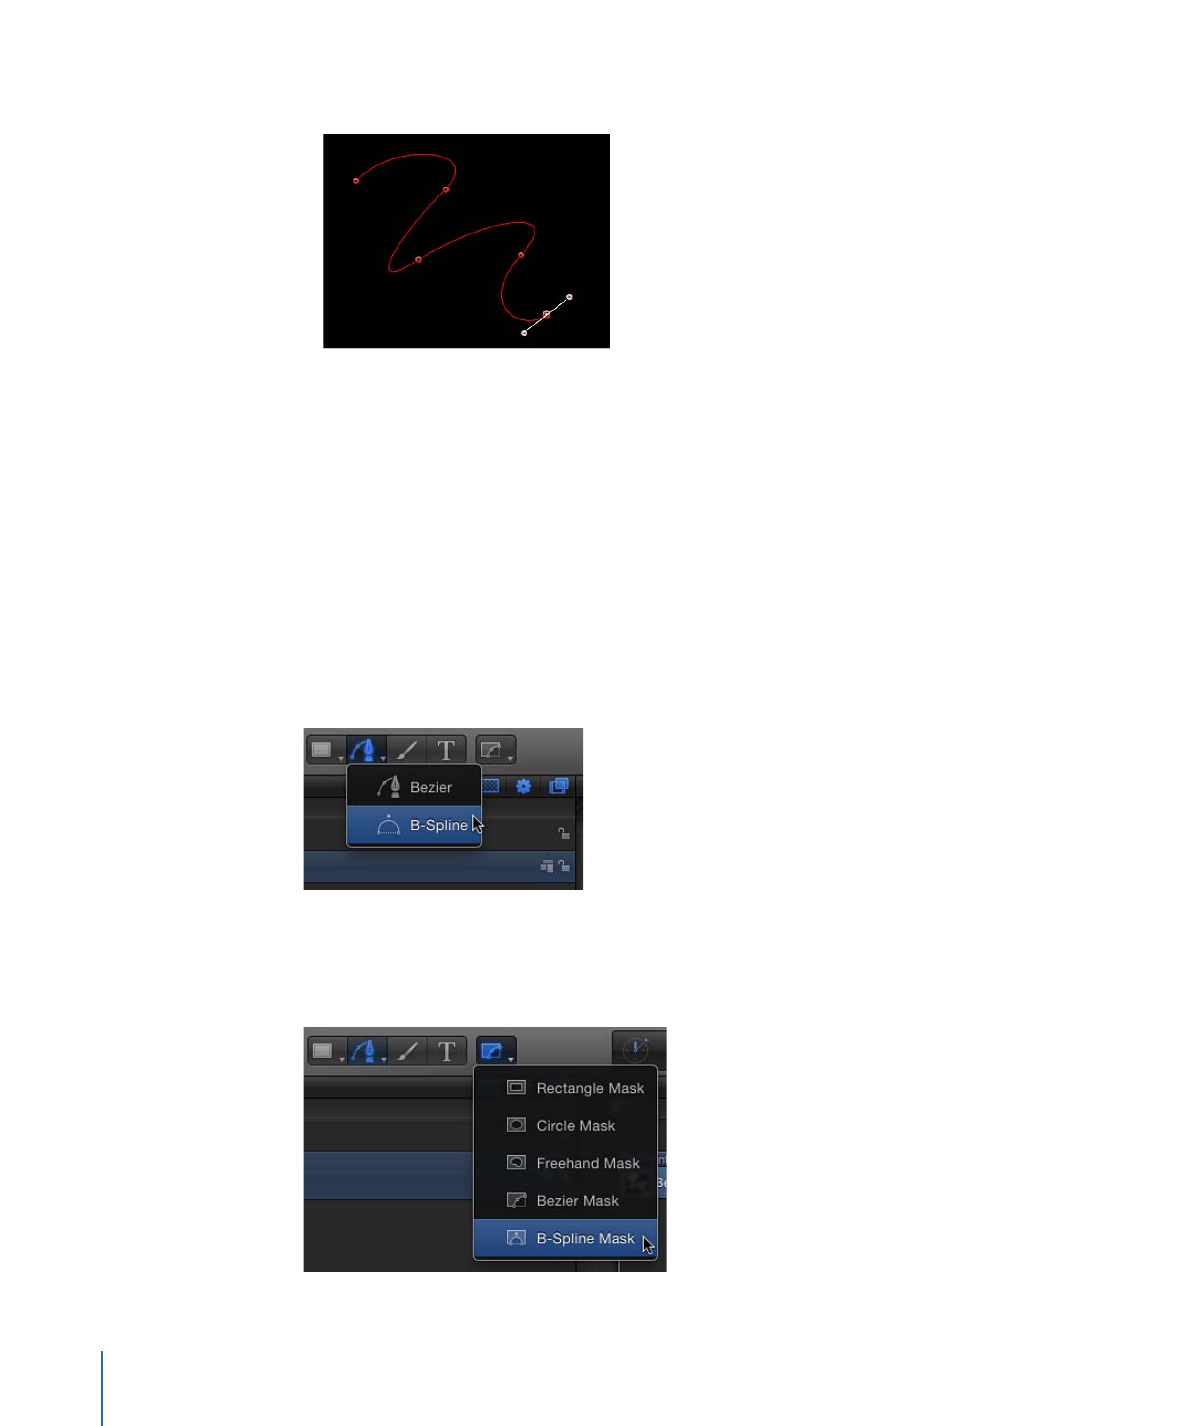
Click in the Canvas to draw the first point.
3
Continue clicking to draw additional points to define the shape you need.
Note: Press Shift while making a curved point to constrain its tangents to 45-degree
angles.
As you create new B-Spline control points, keep the following in mind:
• The control points you draw influence the shape of the curve from a distance. They do
not lie directly on the surface of the curve.
• To create more detailed curves, create more points. However, it’s best to use the fewest
number of points necessary to create the amount of detail you need. Shapes with an
excessive number of points can be difficult to edit later on.
• In many instances, it is easier to create a loose group of control points first and then
adjust them afterwards to create the precise curve you need in a later step.
4
While drawing a shape, you can move and adjust the control points you’ve created before
finishing the shape. You can adjust any control point except the first one you created,
because clicking the first point closes the shape.
Tip: If you need a closer look at what you’re doing, you can magnify the Canvas while in
the middle of drawing a shape. You can also scroll around by pressing the Space bar
while you drag in the Canvas.
5
When you’re ready to finish your shape, do one of the following:
• Click the first point you drew to create a closed shape.
• Press C to close the shape, joining the first point you created to the last.
• Press Return to finish an open shape at the last point you made.
• Double-click anywhere in the Canvas to define the last point of an open shape.
Note: You can press Esc to cancel the entire operation and delete the shape.
Immediately after finishing a shape, the Shape HUD appears and the Edit Points tool is
selected, which allows you to edit the shape you’ve just created.