
Manipulating Alpha Channels Using Filters
In addition to using shape and image masks to create transparency in layers, there are
also filters you can use to manipulate or even replace a layer’s alpha channel.
For example, the Keying filters create transparency by generating an alpha channel based
on colors or luminance values in that layer. Keying filters are usually used on layers that
have no alpha channel information; these filters add a new alpha channel to the layers
to which they’re applied. For more information on the use of the keying filters, see
Keying
.
The process of improving a keying effect or of customizing an alpha channel created
using shape or image masks may require the use of special filters. Although you can apply
any filter to a shape or image mask to modify that mask’s effect, the filters described in
this section modify a layer’s entire alpha channel, including the sum of all masks and
other filters applied to that layer.
1224
Chapter 20
Using Shapes, Masks, and Paint Strokes
For example, if you’ve applied a keying filter, you can use the following filters to modify
the resulting alpha channel even though no mask appears for that layer in the Layers list
or Timeline.
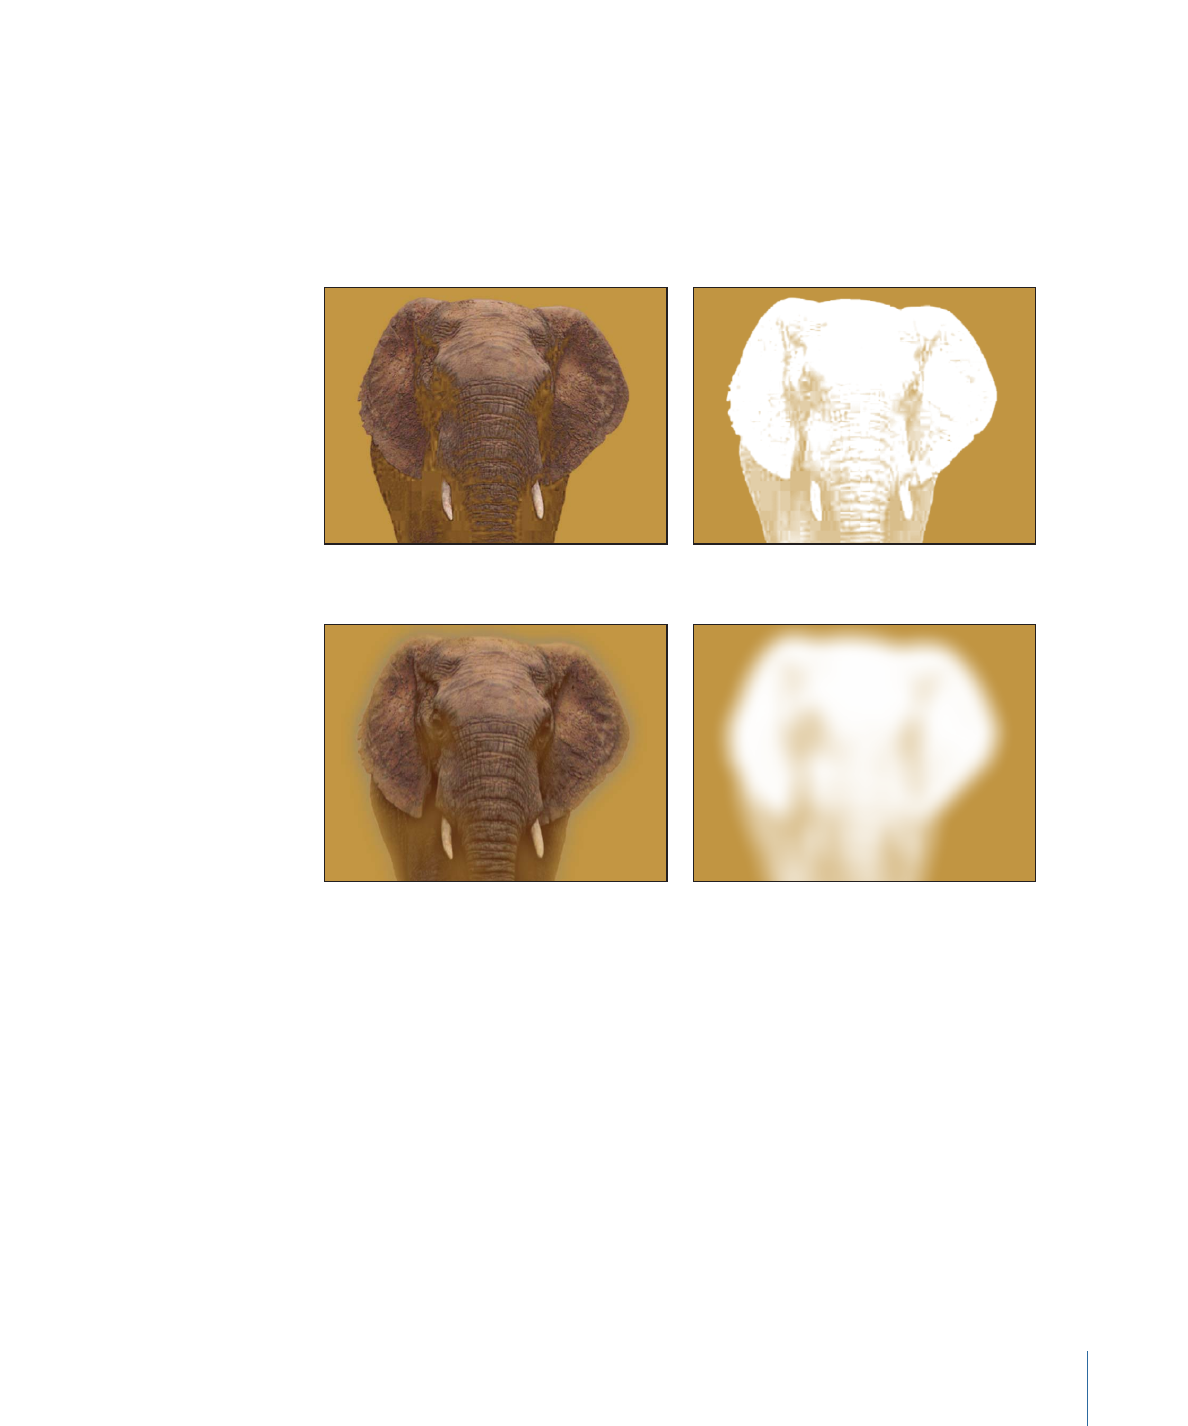
• Channel Blur: This filter, found in the Blur category of the Filters library, lets you
selectively blur the alpha channel. You can set the amount of horizontal and vertical
blur independently.
Original (color channel)
Original (alpha channel)
Channel Blur (color channel)
Channel Blur (alpha channel)
• Matte Magic: This filter, found in the Keying subcategory of the Filters library, lets you
manipulate various qualities of an alpha channel, shrinking, feathering, and eroding
the alpha channel to fine-tune it. For more information, see
Matte Magic
.
1225
Chapter 20
Using Shapes, Masks, and Paint Strokes


Motion includes a robust set of tools for creating projects that display objects in a true
three-dimensional space. You can arrange objects in a 3D environment so they intersect
and interact with one another. You can also employ cameras and lighting, and apply
related effects such as depth of field, shadows, and reflections.
This chapter covers the following:
•
Real-World Coordinates
(p. 1227)
•
3D Transform Tools
(p. 1229)
•
3D Workspace and Views
(p. 1240)
•
2D and 3D Group Intersection
(p. 1248)
•
Cameras
(p. 1252)
•
Lighting
(p. 1265)
•
Shadows
(p. 1272)
•
Reflections
(p. 1282)
Real-World Coordinates
3D compositing introduces a number of new concepts to the art of motion graphics. At
first glance, these concepts might seem daunting. However, because you move around
in a real three-dimensional world, you’ll likely find the virtual 3D world of the Motion
Canvas intuitively familiar.
The position of any object in the real world can be described using a simple coordinate
system. For example, you might describe your computer’s position as being four feet
across from the door, three feet up from the floor, and five feet in front of the window. In
a coordinate system, the three numbers used to describe an object’s position correspond
to a coordinate axis. The place where the zero values along each axis meet is called the
origin. In this example, the X equals 4, Y equals 3, and Z equals 5.
1227