Editing Bezier Control Points
The methods used to adjust Bezier shapes are similar to those used by many other
applications. Bezier control points are widely used to modify curves, and allow you to
easily draw any shape you may need.
Each point in a Bezier shape can be converted from a hard corner to a curve.
Note: For all procedures described below, use the Edit Points tool (in the 2D tools pop-up
menu).
To convert control points from corners to curves and vice versa
Do one of the following:
µ
Command-click a curved point to turn it into a corner (Linear) point.
µ
Command-drag a corner point to turn it into a curved (Bezier) point, creating adjustable
tangent handles.
1138
Chapter 20
Using Shapes, Masks, and Paint Strokes
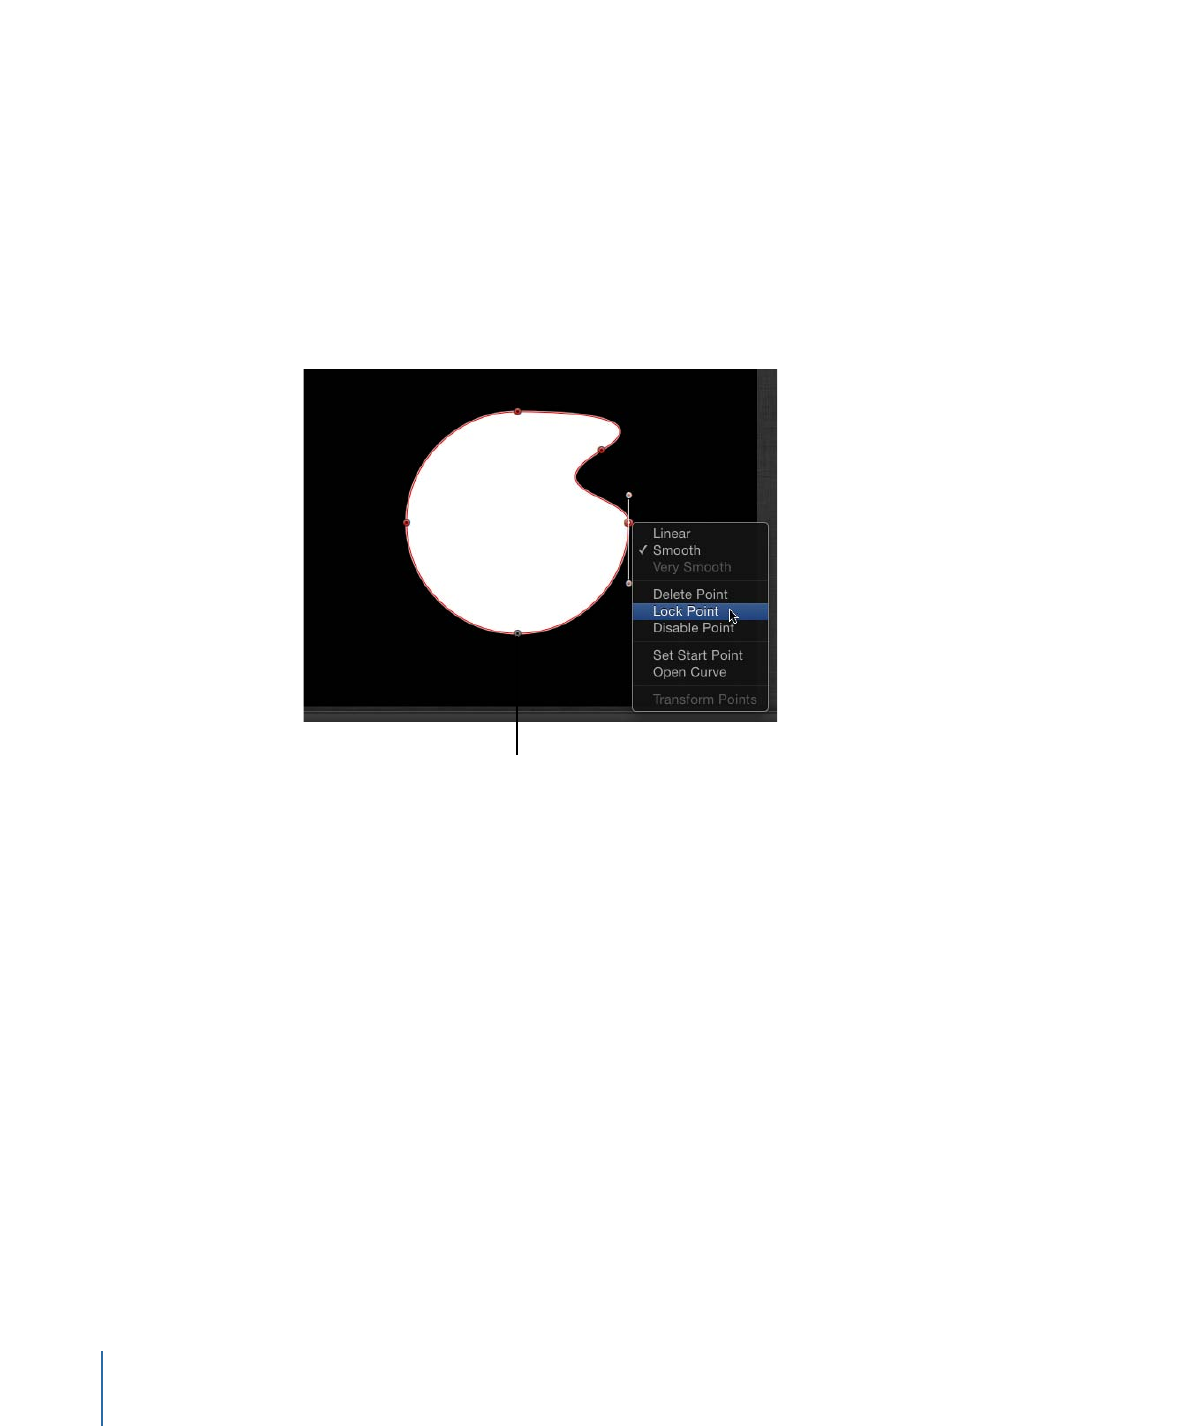
µ
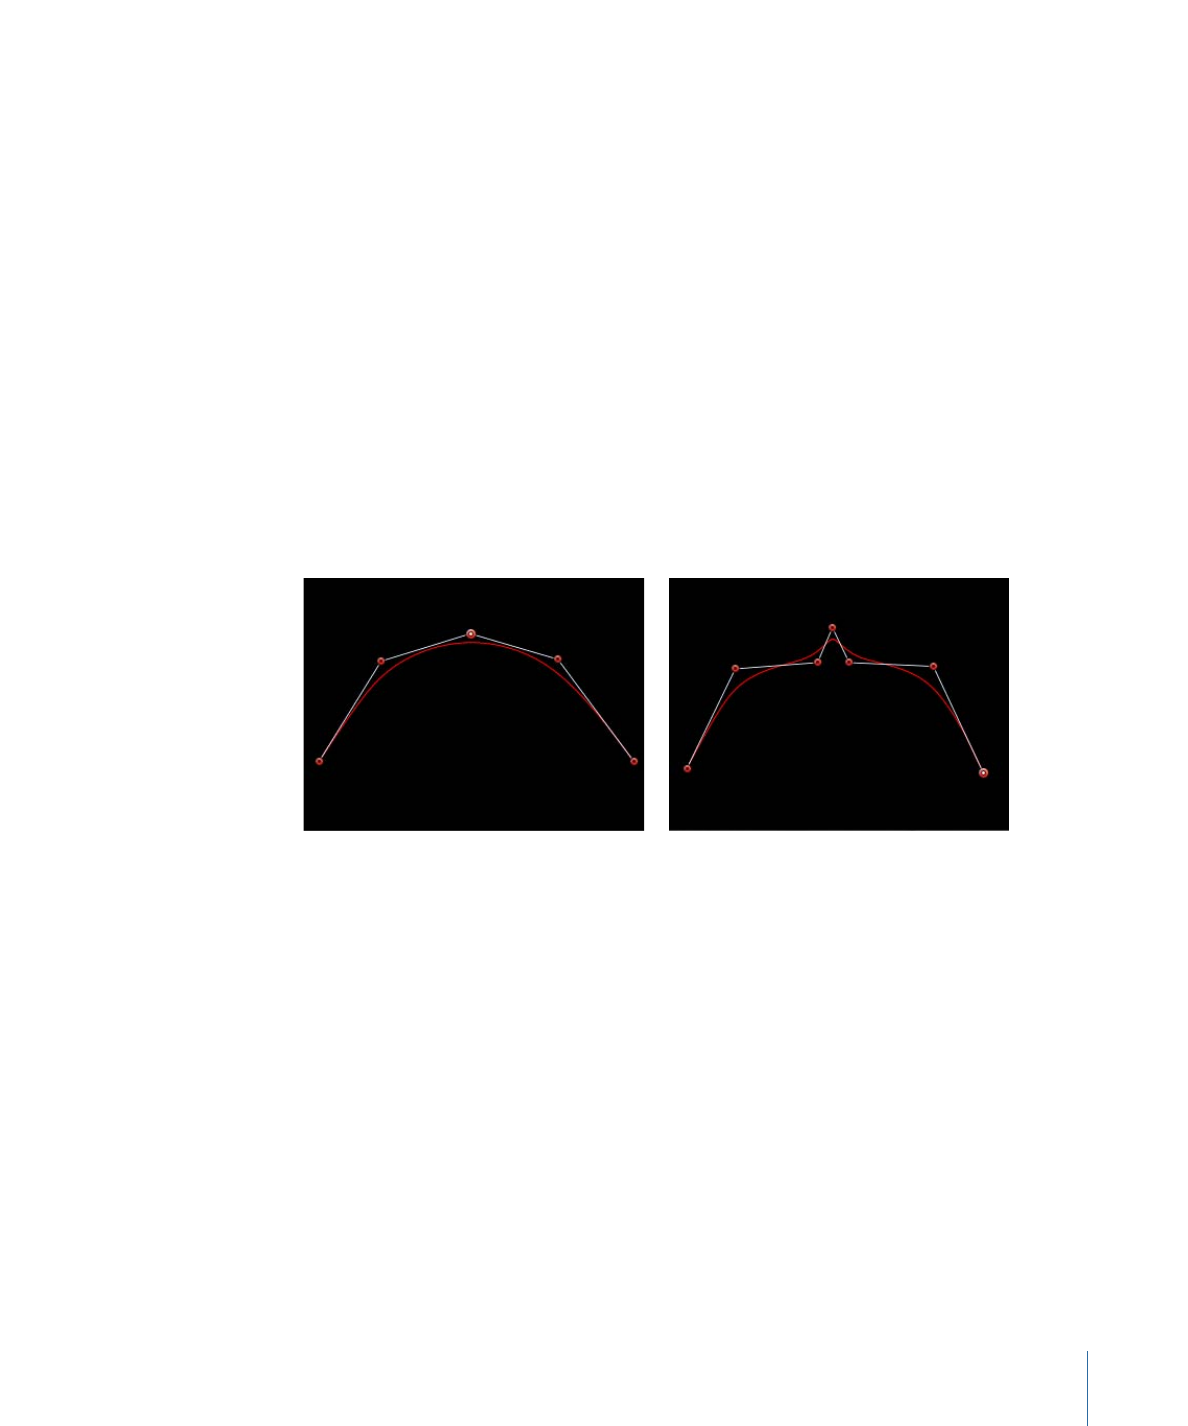
Control-click selected points, then choose Linear, Smooth, or Very Smooth (for B-Splines)
from the shortcut menu to change the control point type.
Curved Bezier control points have two tangent handles that you use to adjust the curvature
of the shape on either side of the control point. These handles can be adjusted in various
ways to create symmetrical and asymmetrical curves. By default, these tangent handles
are locked to one another at an angle of 180 degrees, although this can be overridden
to allow each tangent to be independently adjusted.
Important:
If Record (automatic keyframing) is turned on, turning a corner into a curve
causes an animated effect in which the corner gradually turns into the curve.
To adjust a Bezier curve using the control point’s tangent handles
Do one of the following:
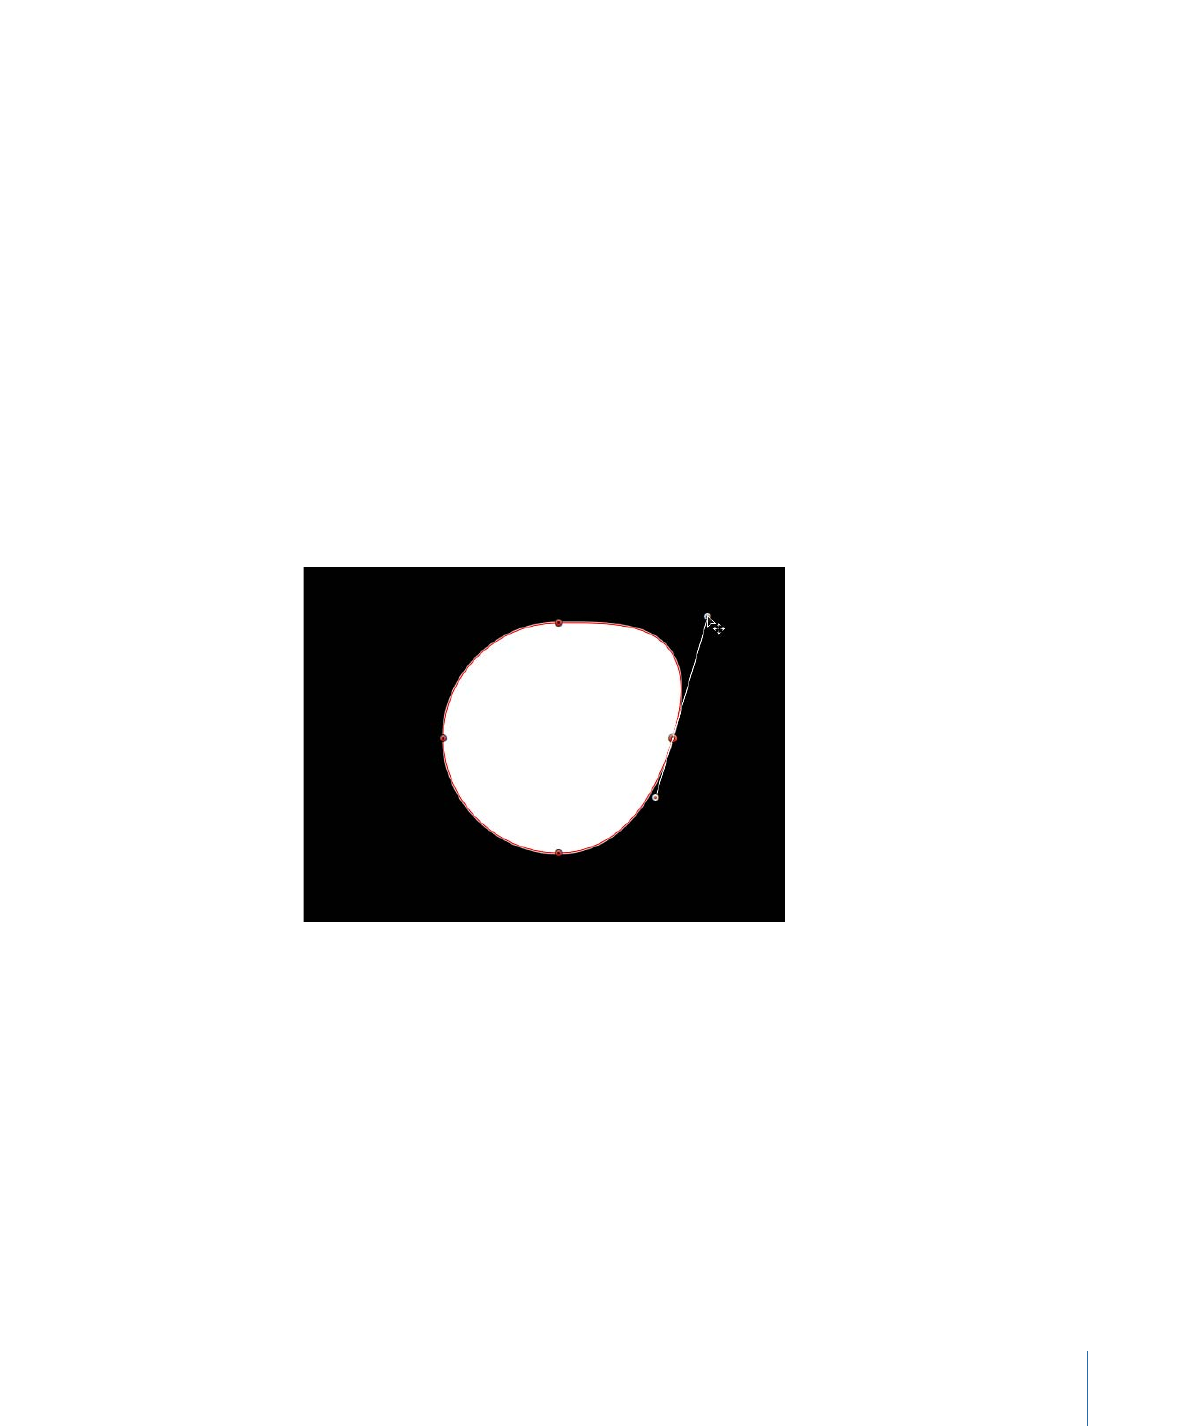
µ
Drag a tangent handle to adjust its length. By default, the opposing tangent is locked to
180 degrees, and adjusting the angle of one tangent adjusts the other. However, the
length of each tangent can be independently adjusted.
1139
Chapter 20
Using Shapes, Masks, and Paint Strokes
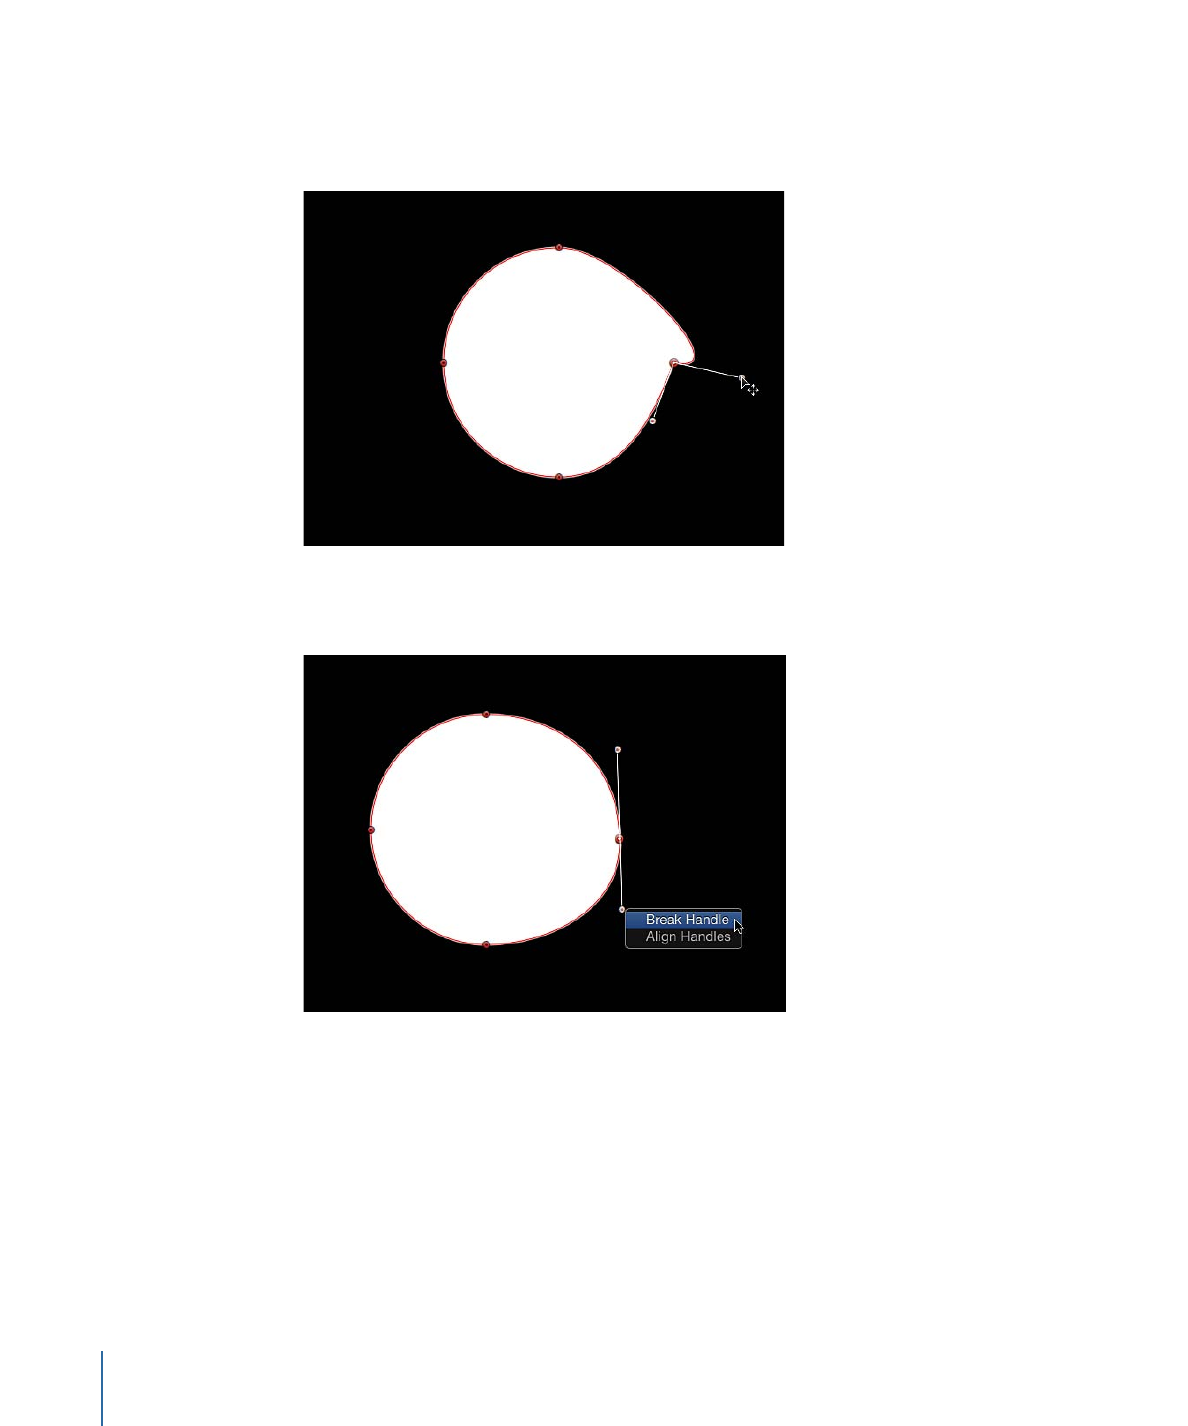
µ
Option-drag either tangent to break the relationship between opposing tangents. After
this relationship is broken, adjustments to one tangent have no effect on the other, and
both tangents can be rotated freely.
µ
Control-click a handle control point, then choose Break Handle from the shortcut menu
to break the relationship between opposing handles.
µ
Option-drag a broken tangent or Control-click a handle control point and choose Link
Handle from the shortcut menu to lock the angle of the tangents together again. The
tangents now maintain their relationship when moved and rotated.
Note: You can also press Command-Option and drag a control point so the tangents
maintain their broken relationship when moved and rotated.
µ
Control-click a handle control point and choose Align Handles from the shortcut menu
to align the tangents to a 180-degree angle.
Tip: Press Shift while you adjust a tangent to constrain its movement to 45-degree angles.
1140
Chapter 20
Using Shapes, Masks, and Paint Strokes
To simultaneously modify the handles for more than one control point, Shift-select the
points (on the same spline) and then adjust the tangents.
Important:
If Record (automatic keyframing) is enabled, curve adjustments are keyframed,
creating animated shape changes. Additionally, if a keyframe has been added to the
Control Points parameter in the Geometry pane of the Shape Inspector, curve adjustments
are keyframed, regardless of the Record button state.