Creating Rectangles, Circles, and Lines
The Rectangle and Line tools create simple linear shapes. The Circle tool creates a simple
Bezier shape. After a shape is drawn, it can be converted to a Linear, Bezier, or B-Spline
shape in the Inspector. The resulting shapes can be edited like any other Bezier shape,
using the methods described in
How to Edit Shapes
.
To make a rectangle
1
Select the Rectangle tool in the toolbar (or press R).
1121
Chapter 20
Using Shapes, Masks, and Paint Strokes
The Rectangle Tool HUD appears. To change the color or roundness of the shape before
it is drawn, use the controls in the HUD. Select the Outline checkbox to create an outline
with the shape. The Width slider adjusts the width of the outline.
The Rectangle shape layer does not appear in the Layers list until the shape is drawn.
Note: Outlines can be added and edited after a shape is drawn.
2
Click in the Canvas to define the first corner of the rectangle, drag until the resulting
rectangle is the size you want, then release the mouse button to finish drawing.
Note: To create a perfect square, press Shift while you drag. To draw the rectangle from
its center, press Option while you drag.
3
After you create the shape, press Esc to exit shape-drawing mode and activate the
Select/Transform tool.
The Shape HUD appears.
To make a rounded rectangle
1
Create a rectangle shape as described above.
2
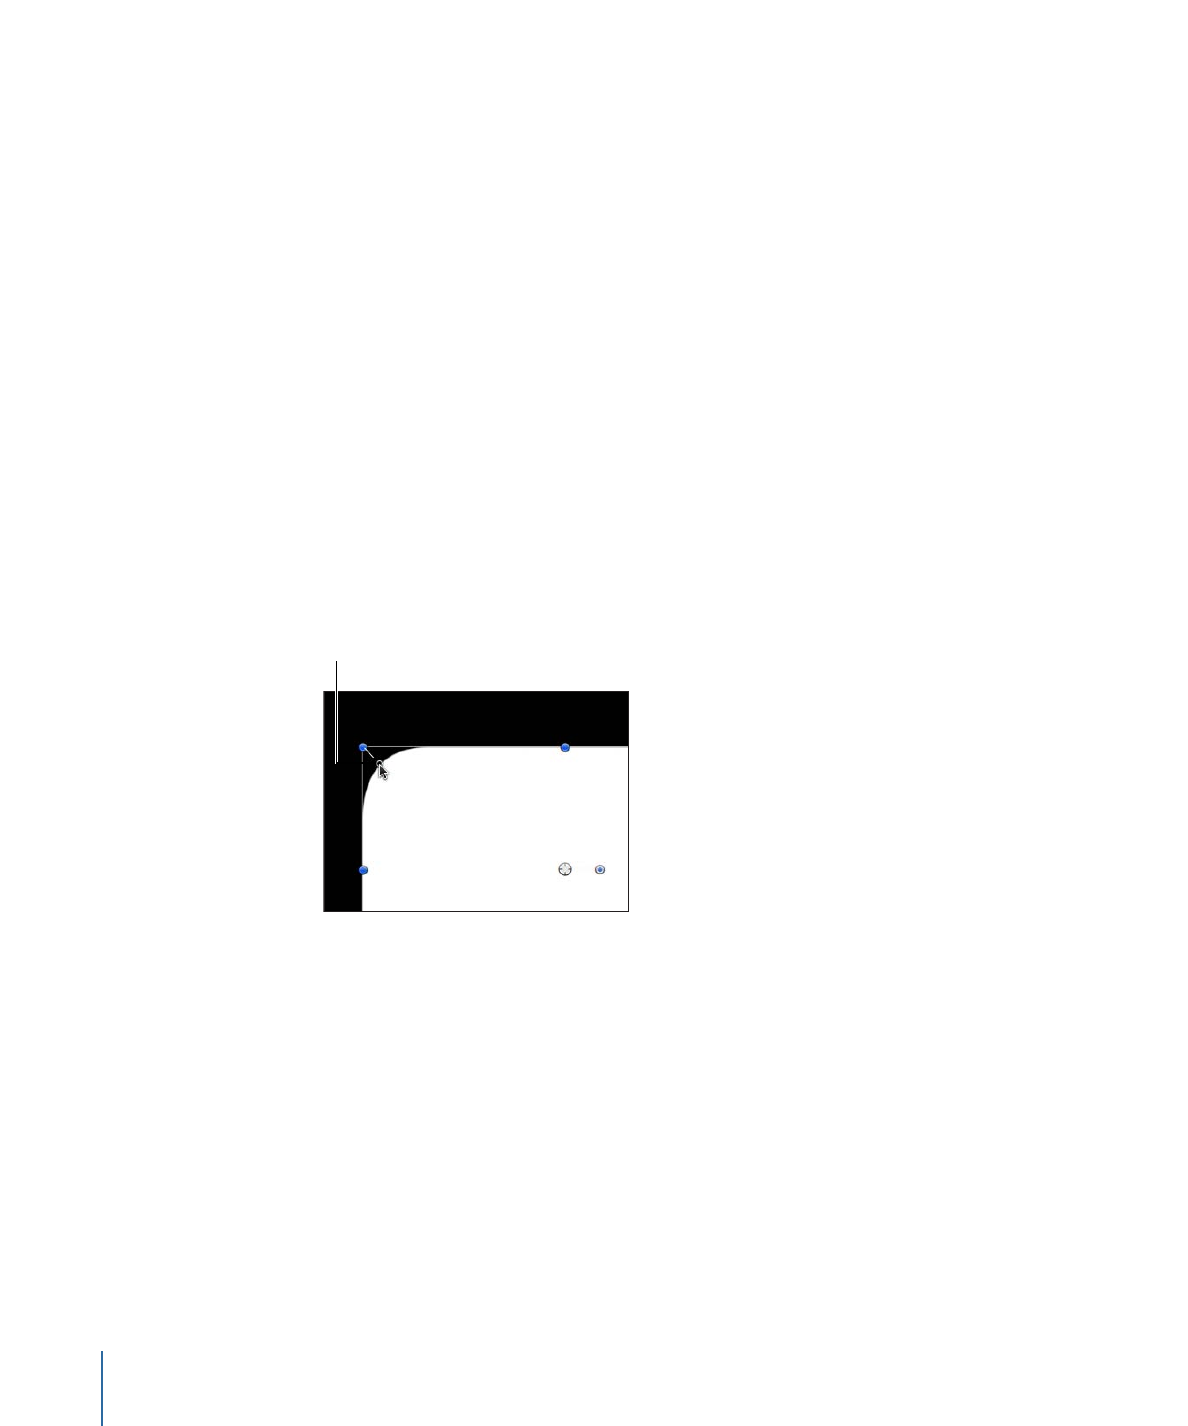
Do one of the following:
• Drag the roundness handle in the upper left corner of the shape.
Roundness handle
• In the HUD, adjust the Roundness slider.
Note: You can also set the Roundness value in the Shape HUD before drawing the
rectangle.
• In the Inspector, open the Geometry pane and adjust the Roundness slider.
1122
Chapter 20
Using Shapes, Masks, and Paint Strokes
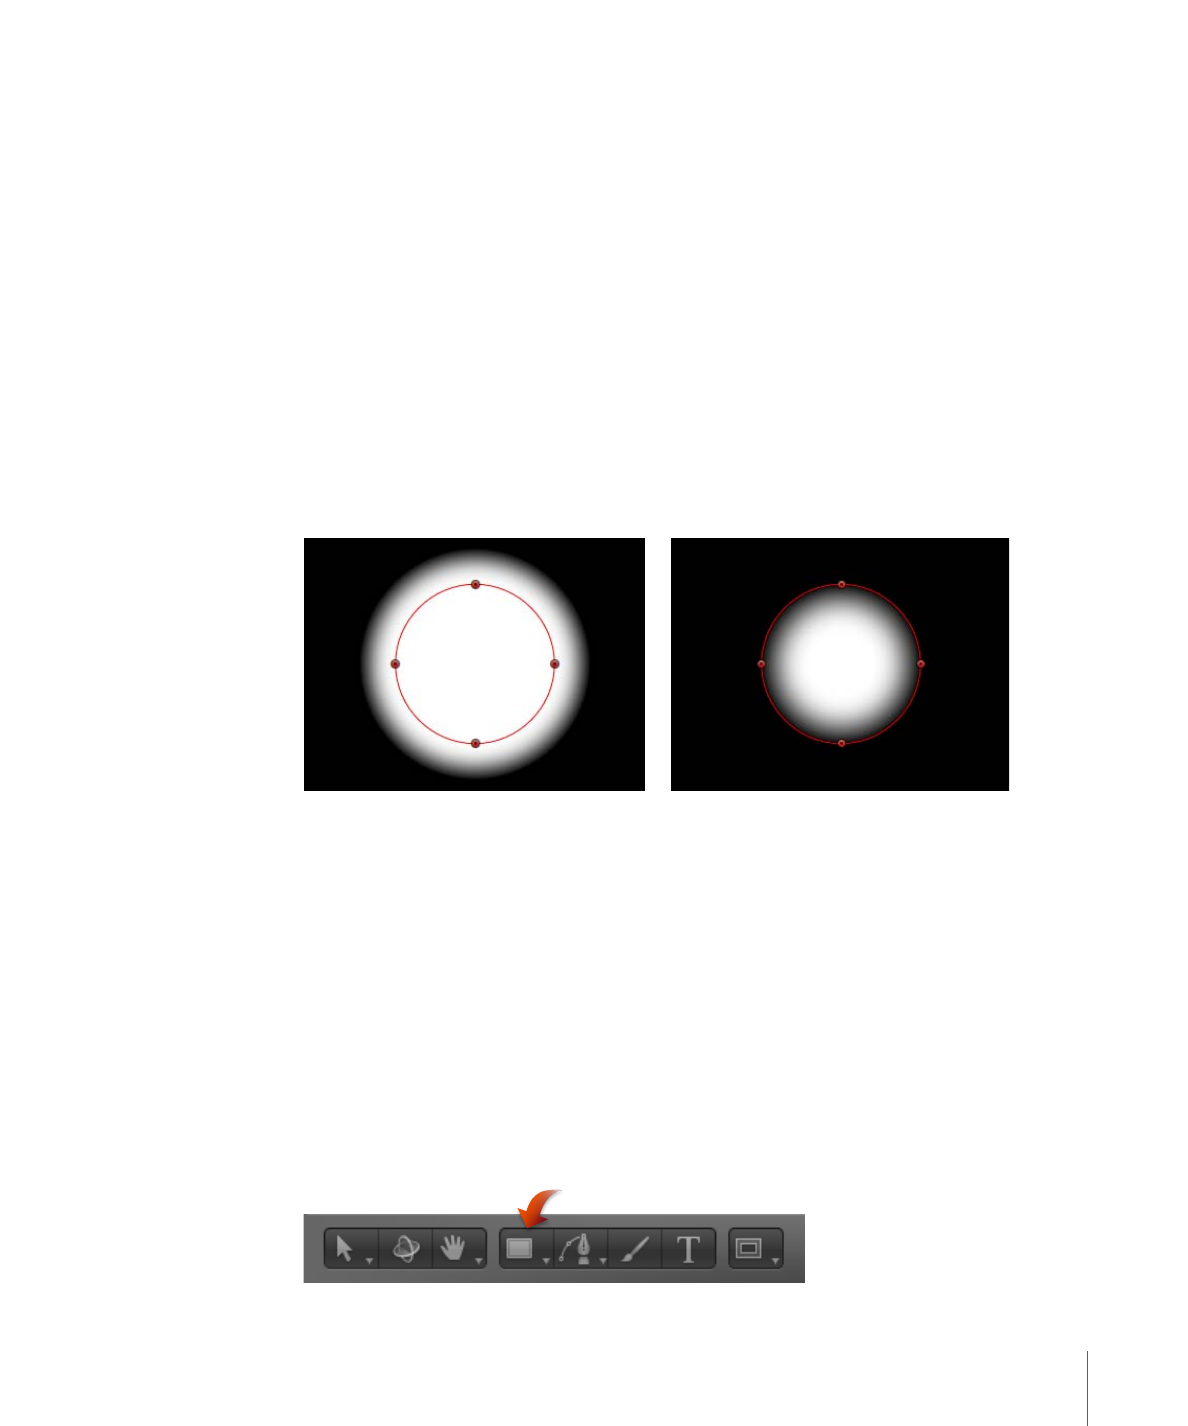
To make a circle
1
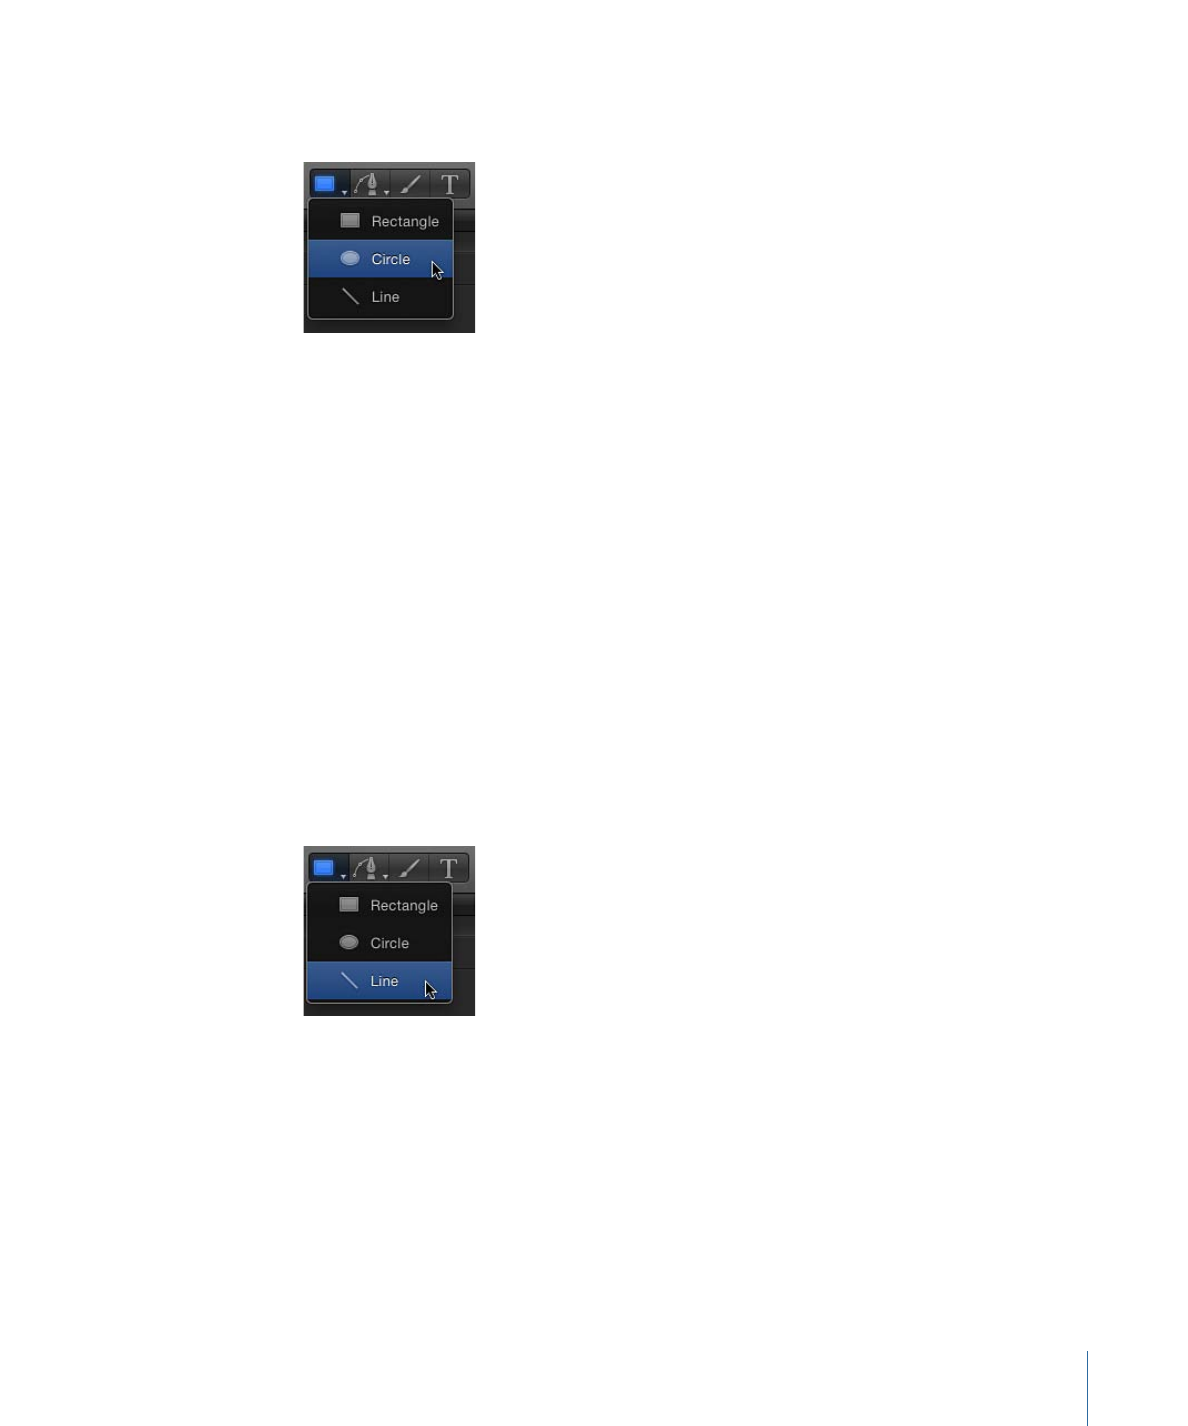
Choose the Circle tool from the shape tools pop-up menu in the toolbar (or press C).
The Circle Tool HUD appears. To change the color of the shape before it is drawn, use
the color controls in the HUD. Select the Outline checkbox to create an outline with the
shape. The Width slider adjusts the width of the outline.
2
Click in the Canvas to define the start point of the bounding box that defines the circle,
drag until the resulting circle is the size you want, then release the mouse button to finish
drawing.
Note: To create a perfectly symmetrical circle, press Shift while you drag. To draw the
circle from its center, press Option while you drag.
Tip: If you change a circle’s Shape Type to B-Spline in the Geometry pane of the Shape
Inspector, you can use different methods to manipulate the circle.
3
After you create the shape, press Esc to activate the Select/Transform tool.
The Shape HUD appears.
To make a line
1
Choose the Line tool from the shape tools pop-up menu in the toolbar.
The Line Tool HUD appears. To adjust the color and width of the line before it is drawn,
use the controls in the HUD.
2
Click in the Canvas to define the start point of the line, and keep holding down the mouse
button.
3
Drag until the resulting line is the length you want, then release the mouse button.
Tip: Pressing Shift while dragging constrains the line movement to 45-degree angles.
Important:
Because a line is really an outline, all Outline parameters in the Inspector apply
to a line.
1123
Chapter 20
Using Shapes, Masks, and Paint Strokes

4
After you create the shape, press Esc to activate the Select/Transform tool.
The Shape HUD appears.
Note: Rectangles and circles can be converted into paint strokes by selecting the shape’s
Outline checkbox and choosing a different brush type in the Inspector. For more
information, see
Using a Shape Outline as a Paint Stroke
.