Editing Shapes
After you draw a shape using the Bezier or B-Spline shape tools, you can adjust the fill,
outline, and feathering to suit your needs.
Note: You can only feather shapes that have the outline turned off.
To edit a shape’s outline
1
Select a shape, then open the Shape Inspector.
2
To manipulate the shape’s outline, do any of the following in the Style pane of the Shape
Inspector:
• To turn a shape’s outline on or off, click the Outline checkbox. When selected, the
checkbox turns blue.
• To change the color of the outline, use the Brush Color parameter in the Outline controls.
• To change the width of the outline, drag the Width slider.
Note: You can also use the Shape HUD to turn the outline on and off, and to change
its color, roundness, and width.
1119
Chapter 20
Using Shapes, Masks, and Paint Strokes

• To change how the outline’s sharp corners are drawn, choose an item from the Joint
pop-up menu.
• To change the shape of an outline’s start and end caps, choose an item from the Start
Cap or End Cap pop-up menu.
• To change whether the outline appears over or under a shape’s fill, choose a command
from the Order pop-up menu.
• To change the outline from the default solid to an editable paint stroke, set Brush Type
to Airbrush or Image. For more information, see
Style Pane Controls in the Inspector
.
3
To change the roundness of the outline, adjust the Roundness slider in the Geometry
pane of the Shape Inspector (or in the Shape HUD).
To create filled or empty shapes
1
Choose the Bezier or B-Spline shape tool (press B).
2
Create the necessary control points for the shape you need.
For more information, see
Shape and Mask Drawing Tools
.
3
When you’re ready to close the shape, click the first point you created.
4
By default, new closed shapes are filled. To make the shape empty, select it, then deselect
the Fill checkbox in the Style pane of the Shape Inspector (or in the Shape HUD).
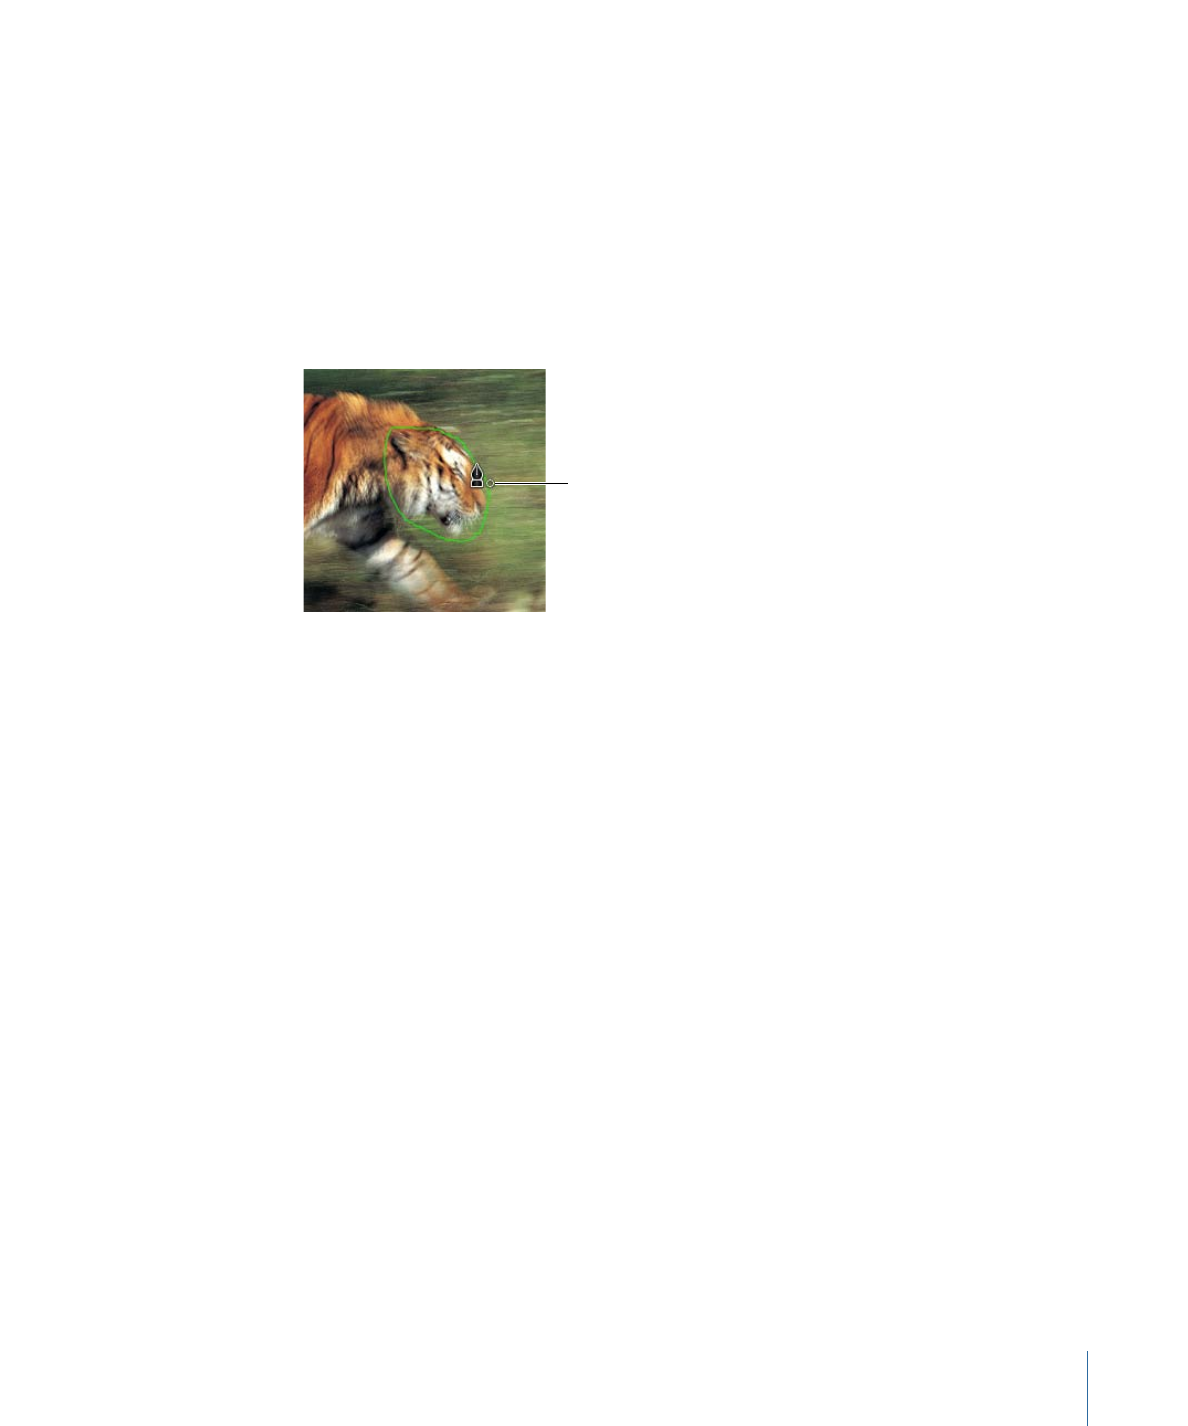
Filled shape
Empty shape
To edit a shape’s fill
1
Select a shape, then open the Shape Inspector.
2
In the Style pane of the Shape Inspector, do any of the following:
• To turn a shape’s fill on or off, click the Fill checkbox.
• To change a shape’s fill mode from a solid color to a gradient, choose an item from the
Fill Mode pop-up menu.
• If the shape’s fill mode is set to a solid color, you can choose the color using the Fill
Color controls.
1120
Chapter 20
Using Shapes, Masks, and Paint Strokes
• If the shape’s fill mode is set to a gradient, you can choose a gradient from the gradient
preset pop-up menu, or click the Gradient parameter’s disclosure triangle to display
the gradient editor and create your own custom gradient. For more information on
using gradient editors, see
Gradient Controls
.
To feather a shape
1
Select the shape to feather.
2
If the shape’s outline is visible, deselect the Outline checkbox in the Style pane of the
Shape Inspector.
3
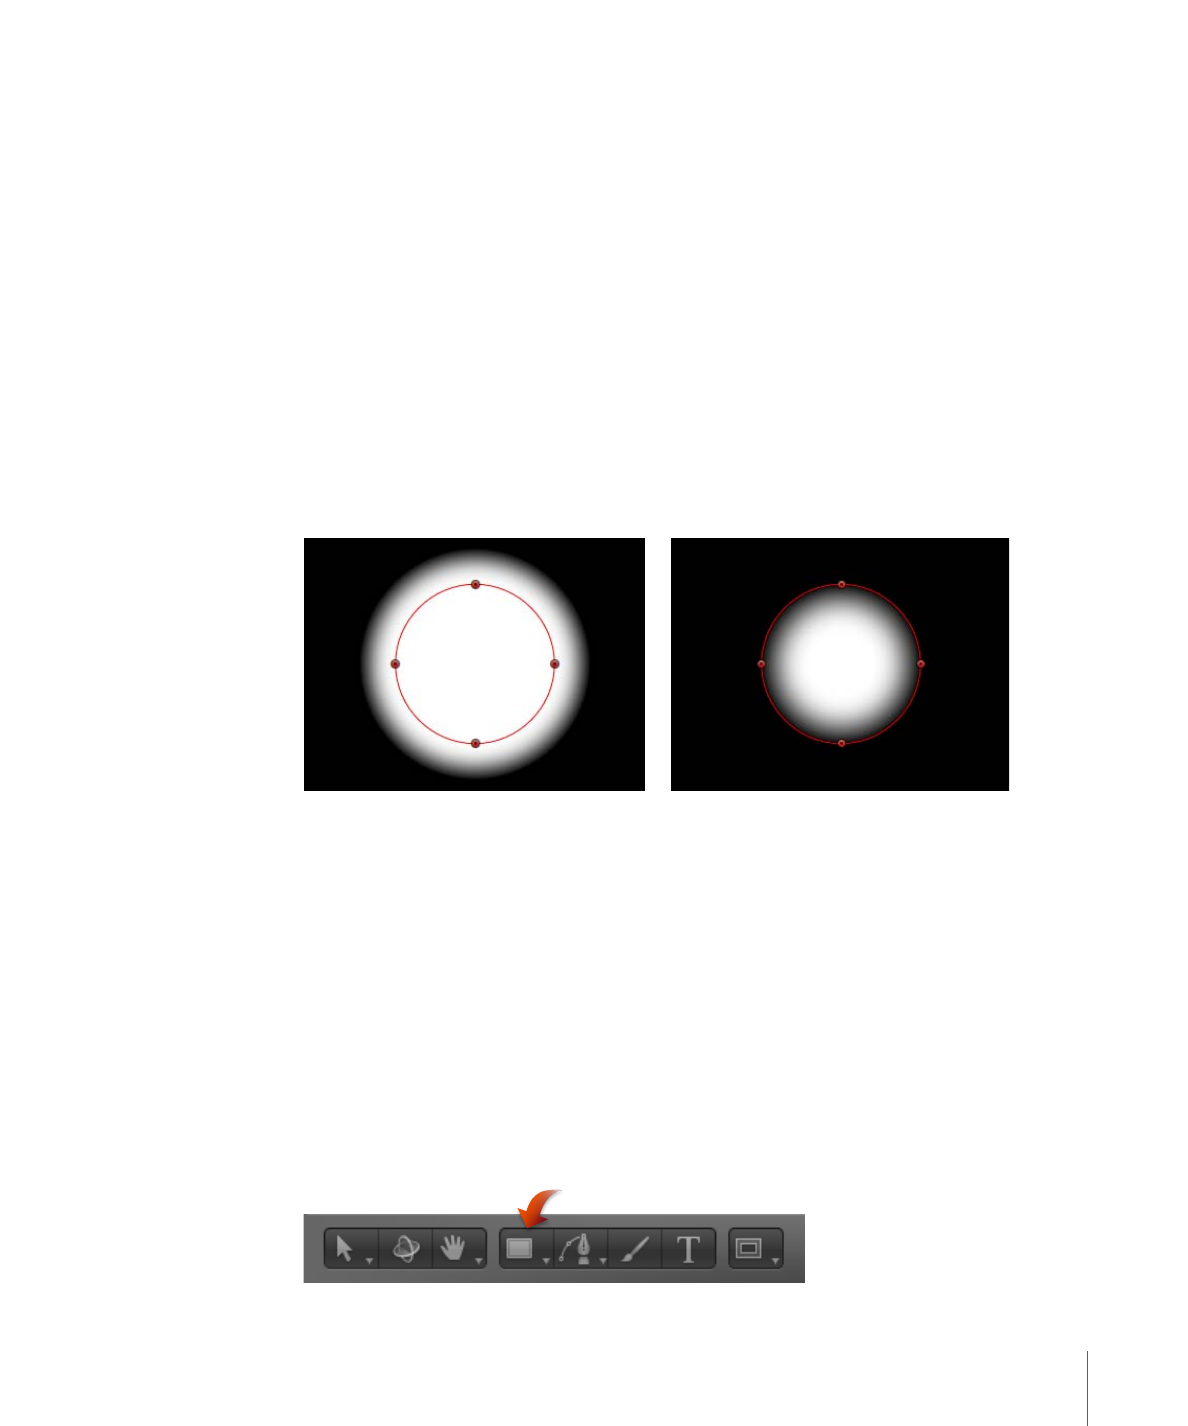
Adjust the Feather slider in the HUD or in the Style pane of the Shape Inspector.
Positive values spread the feathering outward, while negative values feather the shape
inward.
4
Optionally, you can also adjust the Falloff parameter in the Style pane of the Shape
inspector, which controls how steep the feathering is.
Feathered out
Feathered in
Tip: You can also blur a shape using filters. For more information, see
Applying Filters to
Shapes
.