Applying Image Masks to a Layer
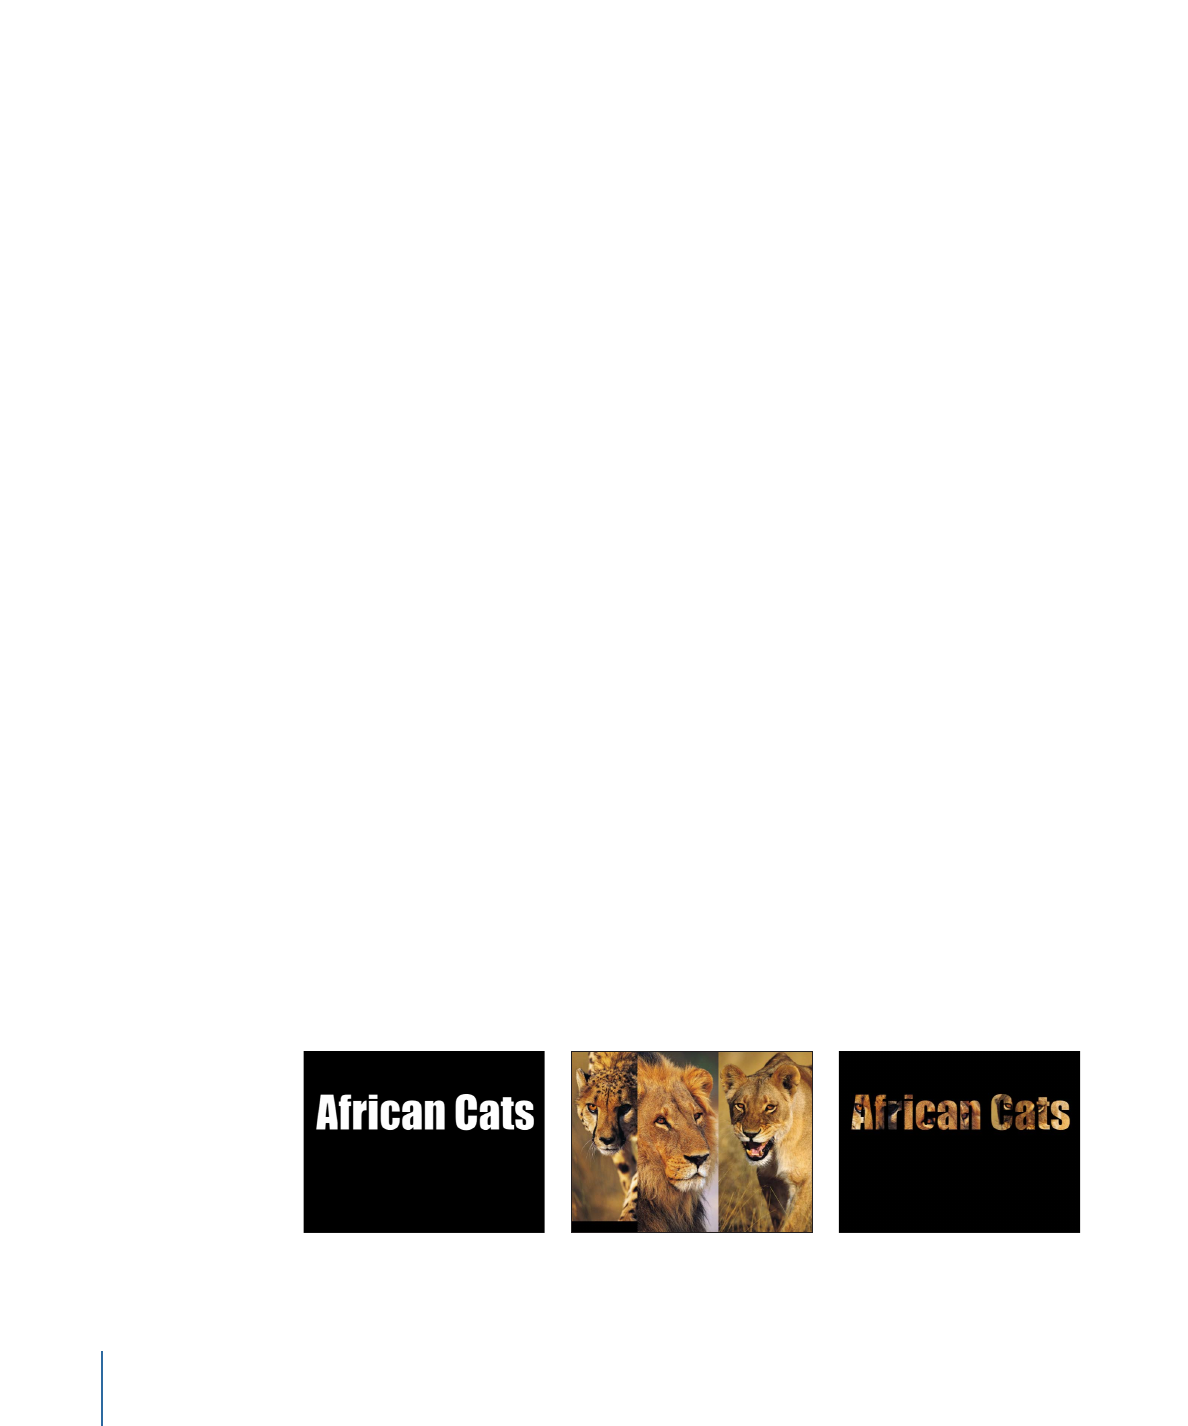
Another way you can create transparency in a layer is by using image masks. An image
mask creates transparency in a layer by deriving an alpha channel from another layer,
such as a shape, text, movie, or still image.
Text layer
Image layers
Layers masked by text layer
1214
Chapter 20
Using Shapes, Masks, and Paint Strokes
Note: You can use masks and image masks together.
The power of image masks is that they do not have to be drawn or animated. Instead,
you can use virtually any image or movie clip to create transparency in another layer. By
default, movie clips create animated image masks, but you can also set an image mask
to use only a single frame.
Image masks can also be used to assign masks created in other applications. For example,
you can import an animated mask that was created in another application and exported
as a QuickTime movie into your Motion project, then use it as an image mask.
When you use a layer as an image mask, you can choose which of the layer’s channels
to apply to create transparency via the Source Channel pop-up menu in the Image Mask
Inspector. The choices include:
• Red
• Green
• Blue
• Alpha
• Luminance
Because alpha channels are basically 8-bit grayscale images, you can use any single color
channel as an image mask. You can also use another layer’s alpha channel. Luminance
allows you to use the aggregate luminance from the red, green, and blue channels of an
image to create transparency. For all these options, color is ignored.
Assigning an image mask is a two-part process. First, you create a blank image mask
underneath a layer. Then you assign the image you want to use to create transparency.
To add an image mask to a layer
1
Select the layer to mask.
2
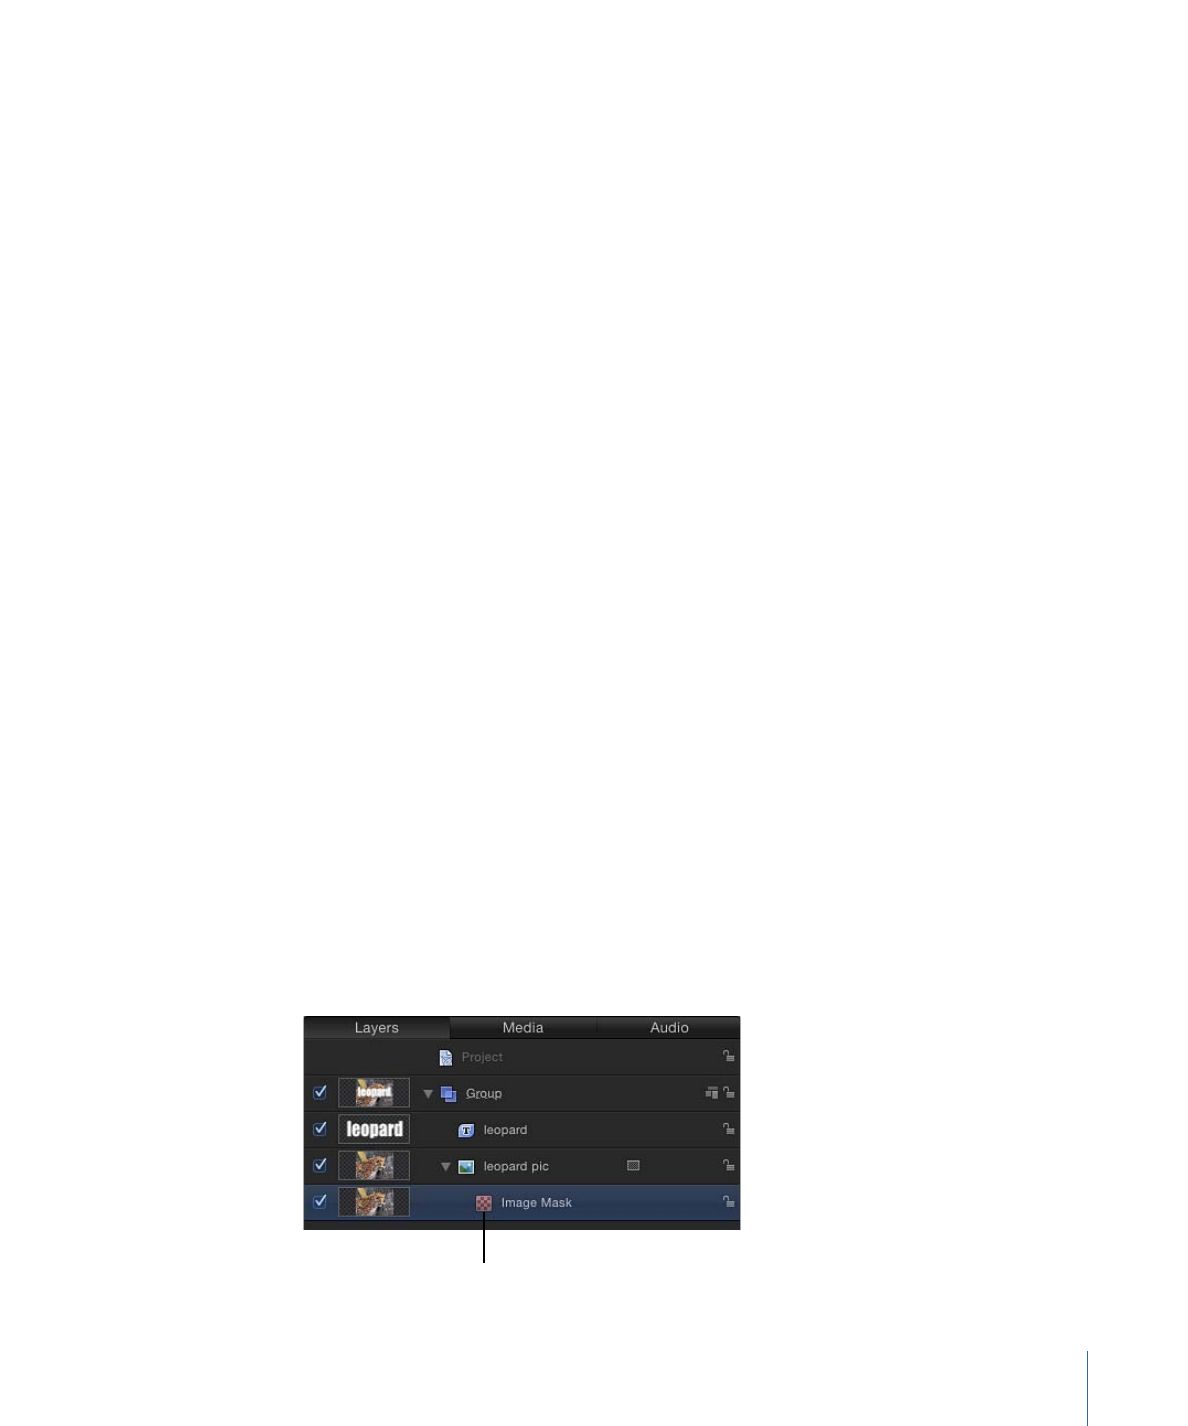
Choose Object > Add Image Mask (or press Command-Shift-M).
The image mask appears underneath the layer in the Layers list and Timeline.
Image mask
1215
Chapter 20
Using Shapes, Masks, and Paint Strokes
3
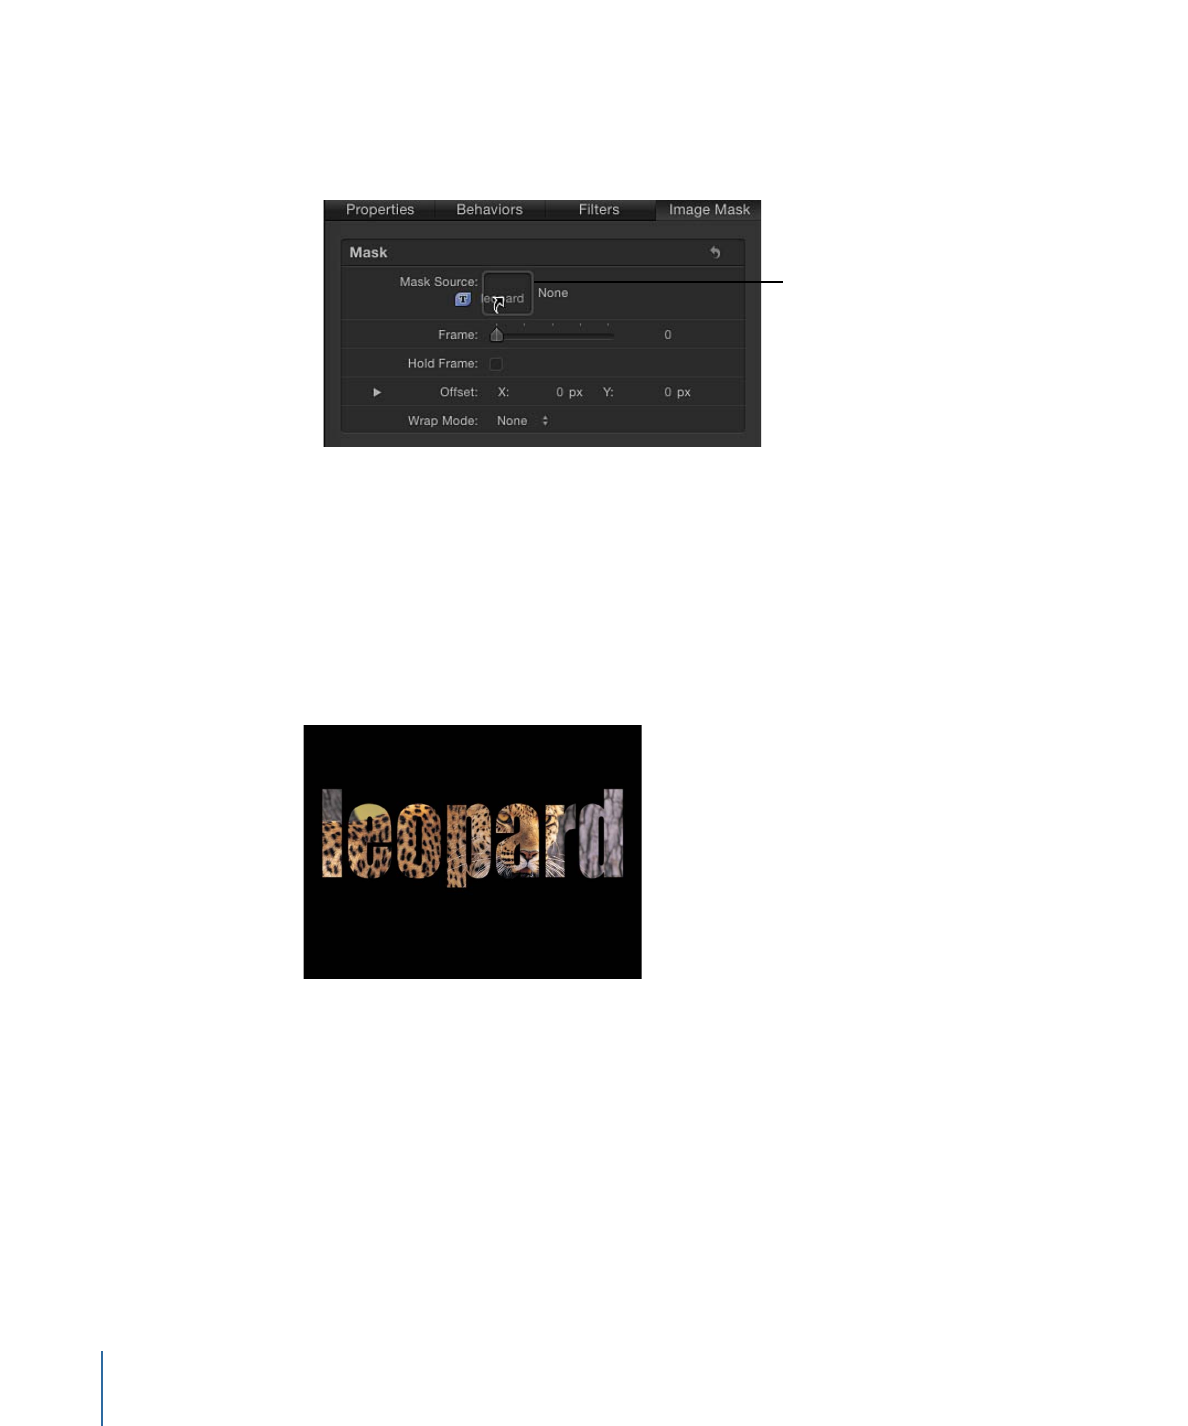
With the image mask selected, do one of the following:
• Open the Image Mask Inspector, then drag the layer to use as the mask into the Mask
Source well.
Mask Source well
• Drag the layer to use as the mask into the Mask Source well in the HUD.
Important:
Click and drag in one movement to successfully drop a layer in an image
well. If you select the layer to use as the source, then release the mouse button, you
lose the selection.
In this example, text is used as the mask layer.
4
Choose the channel you want to use to create transparency from the Source Channel
pop-up menu, as well as any other options necessary to create the required transparency.