Slider
Slider widgets let you select values interpolated between snapshots. When you drag the
slider, the affected parameters change gradually, ramping between the values of adjacent
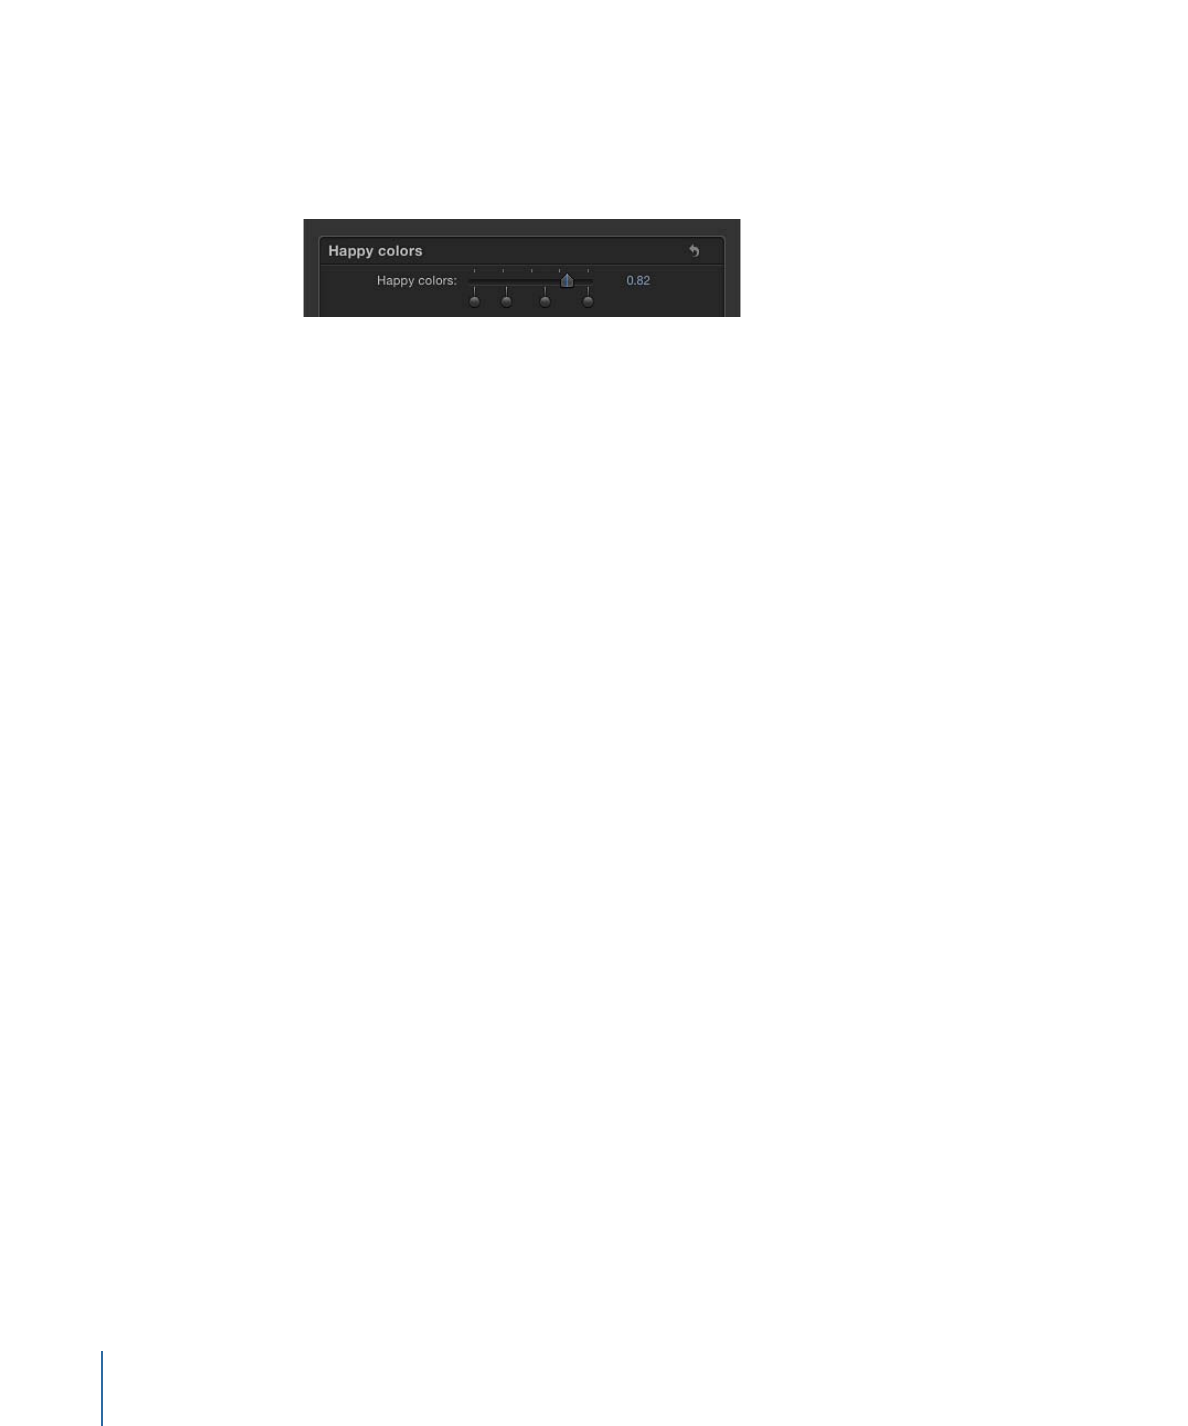
snapshots. Each snapshot assigned to a slider is represented by a separate snapshot tag—a
small shaded circle underneath the slider widget.
Double-click the area below the slider to add snapshot tags. Parameters at this position
inherit their values based on the interpolation point between the two snapshot tags. For
example, in a slider mapped to the Color parameter, adding a tag midway between
snapshot tags set to red and blue generates a snapshot set to purple.
Snapshot tags can be dragged left and right and even reordered.
To delete a snapshot tag, drag it away from the area under the slider.
Clicking a snapshot tag sets the value of the slider to the tag's value and enables the tag’s
snapshot for editing. Setting the slider to values between tags causes the rigged parameter
values to be interpolated between the surrounding snapshot values.
The activation checkboxes in the Rig Inspector (highlighted blue when selected) and in
the Layers list (beside the slider widget) have no effect on the constituent parameters of
the slider.
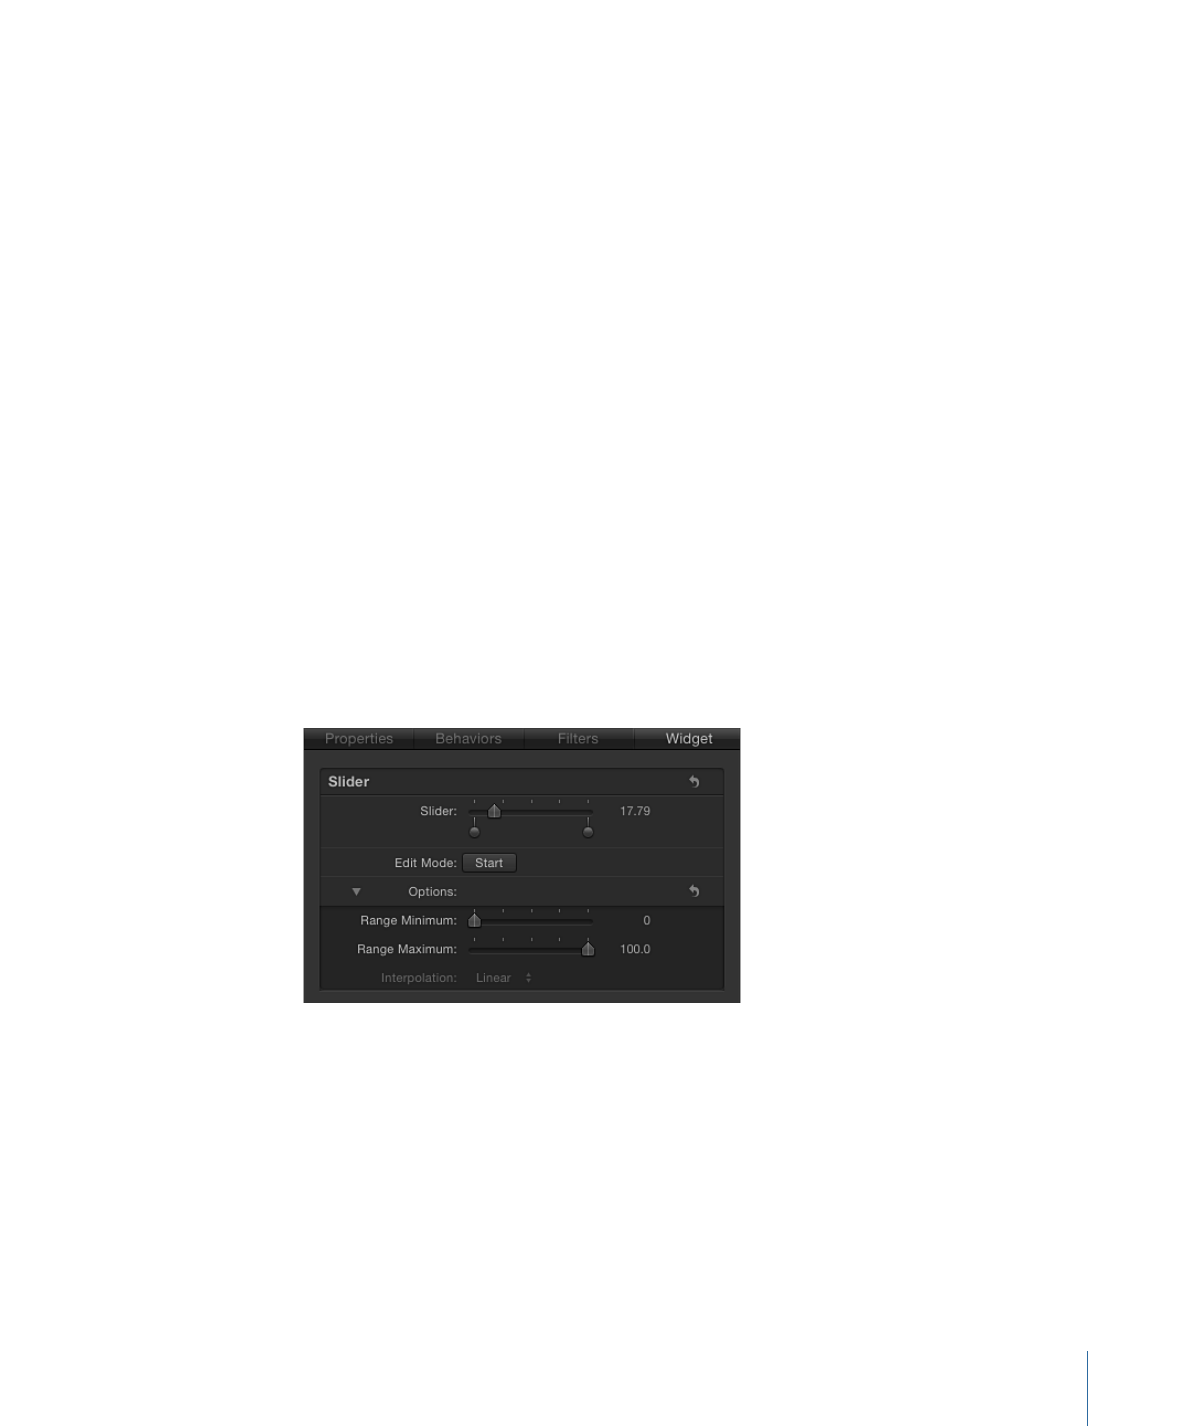
Slider widgets contain the following controls in the Rig Inspector and Widget Inspector:
Slider:
Use this widget control to move between snapshots. The snapshot tags beneath
the slider indicate the saved snapshots.
485
Chapter 10
Using Rigs

Snapshot Tag:
Use the small shaded circles underneath the slider indicate saved
snapshots. Double-click below the slider to add snapshot tags. Add as many snapshot
tags as you want. Snapshot tags work similarly to tags that represent individual colors in
a gradient. To learn how tags are used when creating gradients, see
Gradient Editor
.
Edit Mode:
Click the Start button to enable snapshot recording. For more information
about recording snapshots, see
Managing Parameter Snapshots
.
Note: When you record a snapshot (using the Edit Mode button or the methods described
in
Managing Parameter Snapshots
), the affected parameters (those you modify in the
Inspector or via onscreen controls in the Canvas) are added to the widget. When you
finish recording a snapshot, new controls for the modified parameters appear in the
Widget Inspector. These parameters are duplicates of the same parameters that occur in
other Inspector panes. Parameters controlled by a rig display a special icon (a joystick)
on the right side of the parameter row in the Inspector.
Range Minimum:
Use this parameter (in the Options section) to set the low end of the
numeric range displayed next to the slider widget. For example, if you want the slider
widget to range from 0 to 11, set Range Minimum to 0.
Range Maximum:
Use this parameter (in the Options section) to set the high end of the
numeric range displayed next to the slider widget. For example, if you want the slider
widget to range from 0 to 11, set Range Maximum to 11. If you want the slider widget
to range from 0 to 100, set Range Maximum to 100.
Note: Range Minimum and Range Maximum have no effect on the actual parameter
values that the slider widget controls. Range Minimum and Range Maximum merely
designate an arbitrary numeric range that is displayed next to the slider widget.
Interpolation:
A pop-up menu (in the Options section) controlling how values on the
slider are interpolated. The interpolation applies to the segment of the slider between
the current tag and the next one. You can set interpolation methods for each segment
of the slider. By default, all segments are set to Linear. There are three options:
• Constant holds the value of the first snapshot until the slider reaches the next snapshot,
at which point the parameter changes. (This is similar to changing states using a pop-up
menu widget.)
• Linear creates a simple interpolation between states.
• Ease creates a smooth interpolation, where the effect is weighted towards the nearer
snapshot tag.
486
Chapter 10
Using Rigs