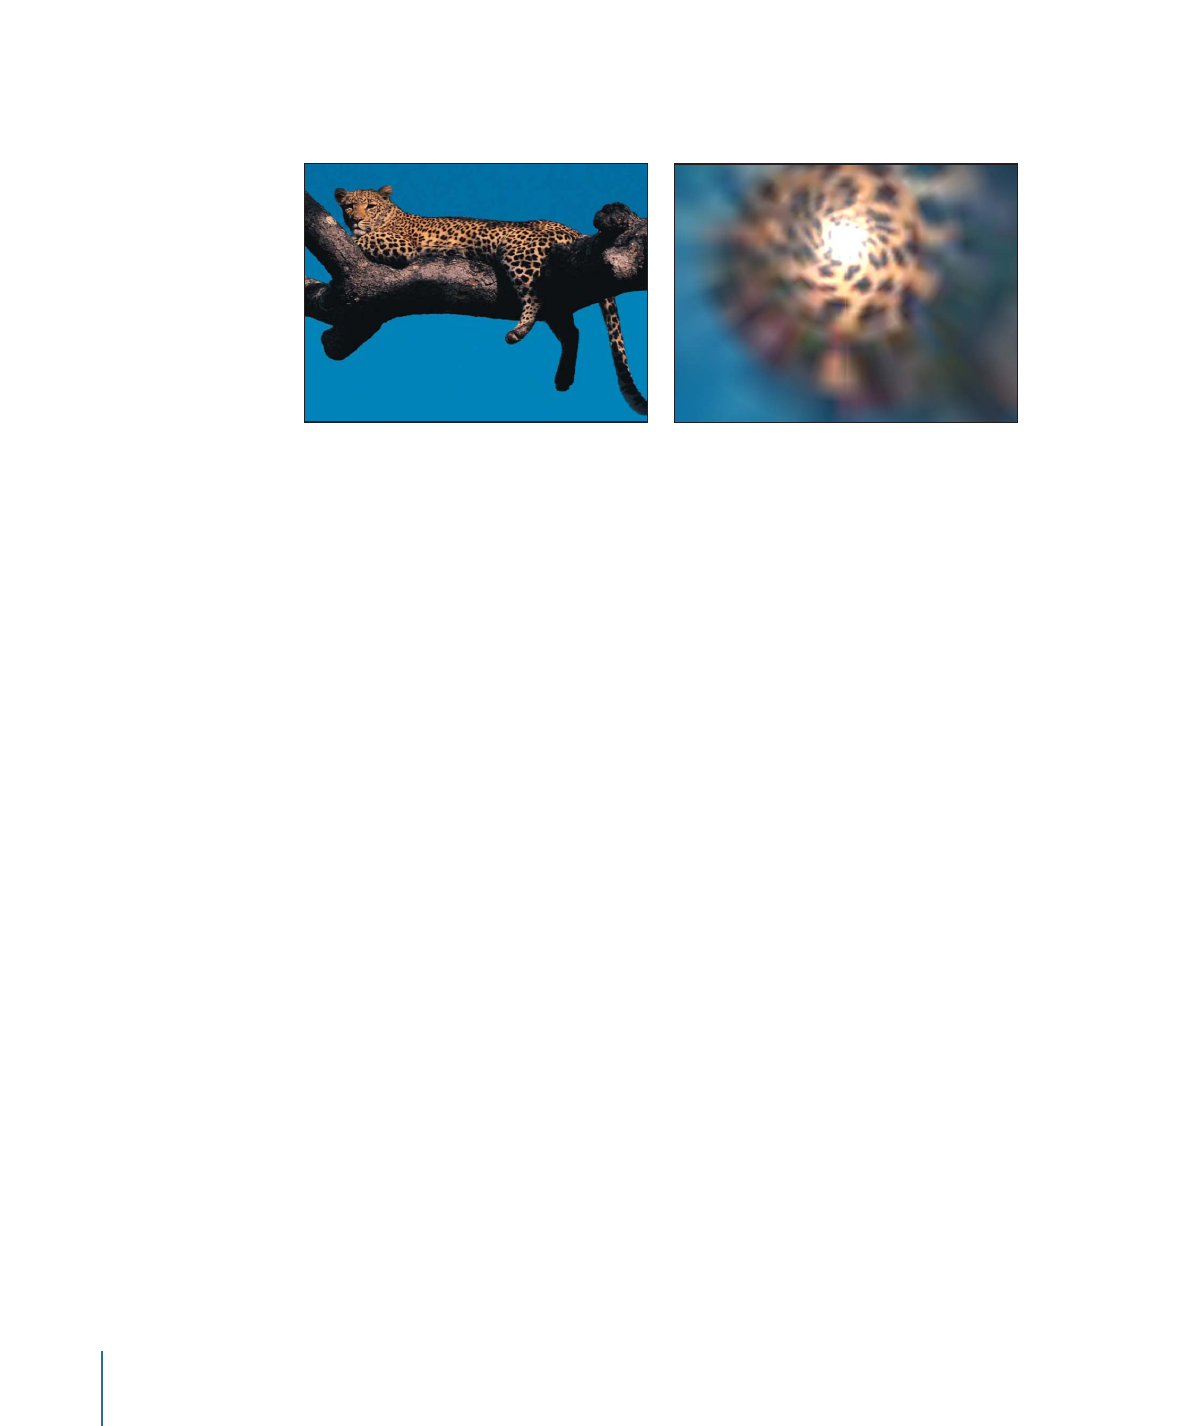
Texture Screen
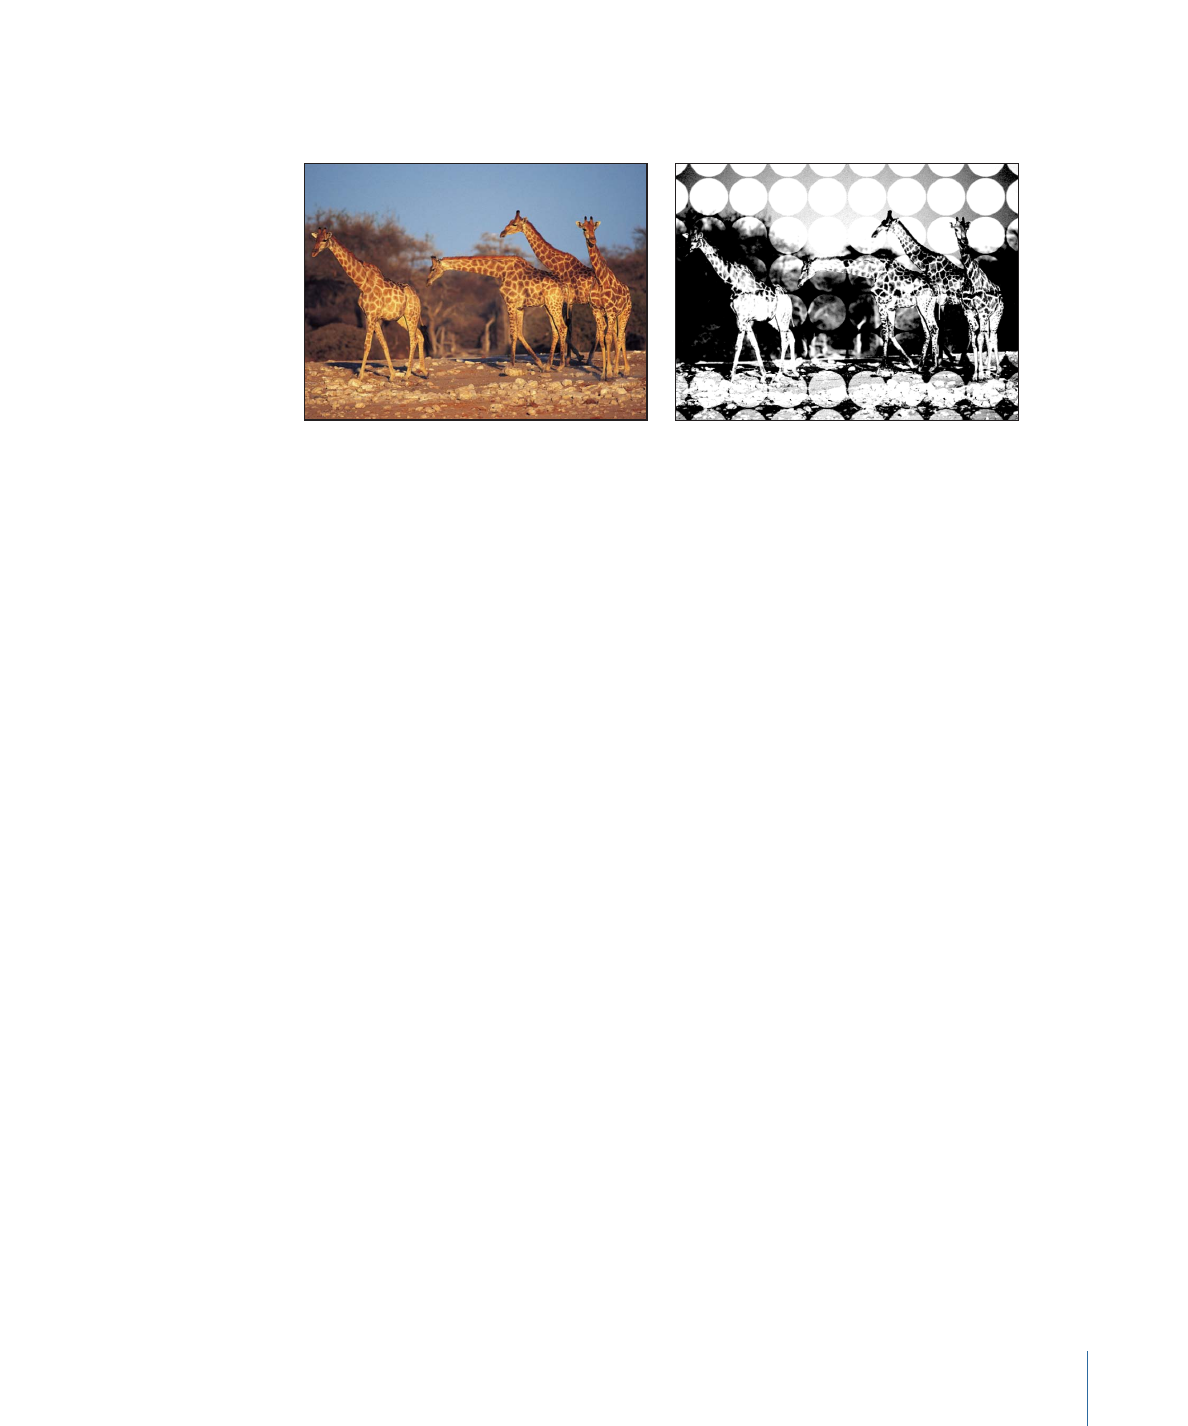
Uses a source object specified by the Map Image parameter to screen the target. The
source object can be any image, movie, or shape. By default, Texture Screen behaves as
if there were a black image applied to the Map Image well, which makes the target appear
desaturated and washed out.
1094
Chapter 19
Using Filters

This filter causes rasterization in 3D groups. For more information on rasterization, see
About Rasterization
.
Original image
Texture Screen filter applied, circle image
Parameters in the Inspector
Map Image:
Displays a thumbnail of the map chosen to generate the screen. To learn
how to add an object to the Map Image well, see
Source Well
.
Center:
Sets the position of the center of the texture screen. Drag the Center onscreen
control to adjust its value in the Canvas.
Angle:
Sets the angle at which the texture screen is placed.
Skew:
Sets the amount of skew applied to the map image.
Stretch:
Sets the amount of stretch applied to the map image.
Scale:
Sets the scale applied to the map image.
Contrast:
Sets the amount of contrast applied to the image by the screen.
Threshold:
Sets the threshold of brightness of the background image used to determine
the brightness of the luminance map.
Noise Contrast:
Sets the amount of contrast added to the noise.
Noisiness:
Sets the amount of noise.
Mix:
Sets the percentage of the original image to be blended with the filtered image.
Publish OSC:
Publishes the filter’s onscreen controls in Final Cut Pro X. For more
information on creating content for use in Final Cut Pro, see
Creating Templates for
Final Cut Pro X
.
HUD Controls
The HUD contains the following controls: Map Image, Angle, Skew, Stretch, Scale, Contrast,
Threshold, Noise Contrast, and Noisiness.
1095
Chapter 19
Using Filters