Timing Pane
The Timing pane, located at the bottom of the Motion workspace, has three components,
each to control a different timing aspect of a project:
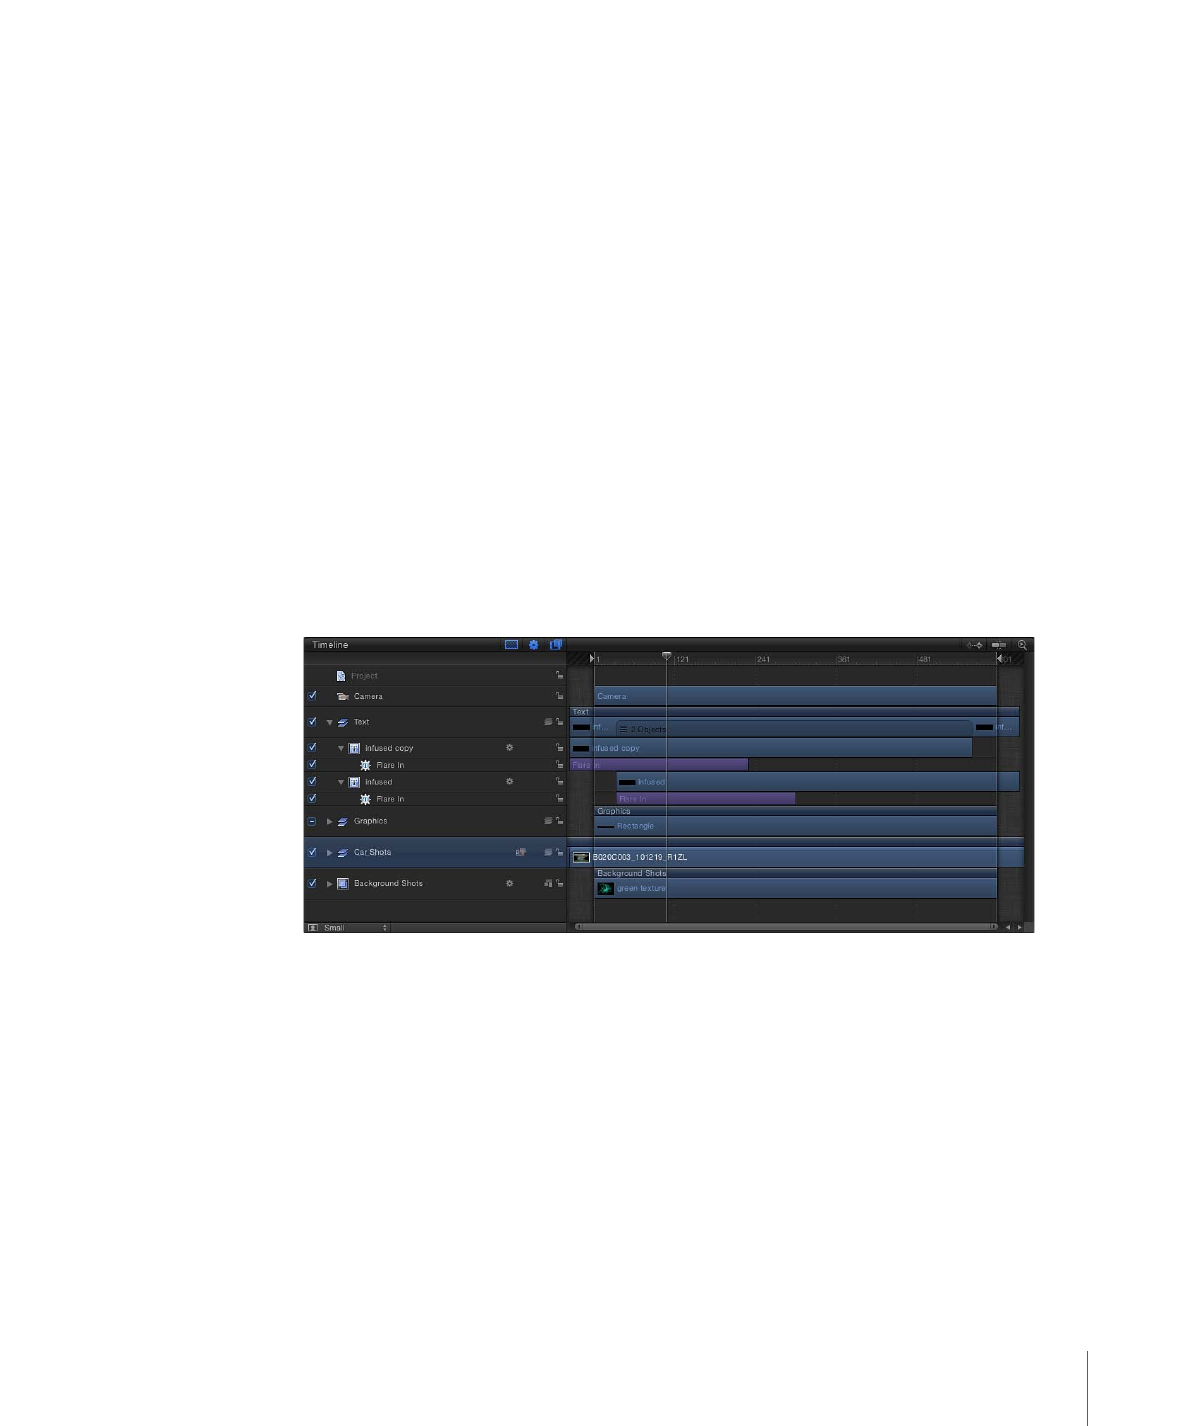
• Timeline: Provides an overview of objects in the project and how they are laid out over
time.
• Keyframe Editor: Displays the animation curves for animated parameters and effects.
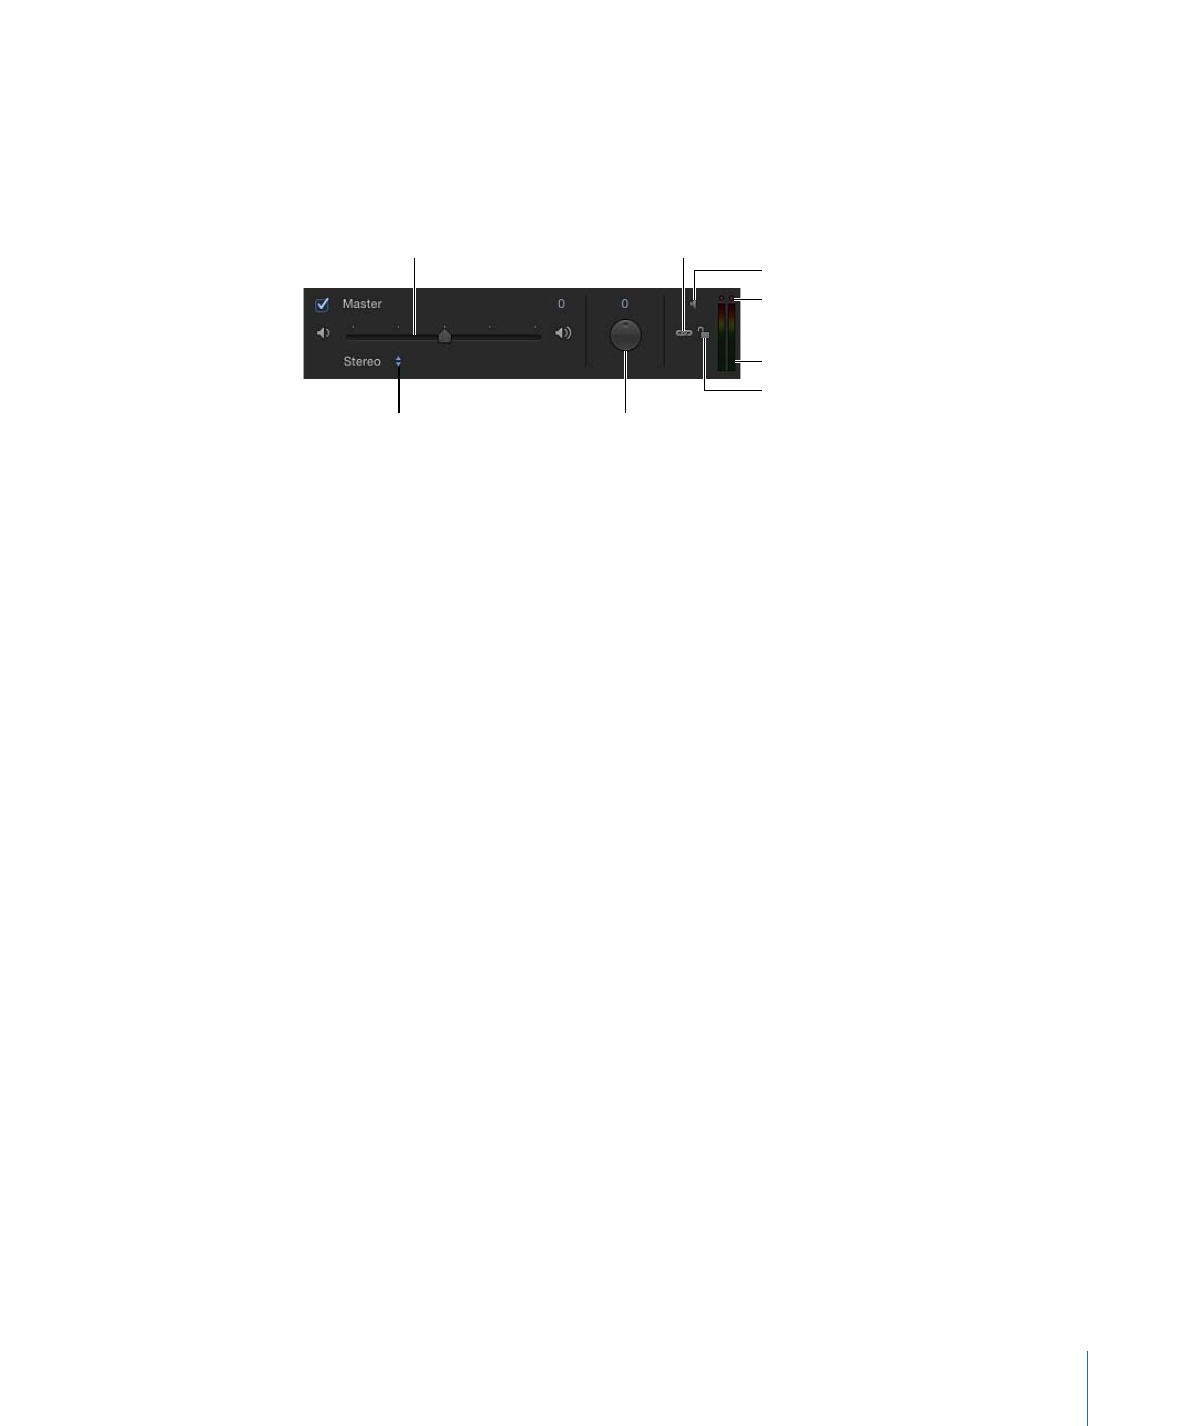
• Audio Timeline: Provides an overview of audio components of the project and how
they are laid out over time.
95
Chapter 2
The Motion Interface
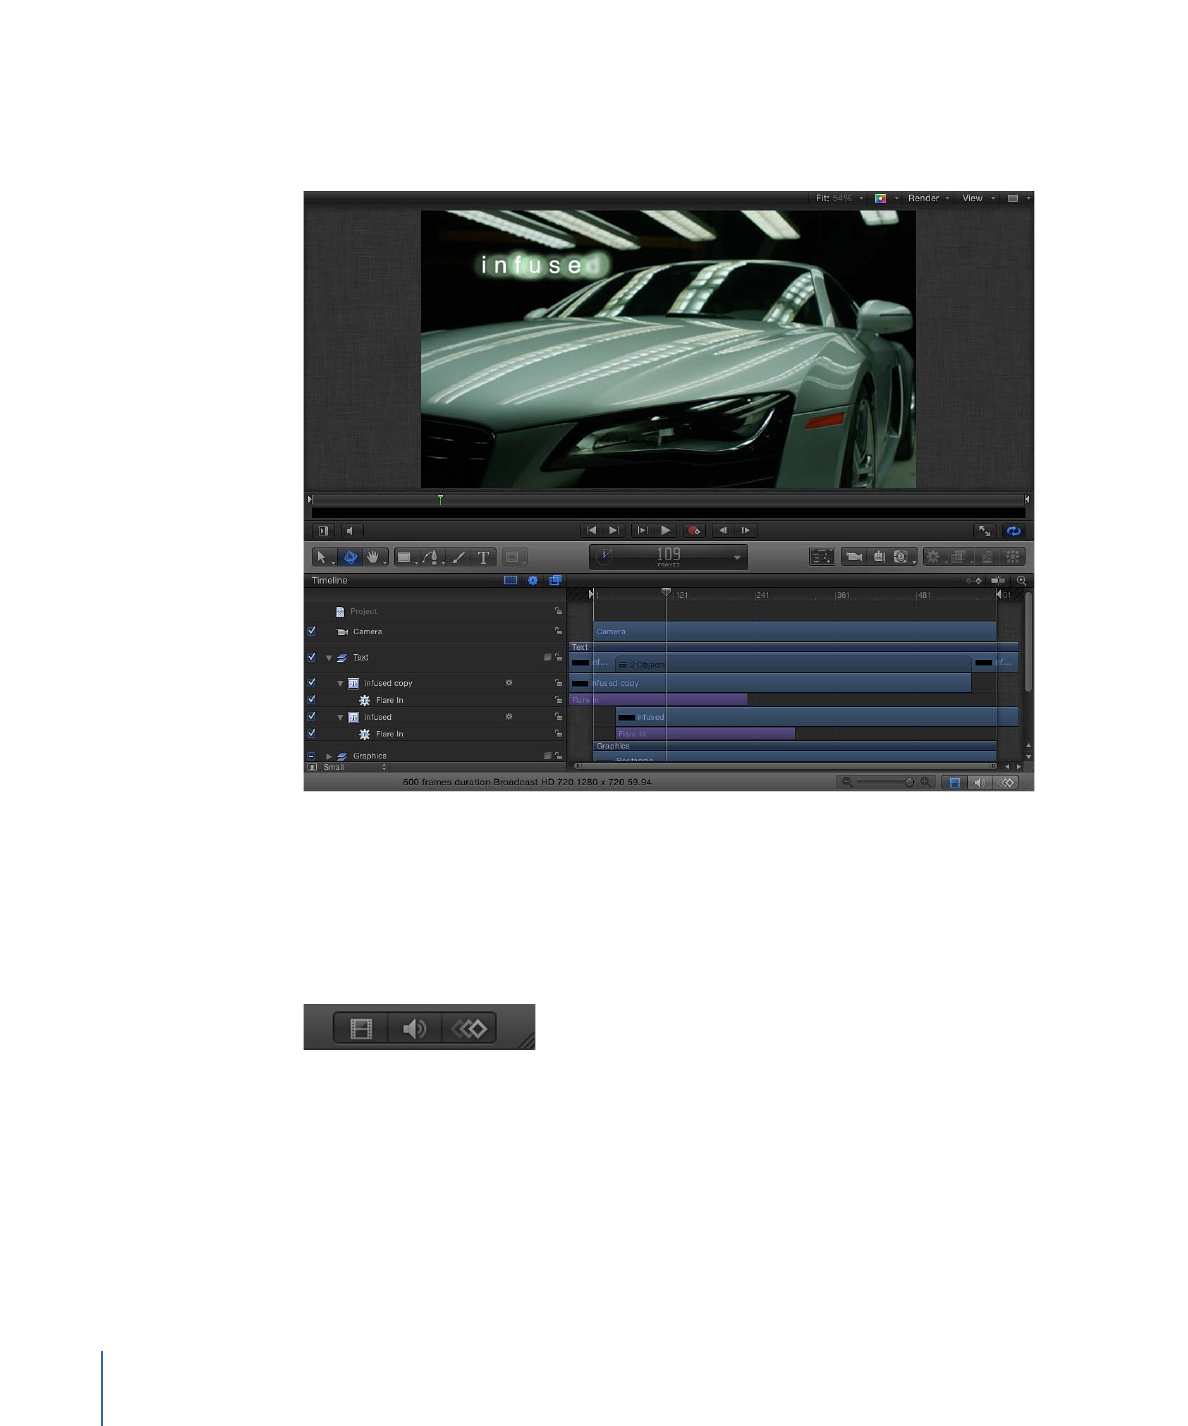
The Timing pane lets you view and modify the time component of a project’s contents.
Objects, keyframes, and audio tracks are shown in a time graph and can be adjusted to
coordinate timing of sequence events such as visual effects and audio-video sync.
To display the Timing pane
Do one of the following:
µ
Choose Window > Show Timing Pane (or press F6).
µ
Click one (or more) of the Show/Hide Timeline, Show/Hide Audio Timeline, or Show/Hide
Keyframe Editor buttons in the lower-right corner of the Motion project window.
µ
Choose Window > Video Timeline (Command-7), Keyframe Editor (Command-9), or Audio
Timeline (Command-8).
µ
When using a Multi-Touch device, swipe up or down with three fingers to show or hide
the Timing pane.
96
Chapter 2
The Motion Interface
To resize the Timing pane
Do one of the following:
µ
After the Timing pane appears, drag the tool bar that contains the timing display (above
the Timing pane) up to heighten the Timing pane or down to lower the pane.
µ
Drag the boundary (the gray line) between the File Browser, Library, or Inspector and the
Timing pane list to the left or right to widen or narrow the pane.
µ
Deselect the “i” button in the lower-left corner of the Motion Project window to widen
the Timing pane.