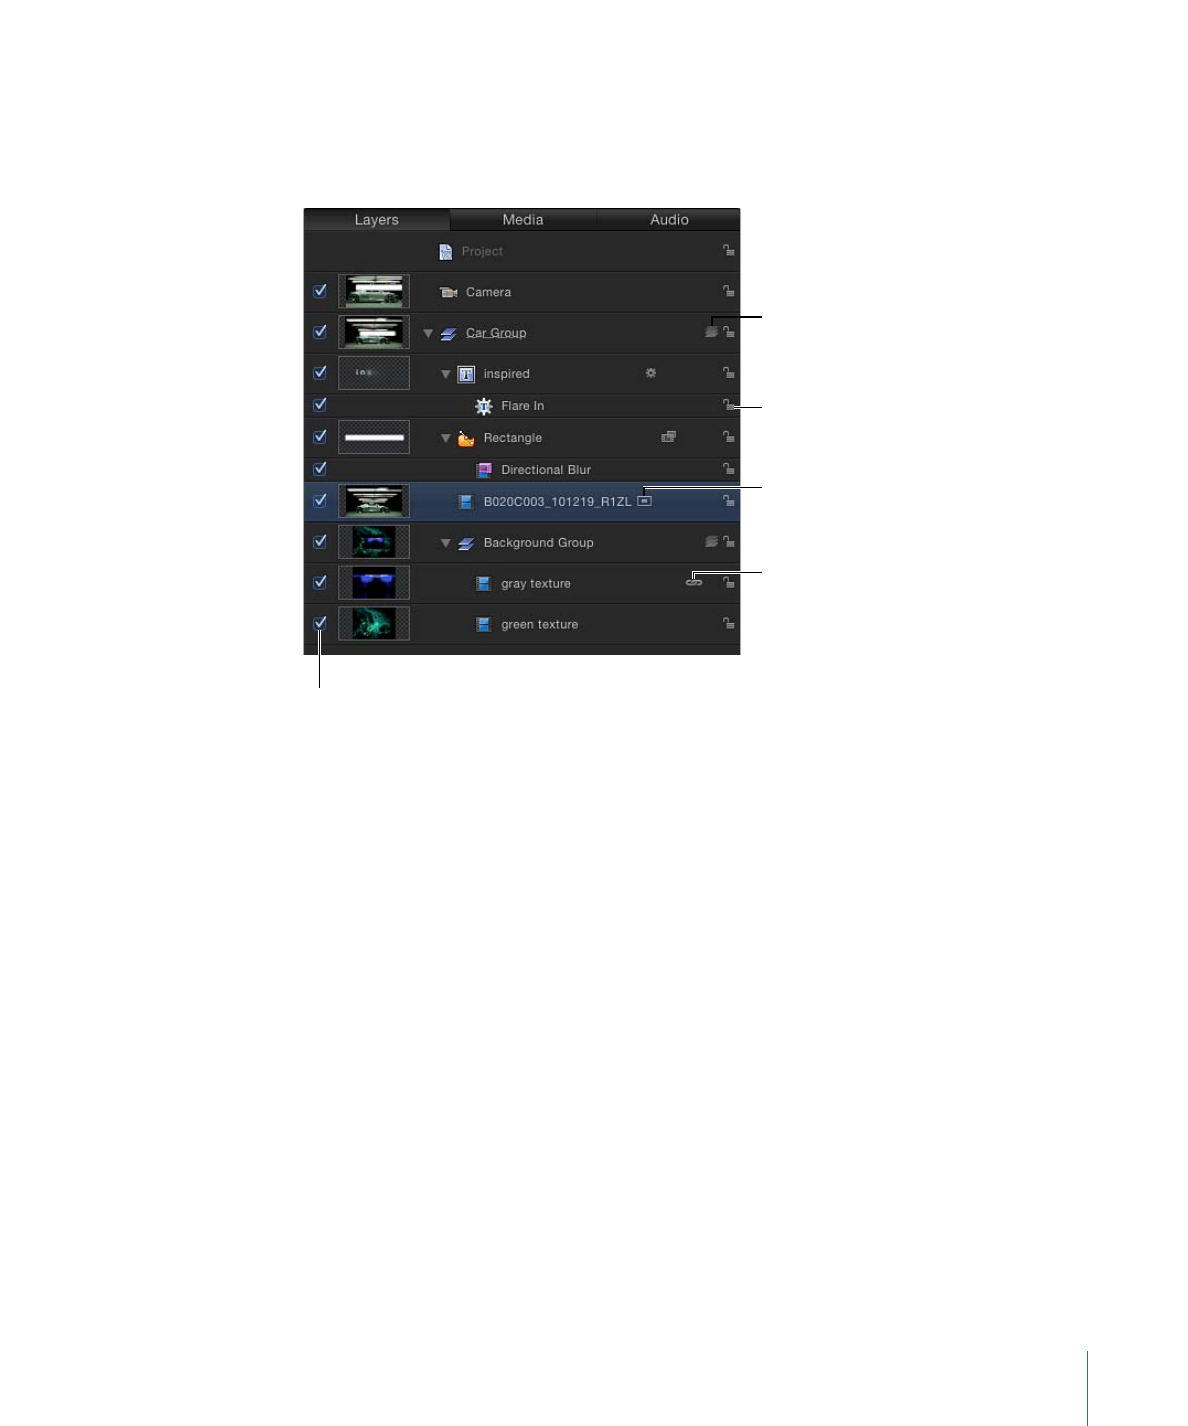
Layers List Controls
The Layers list contains the following controls:
Isolate button
Link icon
Lock button
2D/3D icon
(set to 3D)
Activation checkbox
Activation checkbox:
Turns the visibility of the object (or its effect) on or off. When the
object’s visibility is off, you can still modify the object’s parameters and manipulate its
onscreen controls.
Preview:
Contains a thumbnail of the object. The group thumbnail represents the
cumulative result of the composite up to that point in the project. You can turn the display
of the preview on or off in the Layers Columns section of the View menu.
Name field:
Identifies the object by name. To edit the name, double-click the text area
of a selected object, enter a new name, then press Return. In projects containing a camera,
the Isolate button appears in the Name column.
Isolate button:
Appears for a selected layer, group, or camera in a project that contains
a camera. The button has an active and inactive state. Clicking the Isolate button for a
layer or group sets that object to its original face-forward orientation (so you can apply
a mask, for example). Clicking the button again returns to the previous view. Clicking the
Isolate button for a camera takes you to that camera’s view.
Note: When a group or layer is isolated, the name of the item replaces the current camera
listing in the Camera menu (in the upper-left corner of the Canvas).
Link icon:
Appears when the layer has a corresponding audio element, such as a
multichannel QuickTime file. To unlink the video and audio (to edit them separately), click
the link icon. When unlinked, a red slash appears through the icon.
83
Chapter 2
The Motion Interface
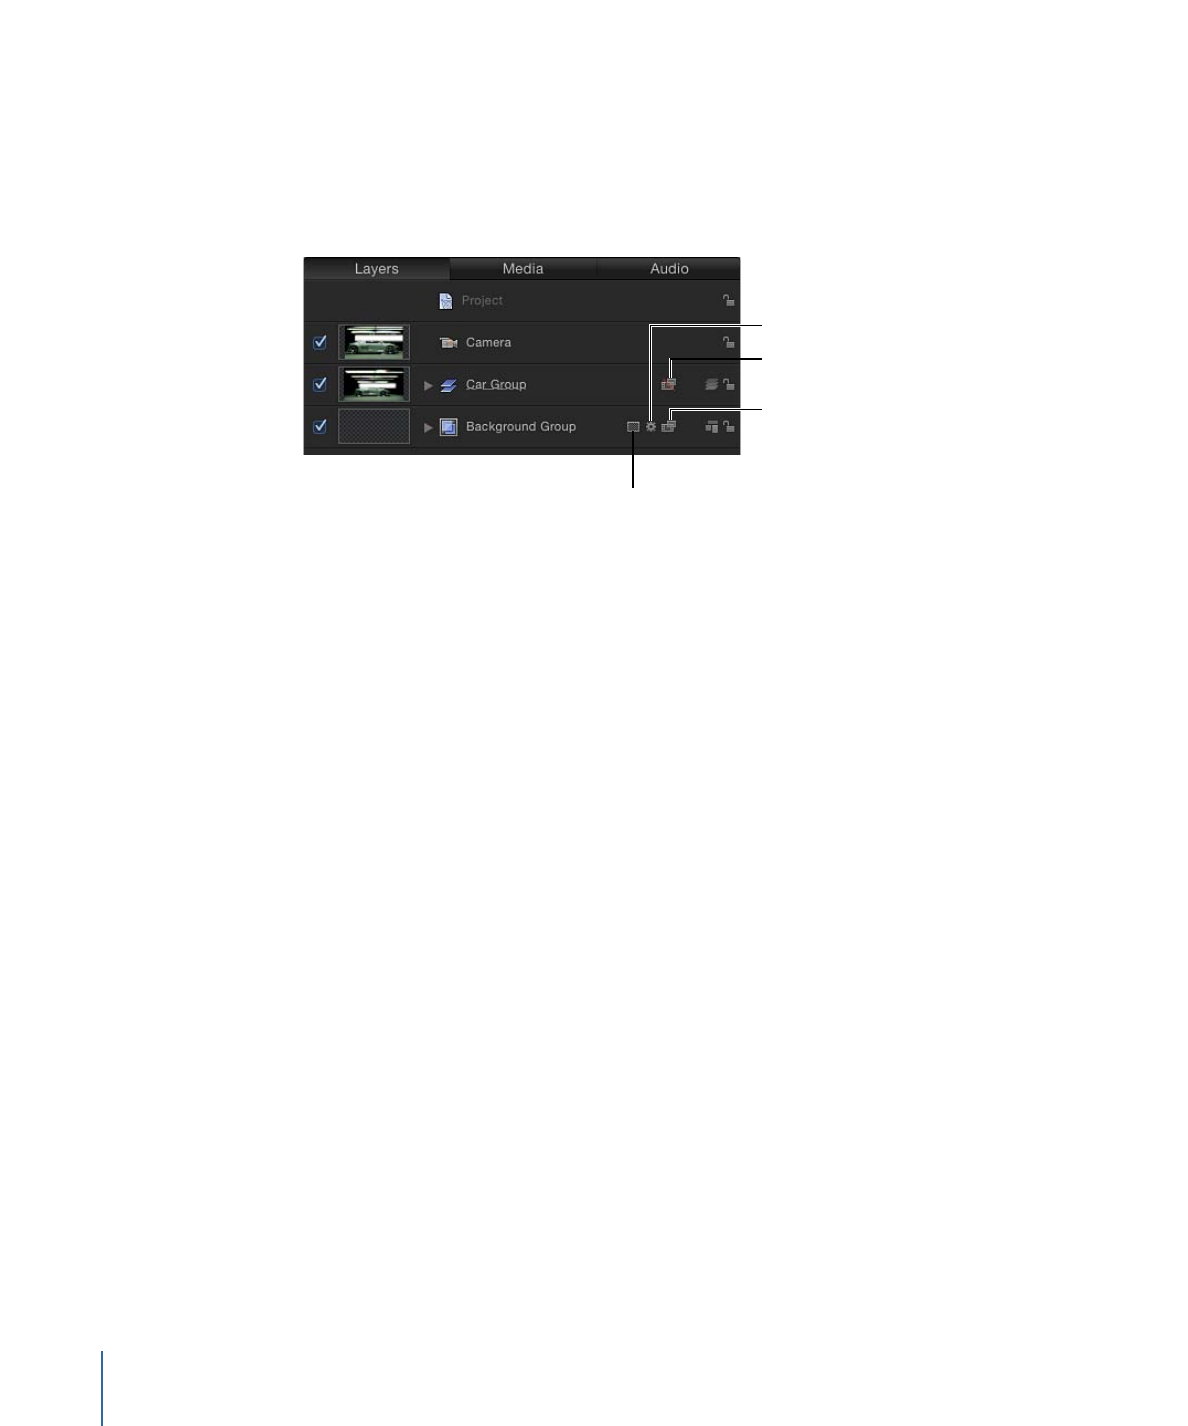
Mask icon:
Appears when a mask is applied to the layer or group. To turn off the effect
of the mask, click the icon. A red slash appears through a disabled mask’s icon.
Behavior icon:
Appears when a behavior is applied to the layer or group. To turn off the
effect of the behavior, click the icon. A red slash appears through a disabled behavior’s
icon.
Disabled filter
Masks
Filters
Behaviors
Filter icon:
Appears when a filter is applied to the layer or group. To turn off the effect
of the filter, click the icon. A red slash appears through a disabled filter’s icon.
2D/3D icon:
Switches a group between 2D or 3D mode. The same icon appears at the
left of the group name and indicates the 2D/3D status of the group. Layers cannot be 2D
or 3D—they are always 2D elements in a 2D or 3D group.
Lock icon:
Locks an object to prevent changes from affecting that object. Locking a group
prevents changes to layers and effects in that group. When the lock is disabled, its icon
appears open.
Opacity slider:
Displays the opacity (transparency) of the group or layer. You can adjust
the slider to change the item’s opacity. This slider is not displayed by default. To display
the Opacity slider in the Layers list, choose View > Layers Columns > Opacity.
Blend Mode pop-up menu:
Displays the blend mode of the layer or group. Click the
pop-up menu to choose a blend mode. You can turn the display of the blend mode
pop-up menu on or off in the Layers Columns section of the View menu. This pop-up
menu is not displayed by default. To display the Blend Mode pop-up menu in the Layers
list, choose View > Layers Columns > Blend Modes. For more information on blend modes,
see
Using Blend Modes
.