Mini-Timeline
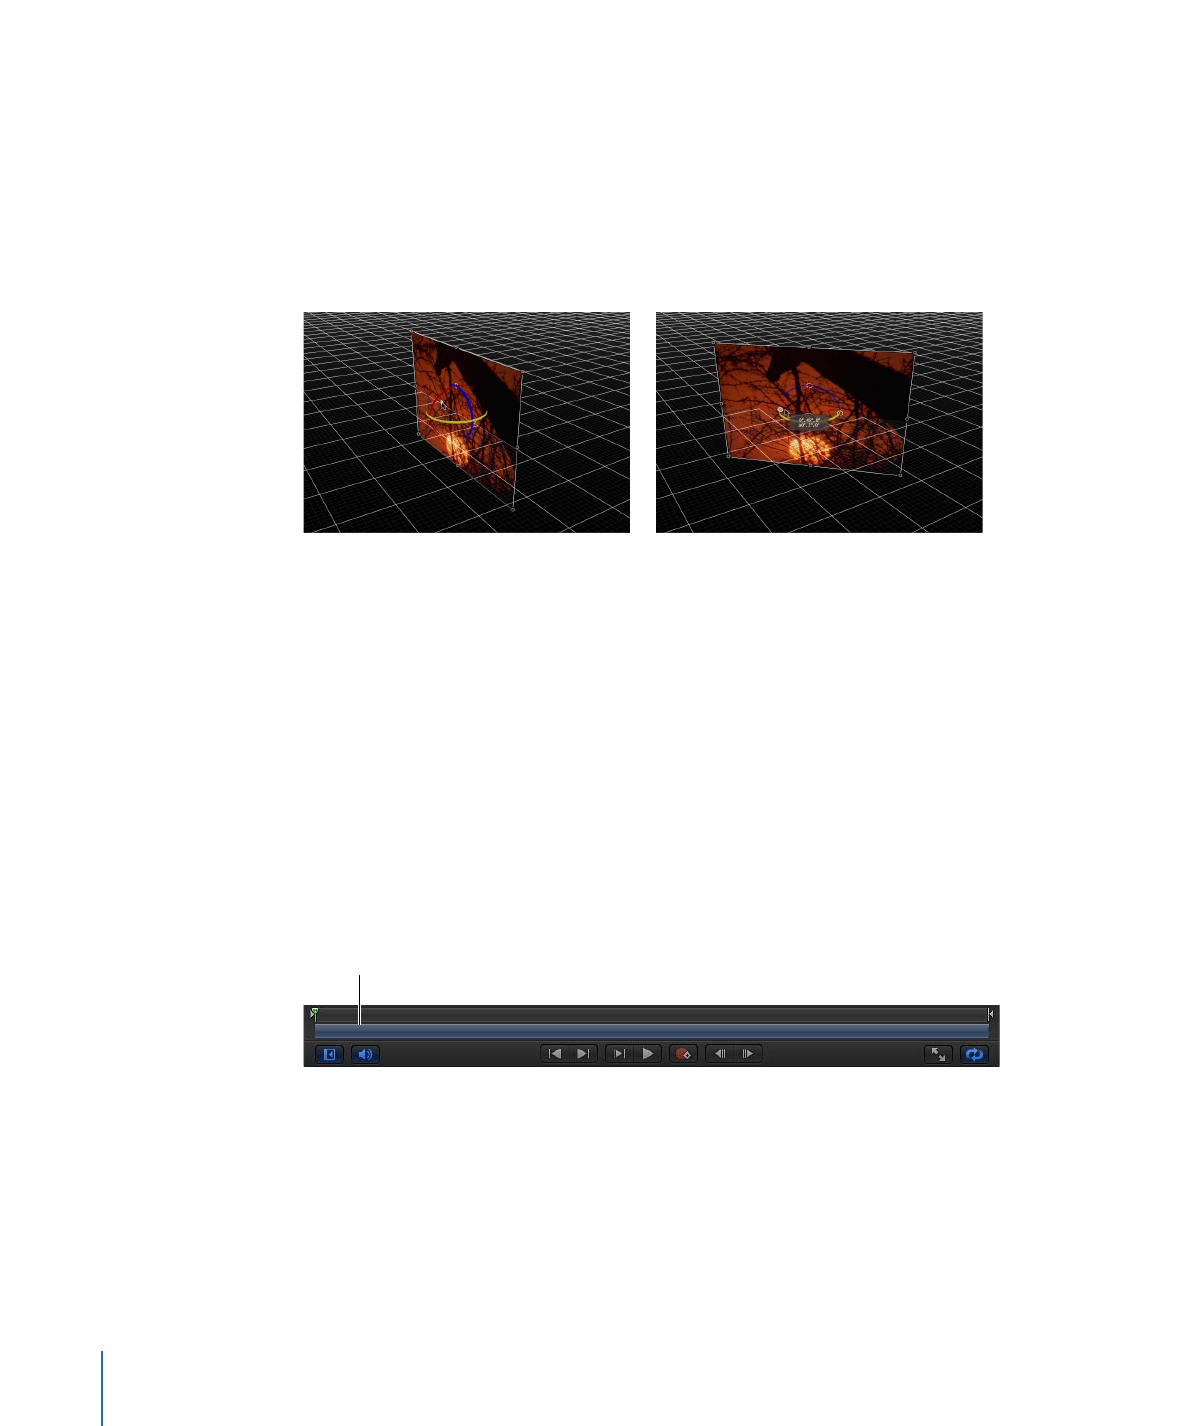
The mini-Timeline is above the transport controls and below the Canvas. The mini-Timeline
provides an at-a-glance look at where selected objects fit into the project as a whole. The
mini-Timeline also provides controls to perform quick edits such as moving, trimming,
and slipping objects without opening the Timing pane.
Mini-Timeline
The playhead indicates which frame you are viewing, and shows In and Out markers to
identify the play range. The length of the mini-Timeline represents the duration of the
project.
You can add objects (such as clips, images, particle emitters, and so on) to a project at a
specific time by dragging items from the File Browser or Library to the mini-Timeline.
74
Chapter 2
The Motion Interface

To add an object to the mini-Timeline
µ
Drag the item from the File Browser or Library to the mini-Timeline, releasing the mouse
button when the tooltip indicates the frame you want.
To move an object in time
µ
Select the object to move, drag the object bar in the mini-Timeline to the left or right to
reposition it in time, then release the mouse button when you reach the position you
want.
To shorten or lengthen an object
µ
Select the object, position the pointer over the beginning or ending edge of the object
in the mini-Timeline, then drag the edge of the object bar to change its duration.
A tooltip appears to indicate the In or Out point and the amount of change your edit is
causing.
For more information on using the mini-TImeline, see
Mini-Timeline
.