
Canvas Rulers
Using rulers in the Canvas can help you compose or align elements of your project, as
well as snap objects to rulers.
To turn on rulers
µ
In the View pop-up menu, enable Rulers (or press Command-Shift-R).
When Rulers are enabled, a checkmark appears next to the item in the pop-up menu.
By default, rulers appear along the left and top sides of the Canvas. You can change the
location of the rulers in the Canvas pane of Motion Preferences.
To change the location of the rulers
1
Choose Motion > Preferences.
2
In the Canvas pane, click Alignment, then choose a ruler layout from the Ruler Location
pop-up menu.
To add a horizontal or vertical guide to the Canvas
1
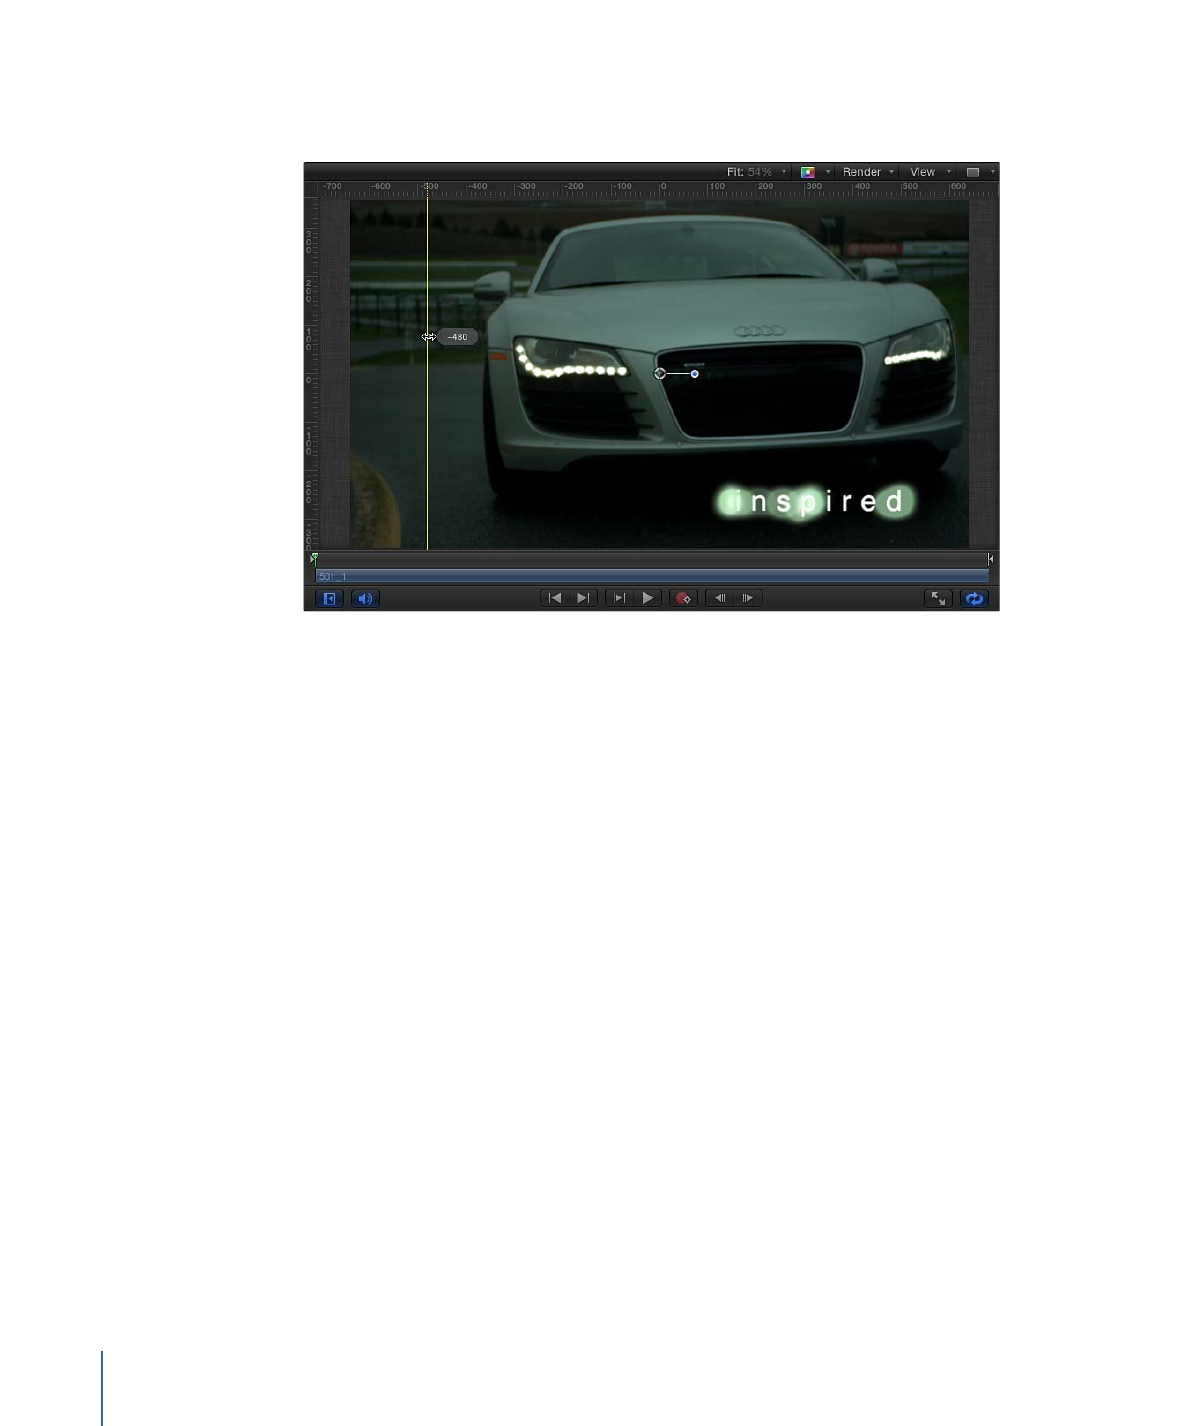
Click in the gray area of the horizontal or vertical ruler, and drag into the Canvas.
As you drag, the value of the guide is displayed in the Canvas.
69
Chapter 2
The Motion Interface
Note: Guides must be enabled in the View pop-up menu (or by pressing
Command-Semicolon) to display the guides.
The ruler units are in pixels, with the 0, 0 point in the center of the Canvas.
2
When the guide is in the location you want, release the mouse button.
To simultaneously add a horizontal and vertical guide to the Canvas
1
Drag from the corner where the rulers meet into the Canvas.
2
When the guides are in the location you want, release the mouse button.
To remove a guide from the Canvas
µ
Drag the guide off the Canvas.
To delete the guide, drag into the Project pane or Timing pane areas, then release the
mouse button.
To change the color of the guides
1
Choose Motion > Preferences.
2
In the Canvas pane, click Alignment, click or Control-click the Guide Color well, then select
a color.
70
Chapter 2
The Motion Interface