
Manipulating the 3D View
The 3D workspace provides tools for manually changing your view or viewing a scene
from a reference camera, such as Front, Back, Top, Bottom, and so on. You can also choose
to view the scene through any camera added to your project.
Note: The Left, Right, Top, and Bottom camera views are orthogonal views. You cannot
animate or export these views.
71
Chapter 2
The Motion Interface
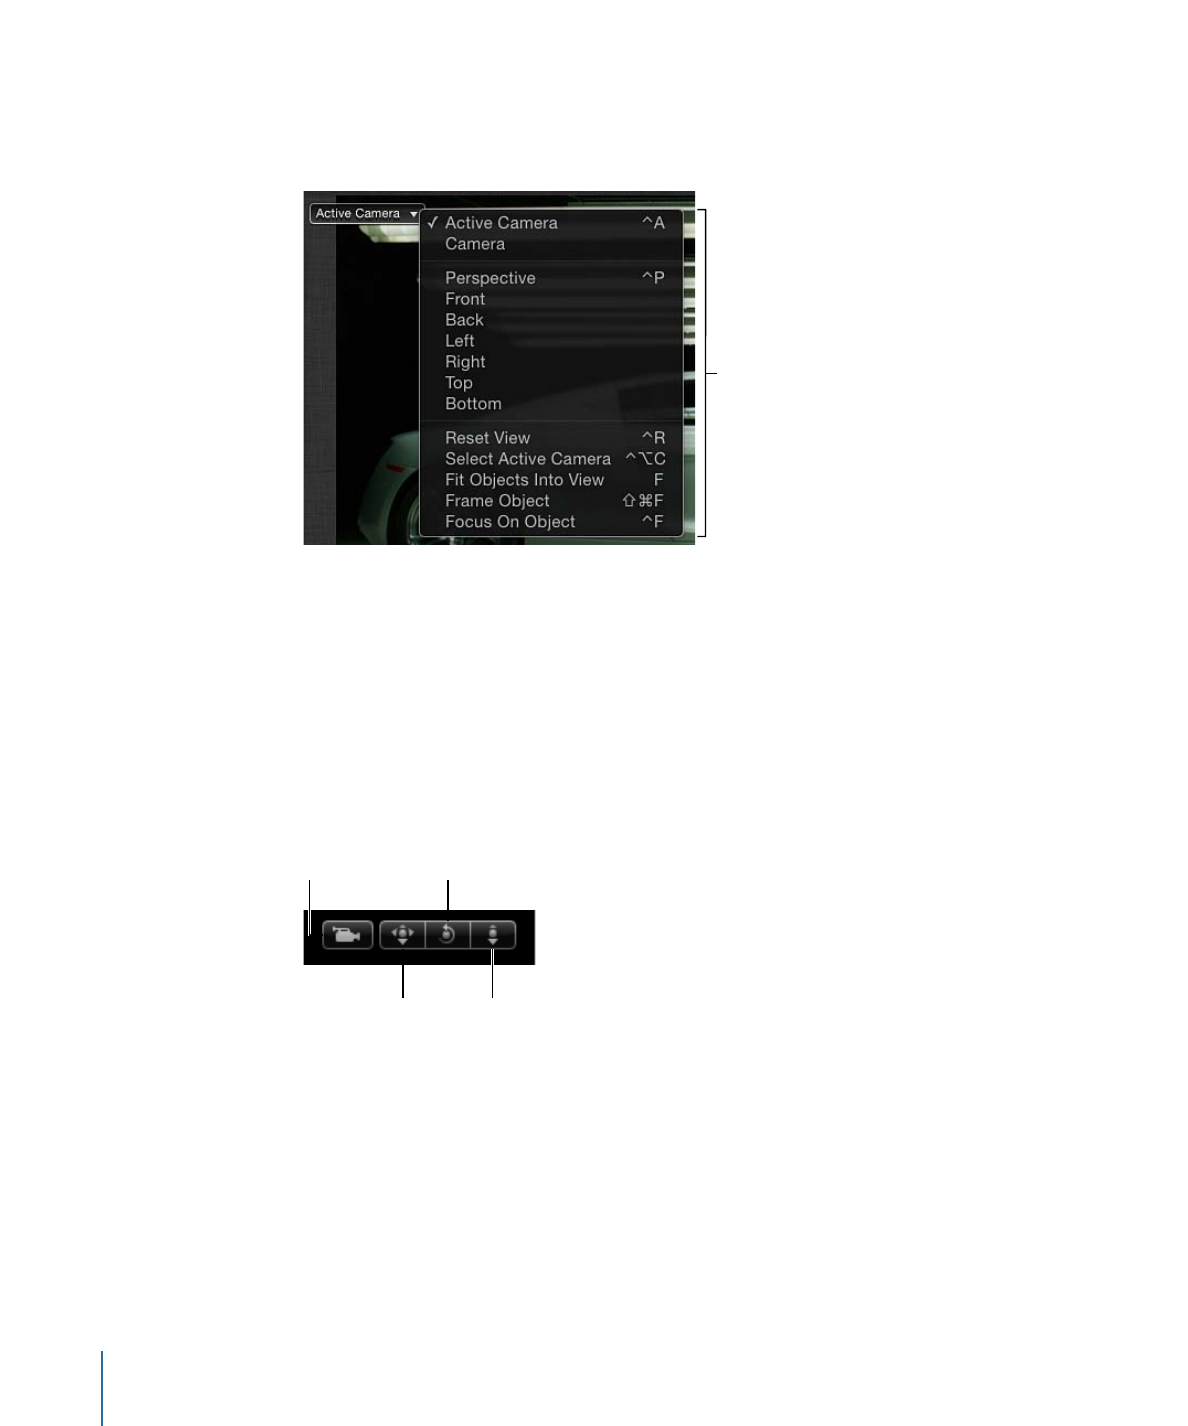
To set the current view
µ
Click the Camera menu in the upper-left corner of the Canvas and choose a camera from
the list. Motion animates the view change as it moves to the view.
Camera menu
If you modified the view, an asterisk appears next to the name of the camera view. For
more information, see
3D View Tools
.
Note: If you isolate a layer or group (by choosing Object > Isolate), the Camera menu
shows the name of the isolated object as the current view. For more information on the
Isolate feature, see
Layers List
.
To use the 3D View tools
µ
Drag the Pan, Orbit, or Dolly tool in the 3D View tools.
Like a camera move, the view in the Canvas moves, rotates, or zooms.
Orbit
Pan
Dolly
Scene camera
Important:
The gray scene camera icon appears to the left the 3D View tools when a
user-created scene camera is active. A scene camera is used for rendering specific camera
views. This icon is a reminder (not a button or control) that when you use the 3D View
tools, you are moving the scene camera, which affects your project’s output.
To reset your camera
Do one of the following:
µ
Double-click the Pan, Orbit, or Dolly tool.
µ
Click the Camera menu (in the upper-left corner of the Canvas) and choose Reset View.
72
Chapter 2
The Motion Interface
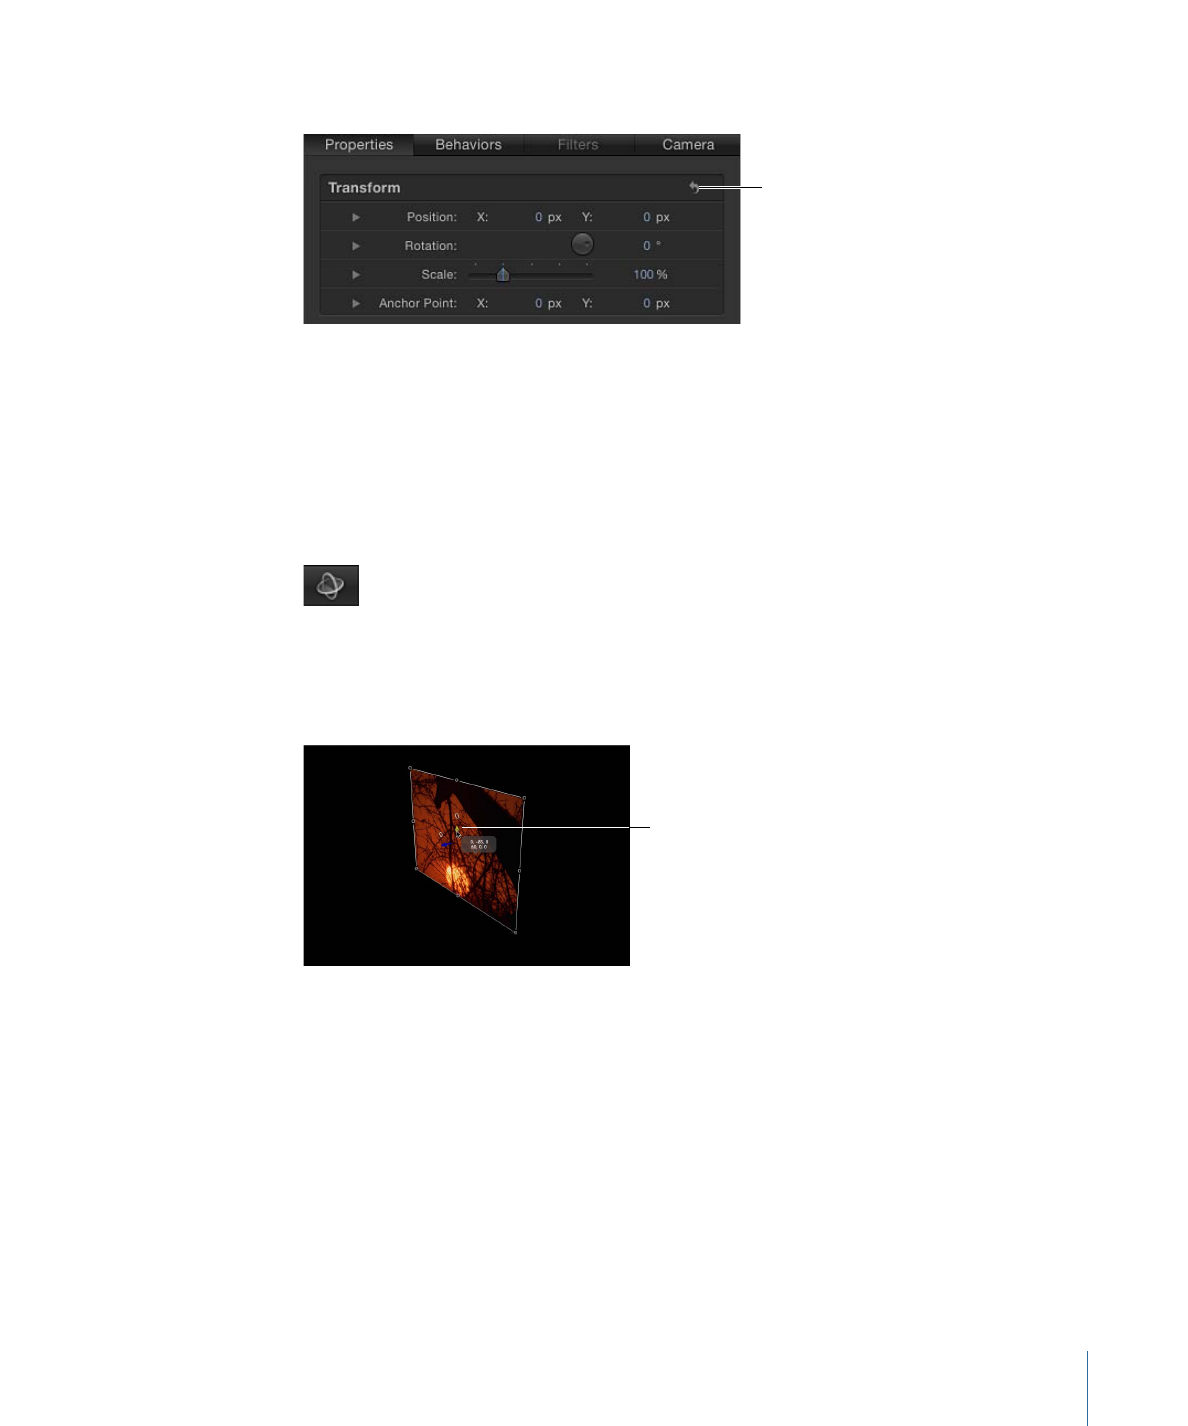
µ
In the Properties Inspector for the camera, click the Transform parameters reset button.
Reset button