
Stabilize Controls
The Stabilize behavior uses a different method to analyze movement in a clip than the
Match Move and Analyze Motion behaviors. Generally, you do not use trackers to stabilize
a clip. The behavior’s sophisticated method of motion estimation tracks every pixel in
one frame to the subsequent frame. A motion vector is calculated based on this analysis.
The analysis can be performed on the entire clip, or on a track region. A track region is a
user-defined area of a clip that is analyzed.
If the result of the analysis requires additional correction, you can perform manual tracking
on noncontiguous time regions of the clip. For example, if an additional camera bump
affects frames 350 to 380, you can add a tracker to analyze that portion of the clip. The
data recorded from the analysis is added to the data recorded by the tracking to further
smooth the clip.
In addition to considering horizontal, vertical, or horizontal and vertical movement in the
clip, the Stabilize behavior also looks at position, scale, and rotation.
Note: The Stabilize behavior can only be applied to footage objects (a QuickTime movie
or an image sequence).
For information on using the Stabilize behavior, see
Stabilize Workflow
.
Note: When Smooth is chosen from the Method pop-up menu, additional parameters
become available in the HUD and Inspector.
1349
Chapter 22
Motion Tracking
Parameters in the Inspector
Source:
To clear a Source well, drag the item away from the well and release the mouse
button. Drag a source object for the behavior to this well. The source object can be
another Stabilize behavior or a footage object.
Action pop-up menu:
Choose from a list of tracking data (from other tracking behaviors)
in the project.
Note: When you select an option from the Action pop-up menu, the Add button, which
allows you to add trackers, becomes unavailable.
Movement:
Click the Analyze button to begin the motion tracking analysis. When you
click Analyze, a status window appears and displays the tracking progress. To stop the
analysis, click the Stop button in the status window or press Esc.
When using the Stabilize behavior (without trackers), the track begins at the start of the
clip, rather than the current playhead position.
Quality:
This pop-up menu defines the level of detail for the motion analysis. There are
two options:
• Faster: This option allows for a faster operation, but motion analysis is less detailed.
• Better: This option provides a more detailed analysis, but is slower. This is the
recommended option when the clip contains rotation.
Track Region:
Select this checkbox to define a subject or area to be analyzed. A red
overlay appears in the Canvas. The area outside this overlay ignored. The track region’s
onscreen controls are similar to a shape’s onscreen controls.
For more information on using the Track Region, see
Adjusting the Stabilize Behavior’s
Track Region
.
Important:
The Track Region must include some area in which the motion can be
extracted. It should not be used as a mask for the object to track.
Method:
This pop-up menu defines how the stabilization is applied to the clip. There are
two options:
• Stabilize: This method attempts to lock the motion of the principal subject in the shot
to eliminate motion. As a result, the background appears to move around the subject
being tracked.
• Smooth: This method smoothes the apparent motion of the camera, while allowing
the general movement in the frame to proceed. It’s useful for removing jitter from a
camera move. When enabled, this mode has three sliders for each dimension that can
be smoothed.
1350
Chapter 22
Motion Tracking
Translation Smooth:
When Method is set to Smooth, use this slider to smooth motion
in the X and Y dimensions.
Rotation Smooth:
When Method is set to Smooth, use this slider to smooth image
rotation.
Scale Smooth:
When Method is set to Smooth, use this slider to smooth an uneven zoom.
Note: Don’t set the Scale Smooth above 0 unless you’re positive that the clip is being
zoomed.
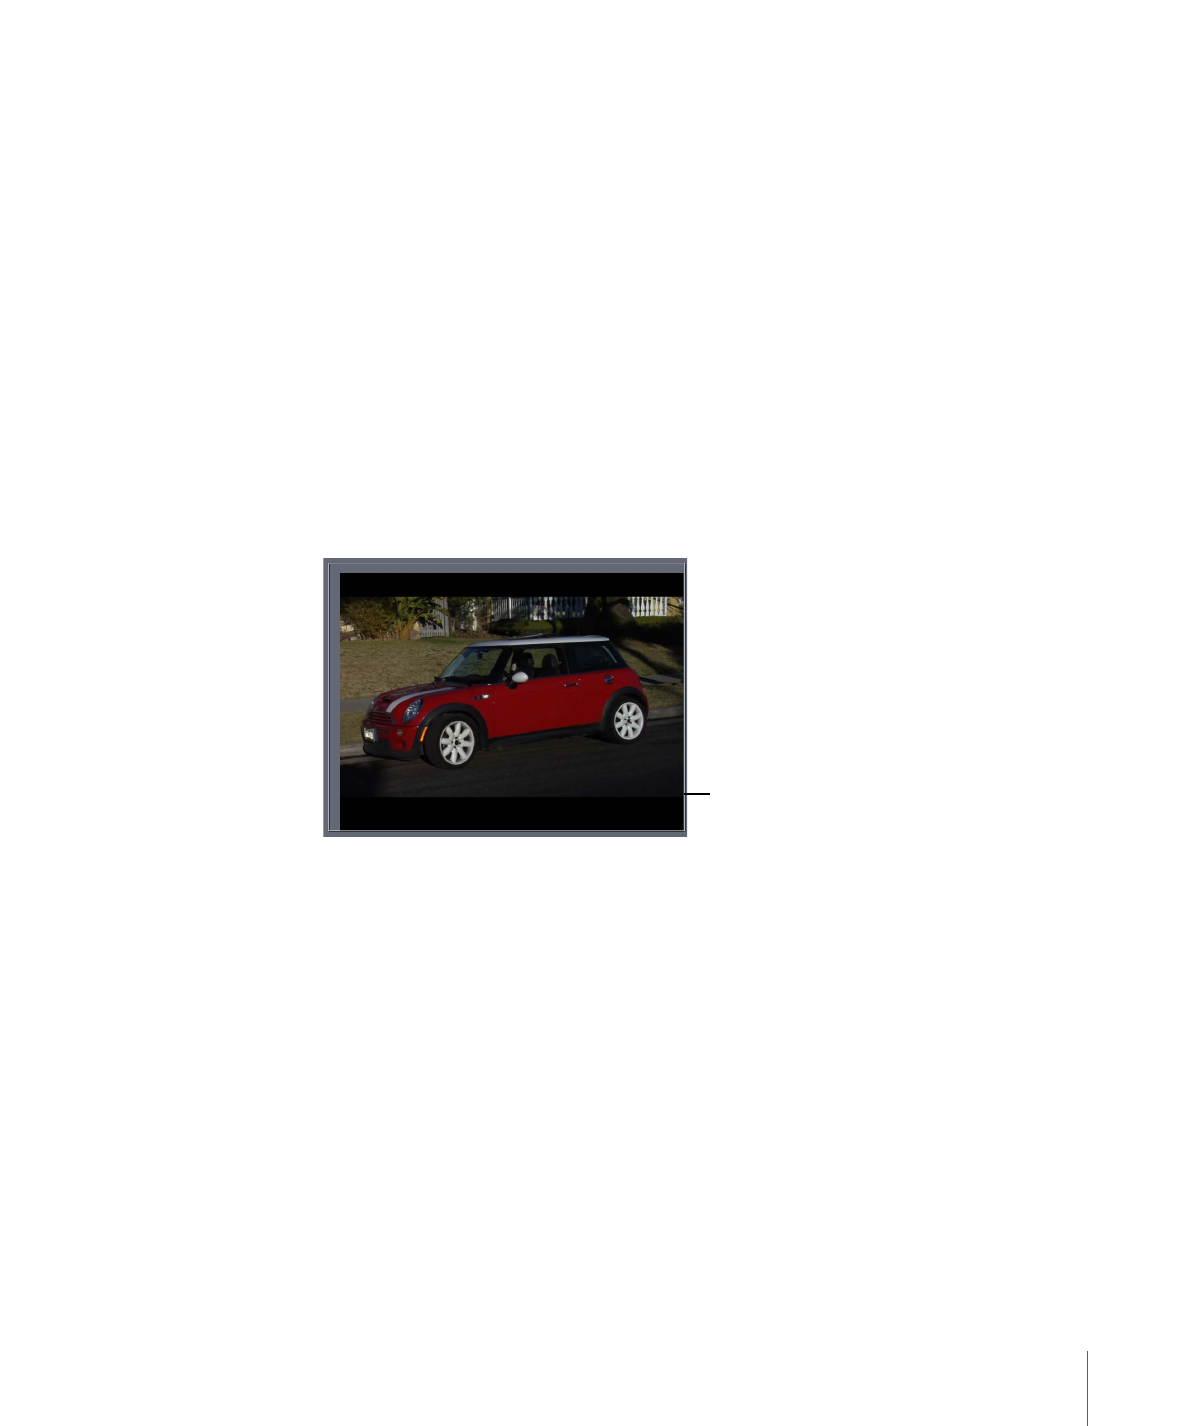
Borders:
When a clip is stabilized, the resulting transformations made to the stabilized
image may cause moving black borders to appear around the edges of the clip. This
pop-up menu defines how the edges are handled. There are two options:
• Normal: Maintains the size of the stabilized footage. The moving black borders remain
around the edges of the clip.
• Zoom: Expands the clip to the full size of the Canvas. This prevents black borders from
appearing around the edges, but scales up the stabilized clip.
Zoomed borders scale
the stabilized clip so
the clip does not move
away from the edge
of the Canvas.
Direction:
This pop-up menu specifies the dimension to which the recorded movement
is applied to the analyzed image: Horizontal and Vertical (X and Y), Horizontal (only X),
or Vertical (only Y).
Adjust:
This parameter allows you to choose the transformation to which the stabilization
is applied. There are three Adjust buttons:
• Position: When enabled, stabilize is applied to the position of the analyzed image.
• Scale: When enabled, stabilize is applied to the scale of the analyzed image.
• Rotation: When enabled, stabilize is applied to the rotation of the analyzed image.
Tracker:
Click the Add button to add trackers to the Stabilize behavior. By default, trackers
are added at the center of the Canvas. A maximum of two trackers can be added to the
Stabilize behavior. When added, Track 1 is used as the anchor (for position) and Track 2
is used for rotation-scale.
1351
Chapter 22
Motion Tracking
After a tracker is added to a Stabilize behavior, the following occurs:
• The Track Region parameter is no longer available.
• The Reverse checkbox becomes available, allowing you to track a clip backwards.
• The Tracker Preview, Offset Track, Auto-Zoom, Auto-Zoom Mode, Look Ahead Frames,
and track list controls become available. For more information, see
Analyze Motion
Controls
.
Note: When another behavior is used as the source for the stabilization, you cannot
add trackers to the Stabilize behavior.
HUD Controls
The Stabilize HUD contains controls to load another stabilize track into the behavior (via
the Source well or the tracking behaviors pop-up menu), to start the motion analysis (via
the Analyze button), to specify whether the clip is stabilized or smoothed (via the Method
pop-up menu), to define how the stabilize clip is sized (via the Borders pop-up menu),
and to choose what transform is applied to the analyzed clip (via the Adjust parameter).