
Spill Suppression
When you key an image that was shot against a blue screen or green screen, some color
will have reflected from the screen to illuminate the edges, or even the interior, of the
foreground subject. This unwanted coloration of the subject is called spill, and can be
difficult to eliminate from the foreground subject you’re trying to preserve.
Unlike the spill suppression controls found in the Keyer filter, which automatically
neutralize the color being keyed, the Spill Suppressor filter lets you deal with this problem
by manually choosing the color to be neutralized.
Parameters in the Inspector
Color:
Use this control to sample the color to suppress in the keyed image. Click the color
well and choose a hue from the Colors window, or use the eyedropper to sample a color
in the Canvas.
Level:
Use this slider to adjust the amount of spill removal applied to the keyed image.
Tip: Green screen clips typically benefit from a lower spill-level setting than blue screen
clips. Good starting points to try are 46% for green and 73% for blue, although you’ll
need to customize these values for your composites.
Spill Contrast:
Use this grayscale gradient to adjust the contrast of the color being
suppressed, using Black and White point handles (and corresponding sliders). Modifying
spill contrast can reduce the gray fringing surrounding a foreground subject. The Black
point handle (on the left side of the control) lightens edge fringing that is too dark. The
White point handle (on the right side of the control) darkens edge fringing that is too
light. Depending on how much spill is neutralized by the Spill Level slider, these controls
may have a greater or lesser effect on the subject.
Black, White:
Click the disclosure triangle in the Spill Contrast row to reveal sliders for
the Black and White point parameters. These sliders, which mirror the settings of the Spill
Contrast handles described above, allow you to keyframe the Black point and White point
parameters (via the Add Keyframe button to the right of each slider).
Tint:
Use this slider to restore the natural color of the keyed foreground subject. Because
Spill Suppression controls eliminate blue or green spill by desaturating subtle blue or
green fringing and reflection on the subject, the Tint slider lets you add hues to restore
the natural color of the subject. Overdoing this parameter results in over-tinting the
subject with the complementary color of the hue being suppressed—magenta if green,
and orange if blue.
Saturation:
Use this slider to alter the range of hues introduced by the Tint slider (when
the Tint slider is used at moderate levels).
Tip: The best order in which to use these controls is to adjust Tint before you adjust
Saturation.
Mix:
Use this slider to set the percentage of the original image to be blended with the
filtered image. 100% is the filtered image, while 0% is the original, unfiltered image.
663
Chapter 13
Keying

HUD Controls
The HUD contains the following controls: Color, Level, Tint, and Saturation.
664
Chapter 13
Keying
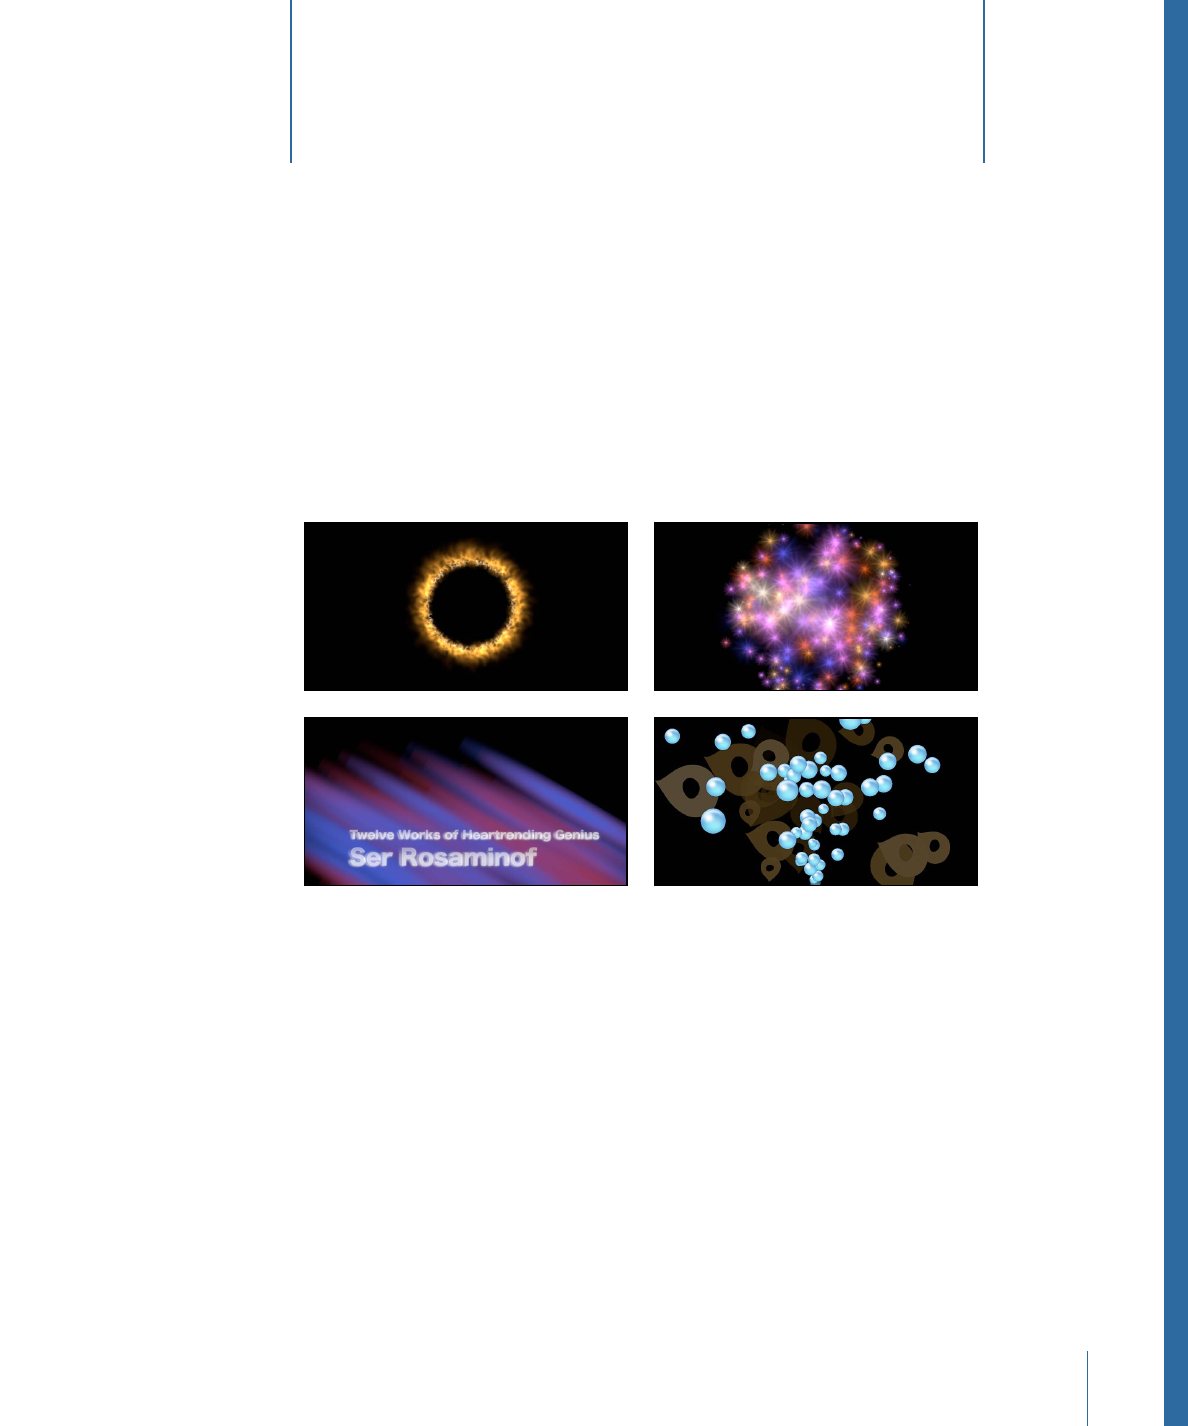
Particle systems allow you to create sophisticated effects involving large numbers of
automatically animated objects. You can use the included Particle Emitters library to add
a premade particle system to your composition, or you can create your own custom
particle effects using nearly any image layer or group in your project. Particle systems in
Motion are flexible enough to create many different effects.
This chapter covers the following:
•
About Particle Systems
(p. 666)
•
Anatomy of a Particle System
(p. 667)
•
Using Particle Systems
(p. 669)
•
Creating Graphics and Animations for Particle Systems
(p. 686)
•
The Difference Between Emitter and Particle Cell Parameters
(p. 688)
•
Emitter and Cell Parameters
(p. 692)
•
Animating Objects in Particle Systems
(p. 714)
•
Viewing Animated Emitter Curves in the Keyframe Editor
(p. 718)
•
Using Masks with Particle Systems
(p. 719)
665