Aligning Keyframes in the Timeline
The advantage of manipulating keyframes in the Timeline is the ability to line up a
keyframe with other important elements in time. For example, you might want to align
a filter keyframe applied to one object with the In or Out point of another object, or a
marker, or a keyframe in another track.
In this way, you can arrange two objects to fade in or blur into focus at the same frame.
It doesn’t matter whether the objects are in the same group.
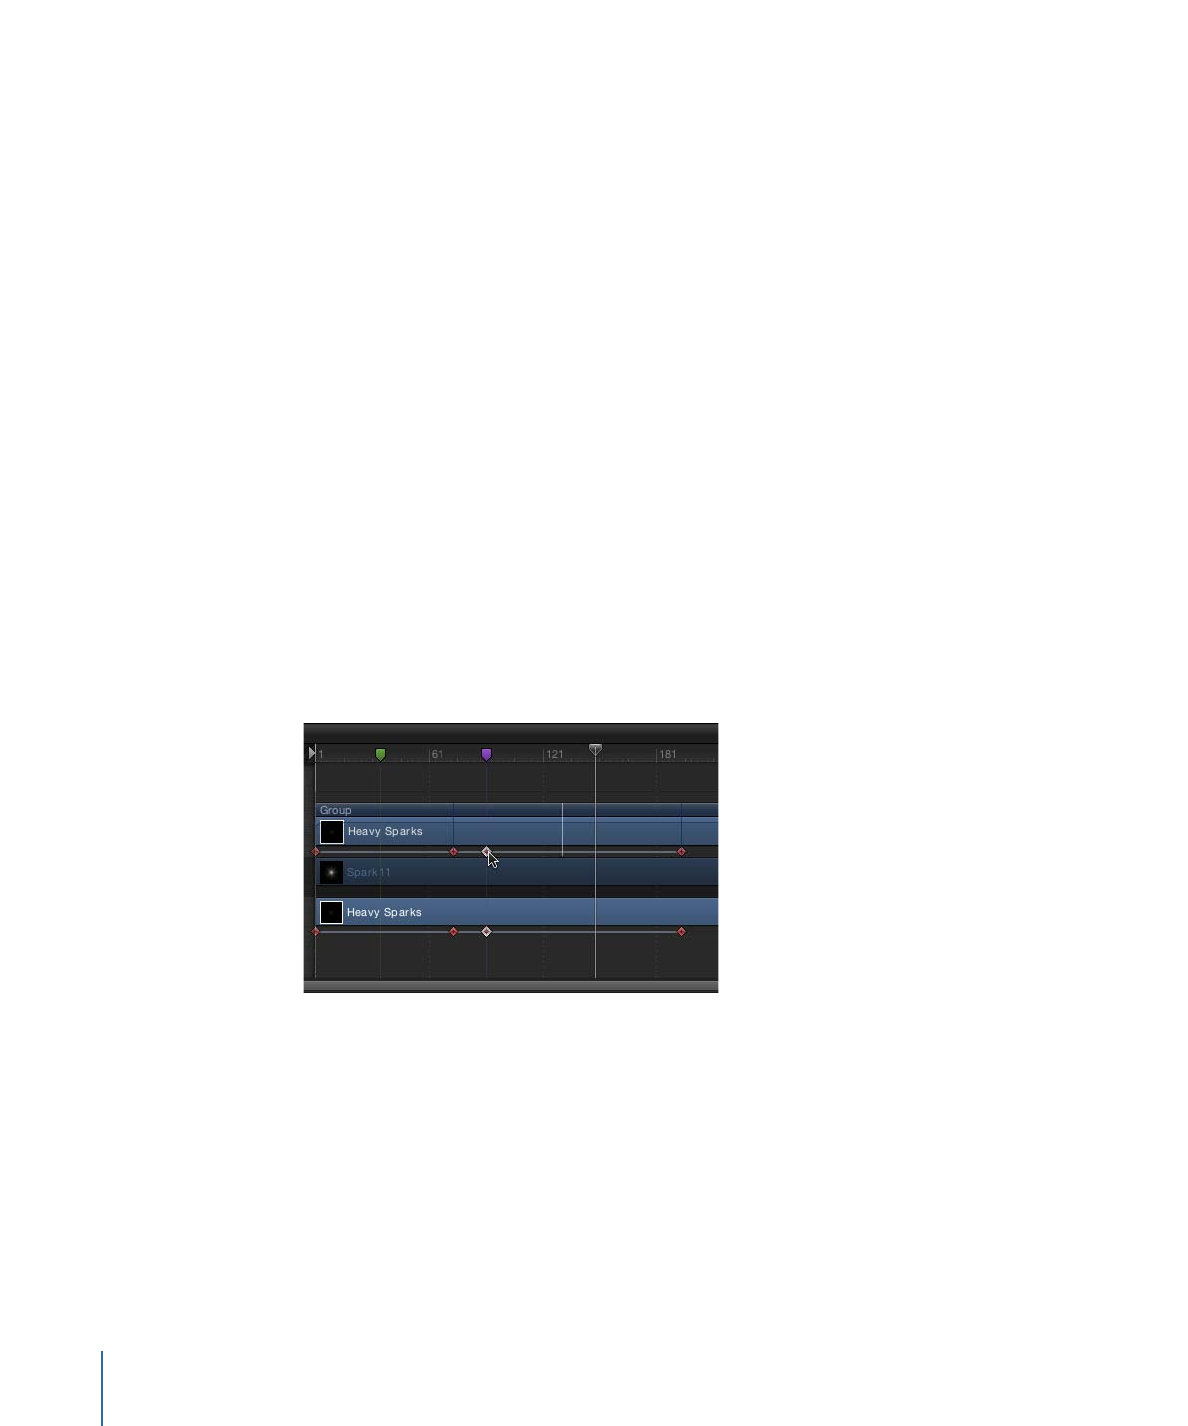
To align a keyframe to a marker in the Timeline
1
Turn on the Show Keyframes button and identify the keyframe to move.
2
Press the Shift key and drag the keyframe in the Timeline until it snaps to the marker.
In the following image, the keyframe snaps to the purple marker in the Timeline ruler.