Using the Record Button
One of the simplest ways to create keyframes is to use the Record button. When Record
is enabled, a keyframe is created when a parameter is adjusted or when an object in the
Canvas is moved or transformed. Animateable parameters in the Inspector appear red
when Record is enabled.
Note: When Record is enabled, keyframes are created whether you adjust the object
onscreen, in the HUD, or in the Inspector.
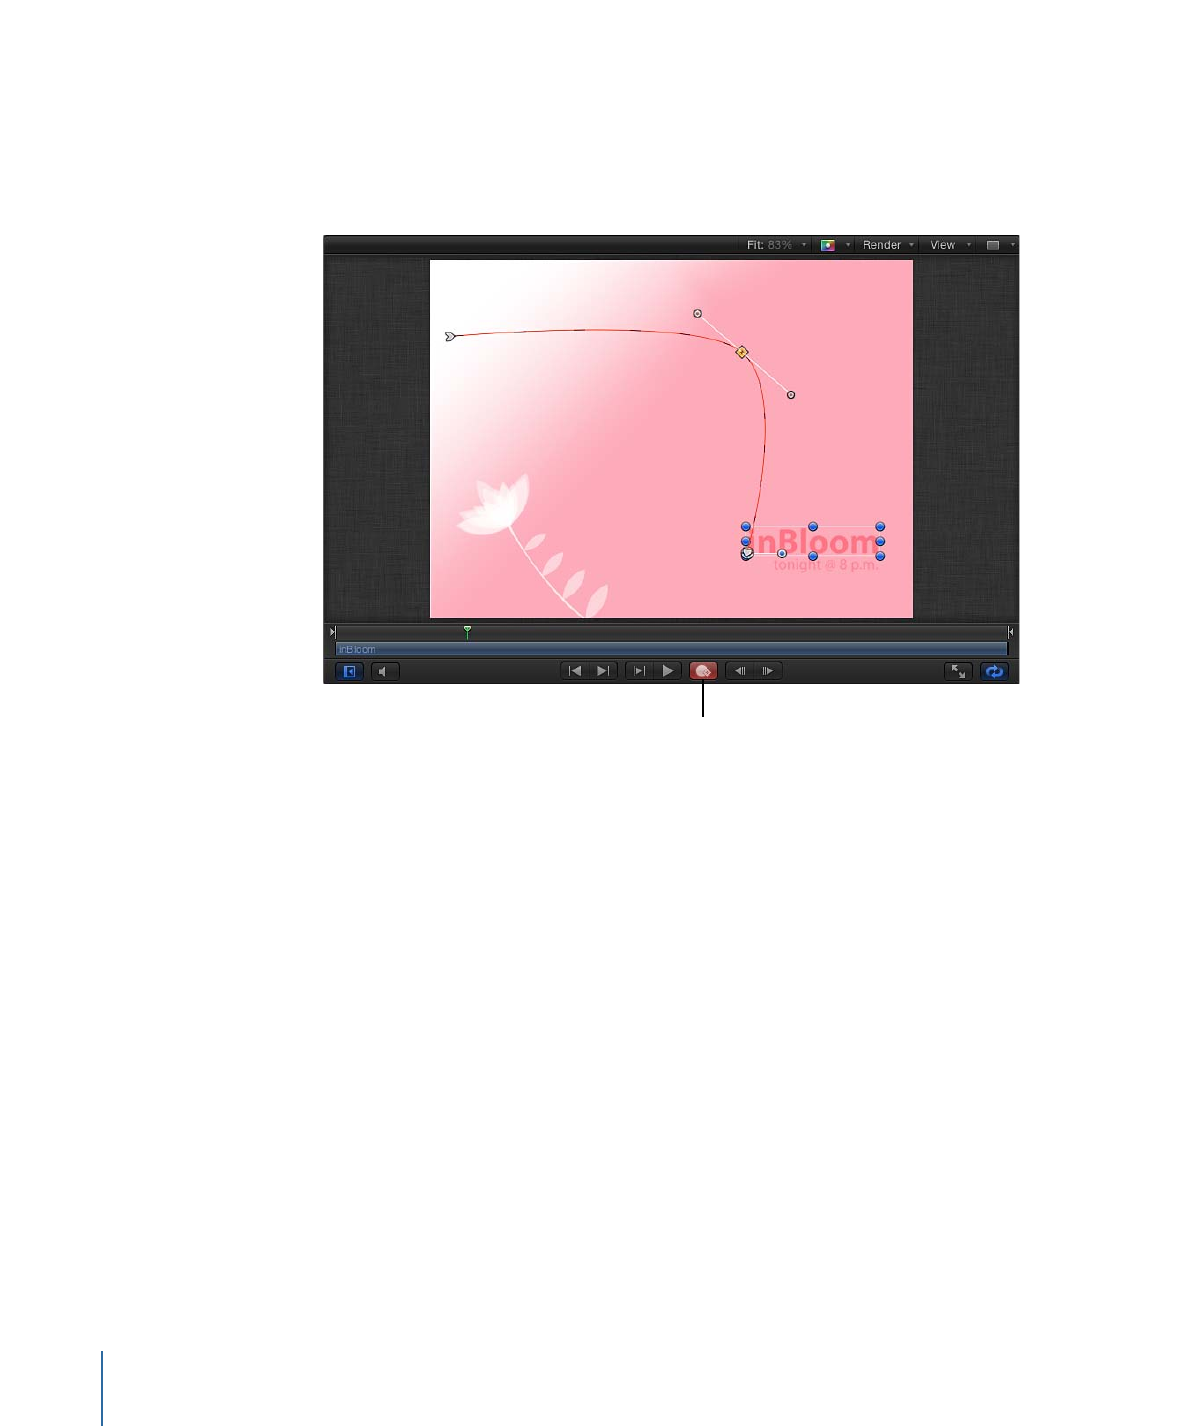
When Record is enabled, the changes you make to the object are applied as keyframes
at the current playhead position. If you move the playhead to a new position and change
the shape or position of the object, you create a keyframe. If you are working in the Canvas
and don’t show keyframes in the Timeline or open the Keyframe Editor, you won’t see
these keyframes at first. In the Inspector, a keyframed parameter appears red, and the
Add/Delete Keyframe button is visible.
570
Chapter 12
Keyframes and Curves

After you set two or more keyframes in the project, Motion animates changes to the
object between the keyframes.
To scale an object over time using the Record button
1
Click the Record button (or press A) to turn on keyframe animation recording.
You can also choose Mark > Record Animation.
2
Select an object in the Canvas.
3
Move the playhead to a new time position.
4
Resize the object by dragging a scale handle.
5
Click the Record button (or press A again) to turn off keyframe recording.
The object is scaled over the interval you set. In this same way, you can keyframe any
transformation parameter for your object.
You can also Control-click the object to display a shortcut menu with options for modifying
the Anchor Point, Distort, Drop Shadow, and Crop parameters. For example, choose
Transform from the shortcut menu to activate scale and rotation handles in the Canvas.
For more information on object transformations in the Canvas, see
Transforming Layers
.