
Applying Movement to an Object in the Canvas
The easiest way to apply keyframes is to manipulate objects directly in the Canvas while
the Record button is active. Using this method, you can animate changes to basic
parameters such as Scale, Rotation, Position, Distort, Anchor Point, Drop Shadow, Crop,
and Four Corner. Although you can create similar object animations using behaviors,
keyframing gives you the added flexibility to set specific parameter values on precise
frames.
573
Chapter 12
Keyframes and Curves
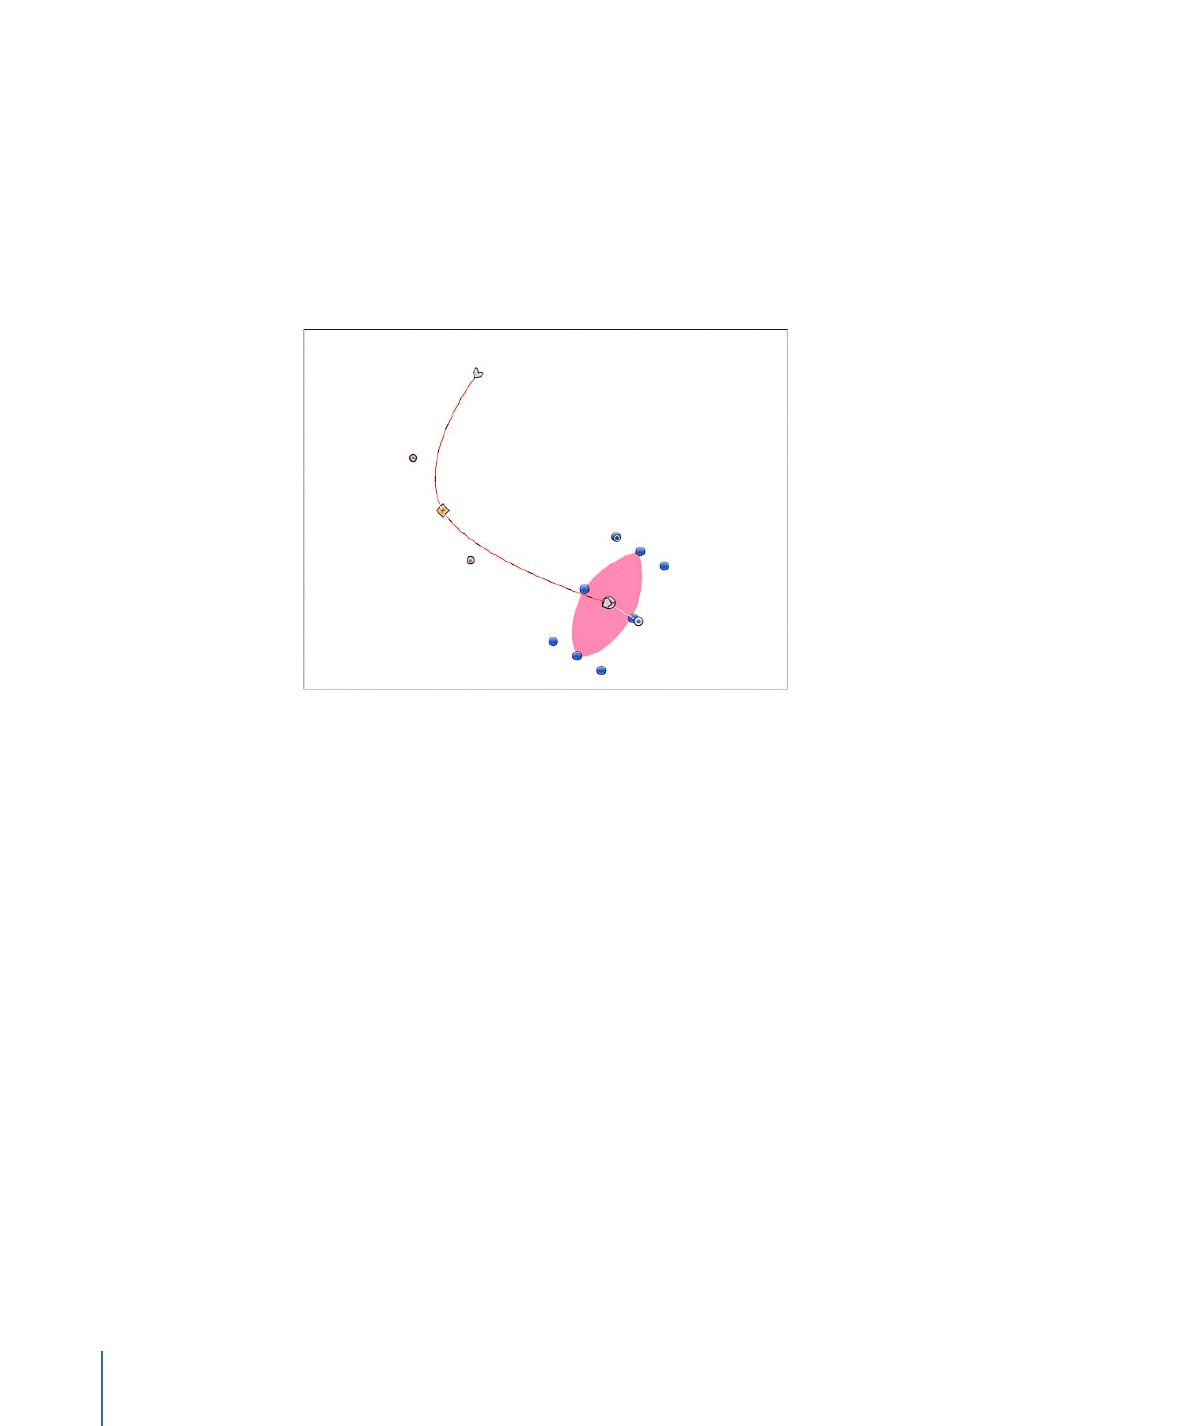
When the Record button is on and you move the playhead to a new frame, any change
you make to an object generates new keyframes. When animating an object’s position,
an animation path is created.
Note: To view the animation paths of keyframed objects, ensure that Animation Path is
selected in the View pop-up menu (in the upper-right corner of the main window, above
the Canvas).
574
Chapter 12
Keyframes and Curves
If the playhead is positioned on a previously set keyframe, changes you make modify that
keyframe rather than the curve, regardless of whether the Record button is on or off.
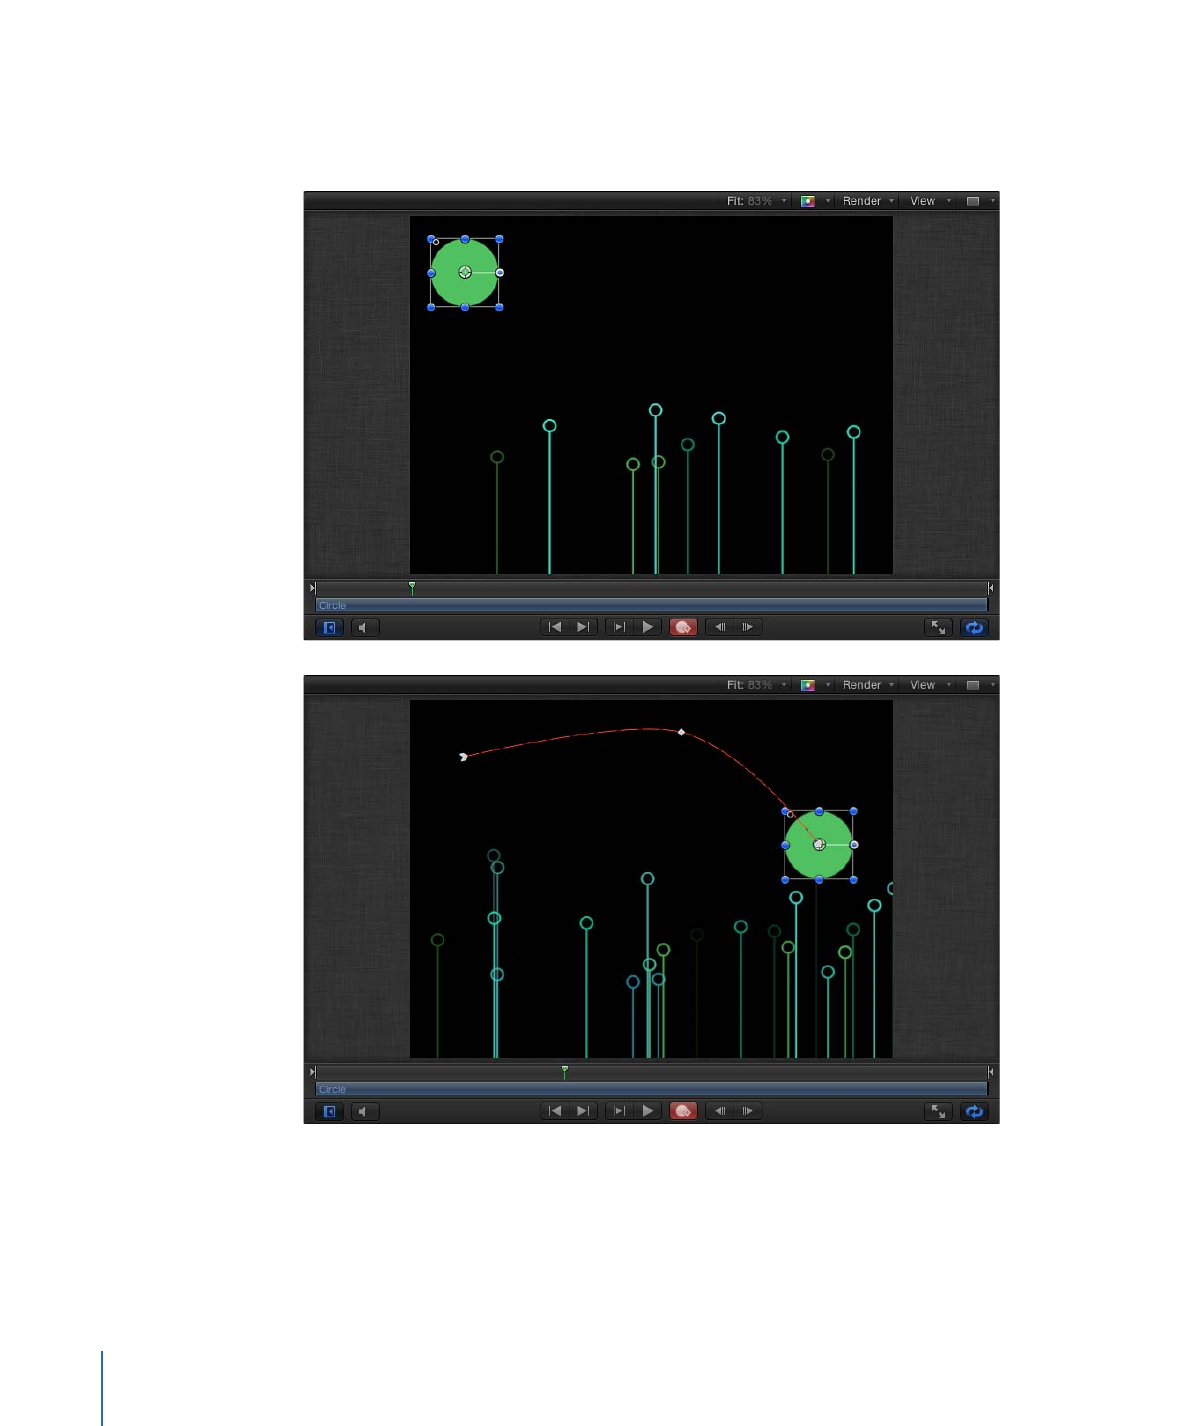
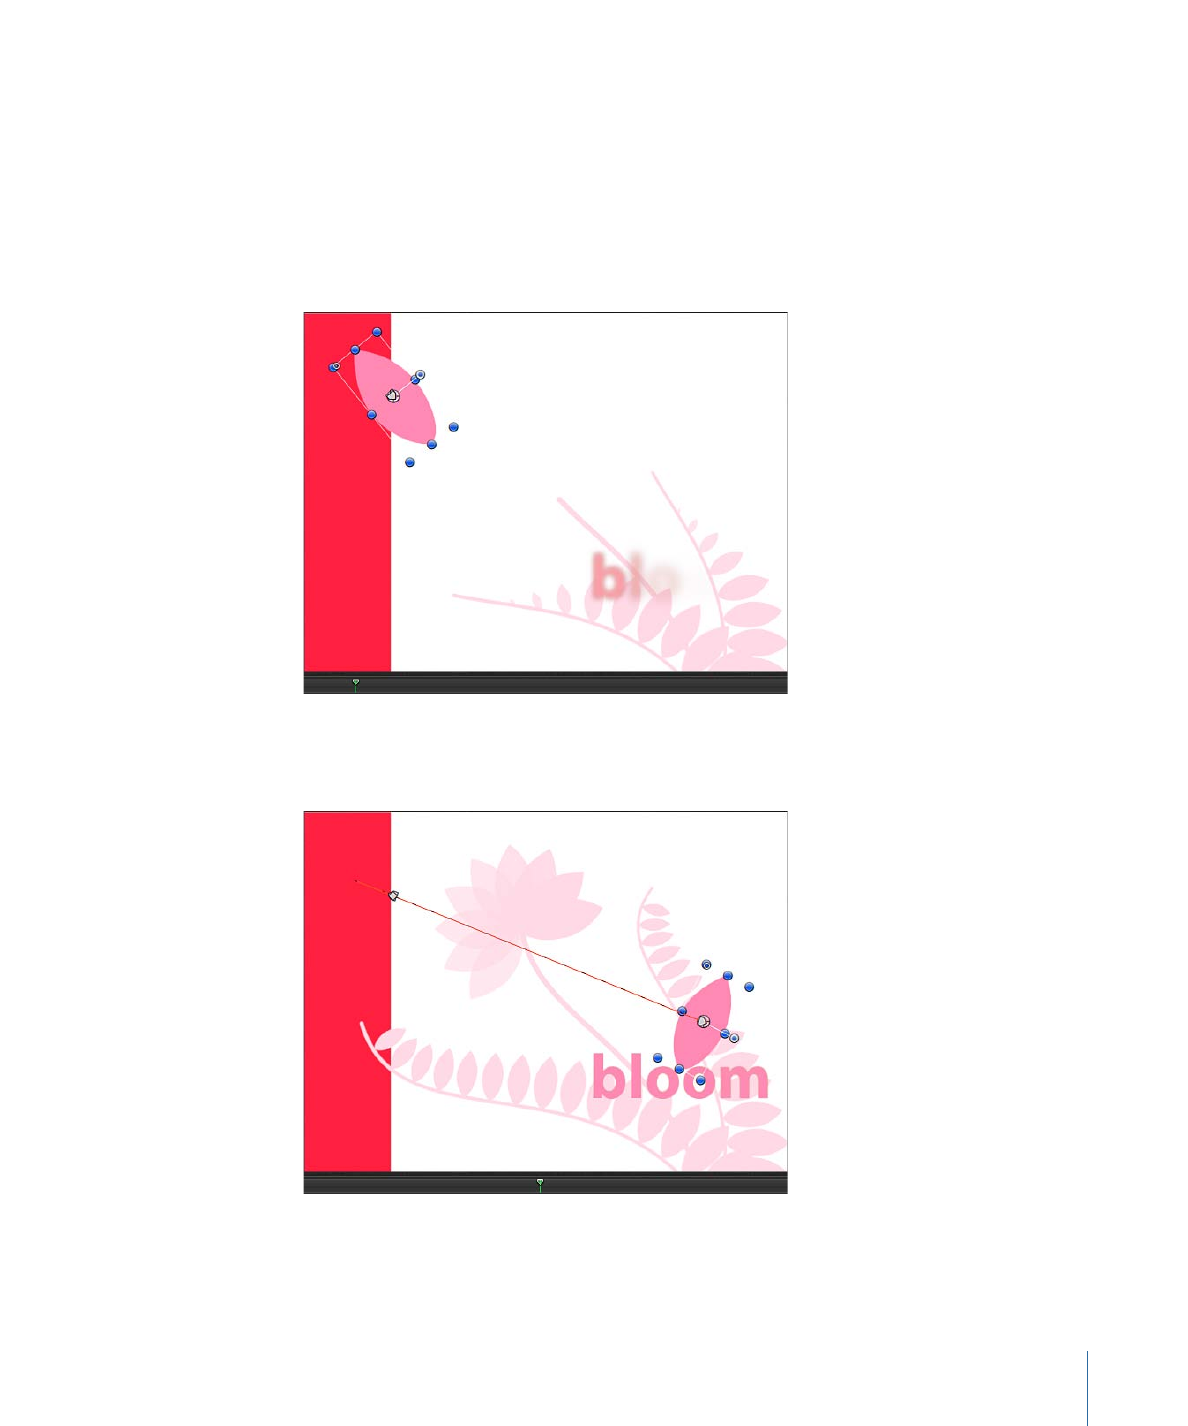
To move an object across the screen
1
Click the Record button (or press A) to turn on keyframe recording.
2
Place the playhead at the starting frame.
3
Place the object in a starting position.
4
Move the playhead forward.
5
Drag the object to the ending position.
6
Click the Record button (or press A) to turn off keyframe recording.
575
Chapter 12
Keyframes and Curves
When you play back your project, the object flies from position one to position two over
the interval you set. You can see the path the object travels by turning on the Animation
Path setting in the View pop-up menu above the Canvas.