Animating Filters
In addition to making changes to a clip’s basic attributes, keyframing can be used to
modify most parameters in the application. When the Record button is activated, any
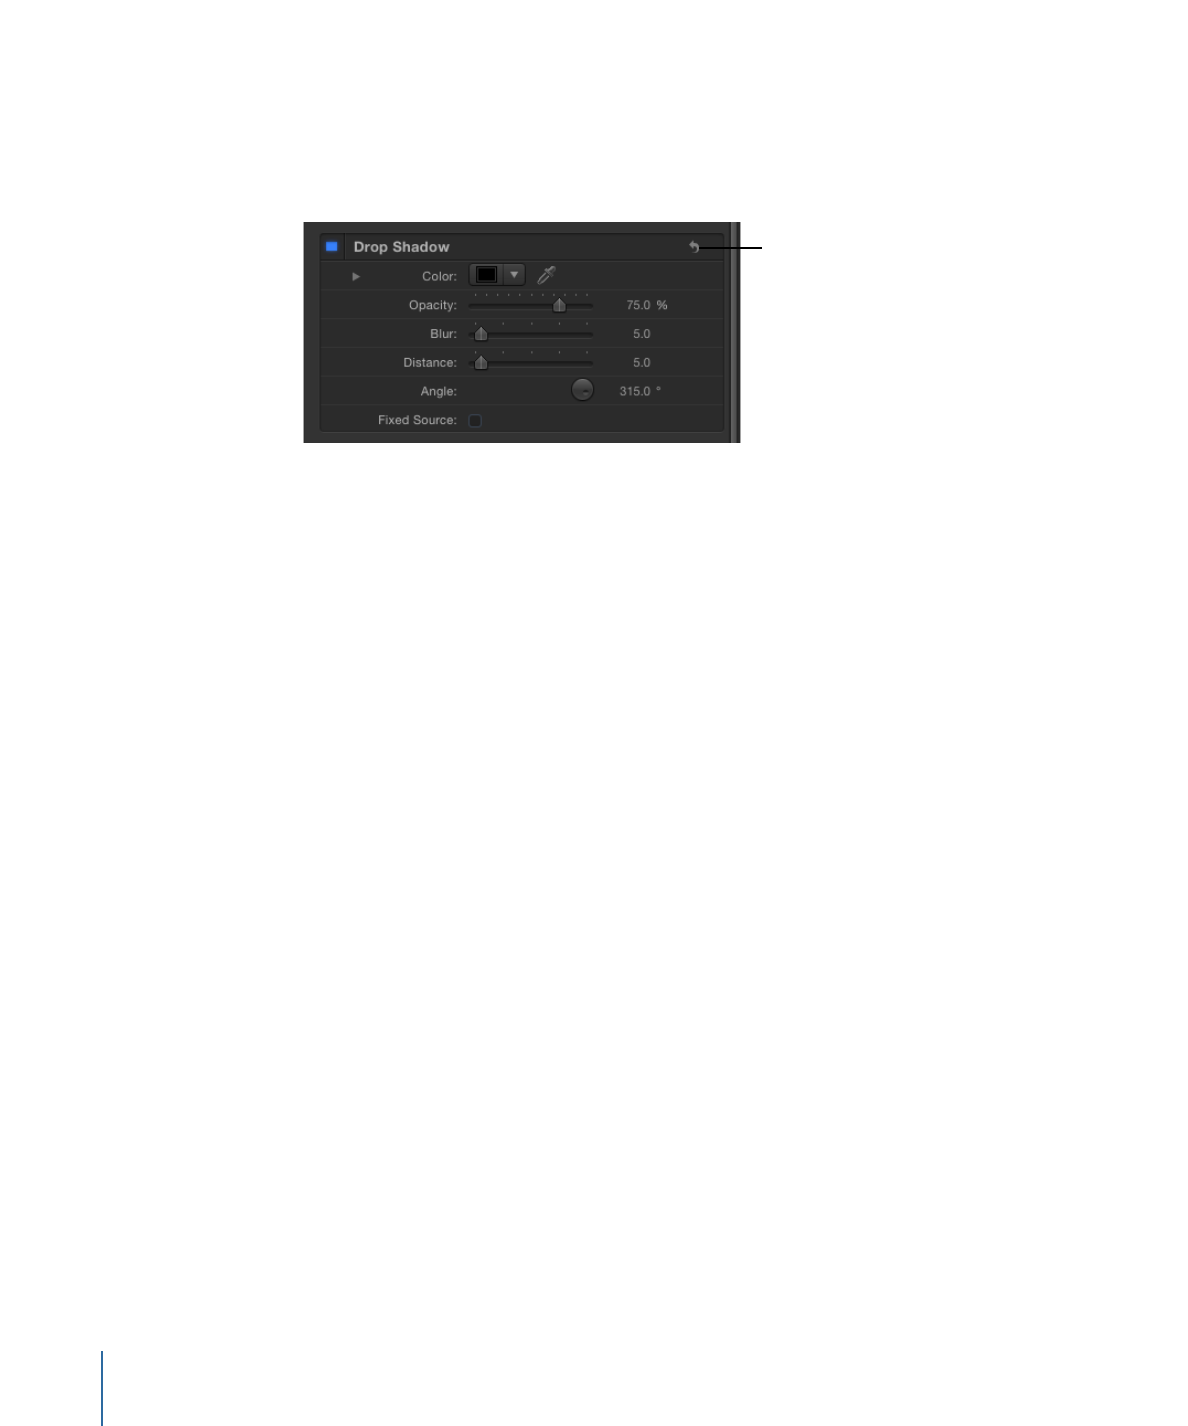
parameter displayed on the HUD becomes keyframeable. For example, as you apply filters
to objects, the most important parameters are displayed on the HUD. Using keyframes,
you can animate those parameters. In this way, you can create a shot that grows more
distorted, blurry, or changes color over time.
To animate a filter using the HUD
1
Select an object to modify.
2
Apply a filter to the object.
The HUD changes to display the parameters for the filter. For more information on how
to apply filters, see
Applying and Removing Filters
.
3
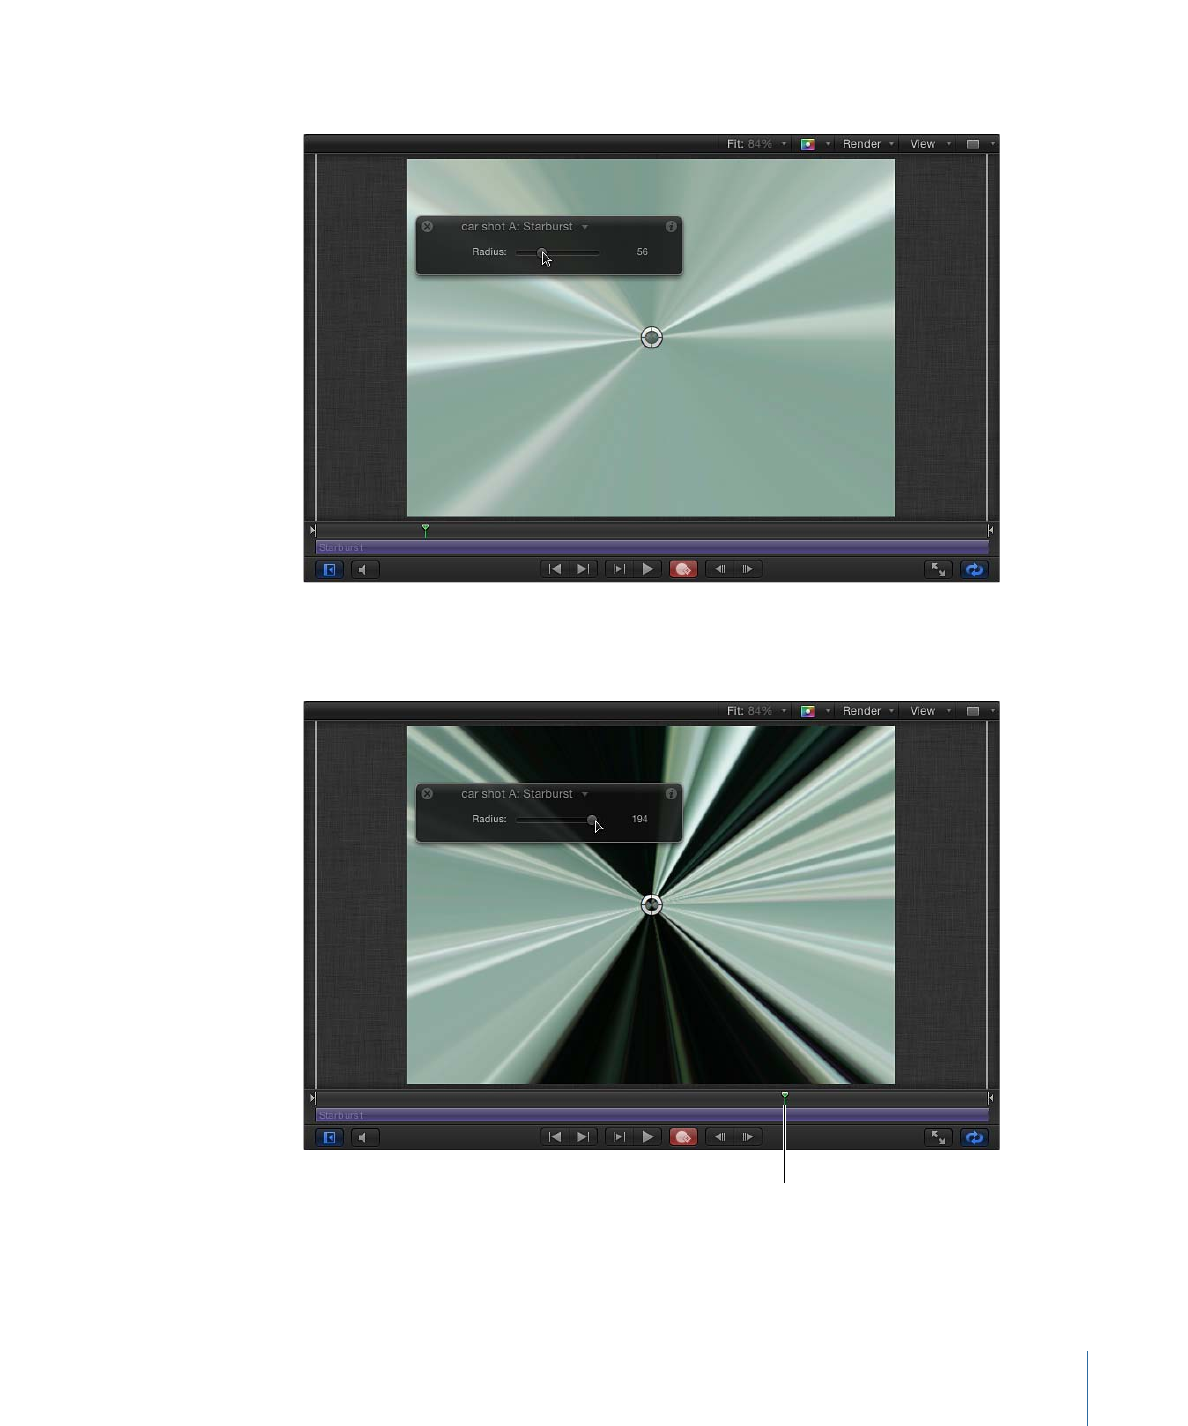
Click the Record button (or press A) to turn on keyframe recording.
4
Place the playhead where you want the effect to begin changing.
586
Chapter 12
Keyframes and Curves
5
In the HUD, set the parameter slider you want to animate to a beginning value.
6
Move the playhead to the frame where you want the effect to stop changing.
7
Set the slider to a new value.
New playhead position
8
Click the Record button (or press A) to turn off keyframe recording.
587
Chapter 12
Keyframes and Curves

The filter now changes over time to reflect your settings. This same technique can be
applied to any parameter in any filter that appears in the HUD.
Filters can be animated in the Inspector. For more information, see
Animating Using the
Inspector
.