
Adding Multiple Display Aspect Ratios to a Template
When creating a template for Final Cut Pro X, you can build alternate versions that have
different display aspect ratios—all within a single template. For example, when you create
a template with a 16:9 aspect ratio, you can add an alternate version customized for 4:3
displays. When the template is applied to a clip Final Cut Pro, the editing application
chooses the version that matches its display aspect ratio. These alternate display versions
of a single template are called snapshots. Snapshots eliminate the need to create multiple
versions of the same template for multiple display ratios.
You should add display aspect ratio snapshots if you expect to apply templates to clips
of varying resolutions in Final Cut Pro, or to apply the same title or generator template
in multiple Final Cut Pro projects with different resolutions.
Note: If you expect a template to be applied to differently sized clips in Final Cut Pro,
perform the workflow described in this section before saving the template.
Sidebar
Pixel Aspect Ratio (PAR) is the ratio of the width of a pixel to its height. For example,
NTSC pixels are slightly taller than they are wide. They have a pixel aspect ratio of 10/11
(approximately 0.9091). Display Aspect Ratio (DAR) is a ratio of the final displayed image’s
width to its height.
For example, an iPad’s display aspect ratio is 1.3333 (also written as 4:3), but broadcast
NTSC has a display ratio of 1.3636. To calculate the display aspect ratio of an image from
its dimensions and pixel aspect ratio, multiply the pixel aspect ratio by the width and
divide by the height.
The most common aspect ratios are 4:3 (also referred to as standard, 4x3, or 1.33:1) and
16:9 (widescreen, 16x9, or 1.78:1). Older monitors and televisions are generally 4:3, so
the screen is 33 percent wider than it is high. Newer HD monitors and televisions are
78 percent wider than they are high.
To reconfigure a project for a different display aspect ratio
1
In the Layers list, select the Project object.
2
In the Project Inspector, click Snapshots.
The Display Aspect Ratio Snapshots list appears, showing the project’s current default
aspect ratio.
560
Chapter 11
Creating Templates for Final Cut Pro X
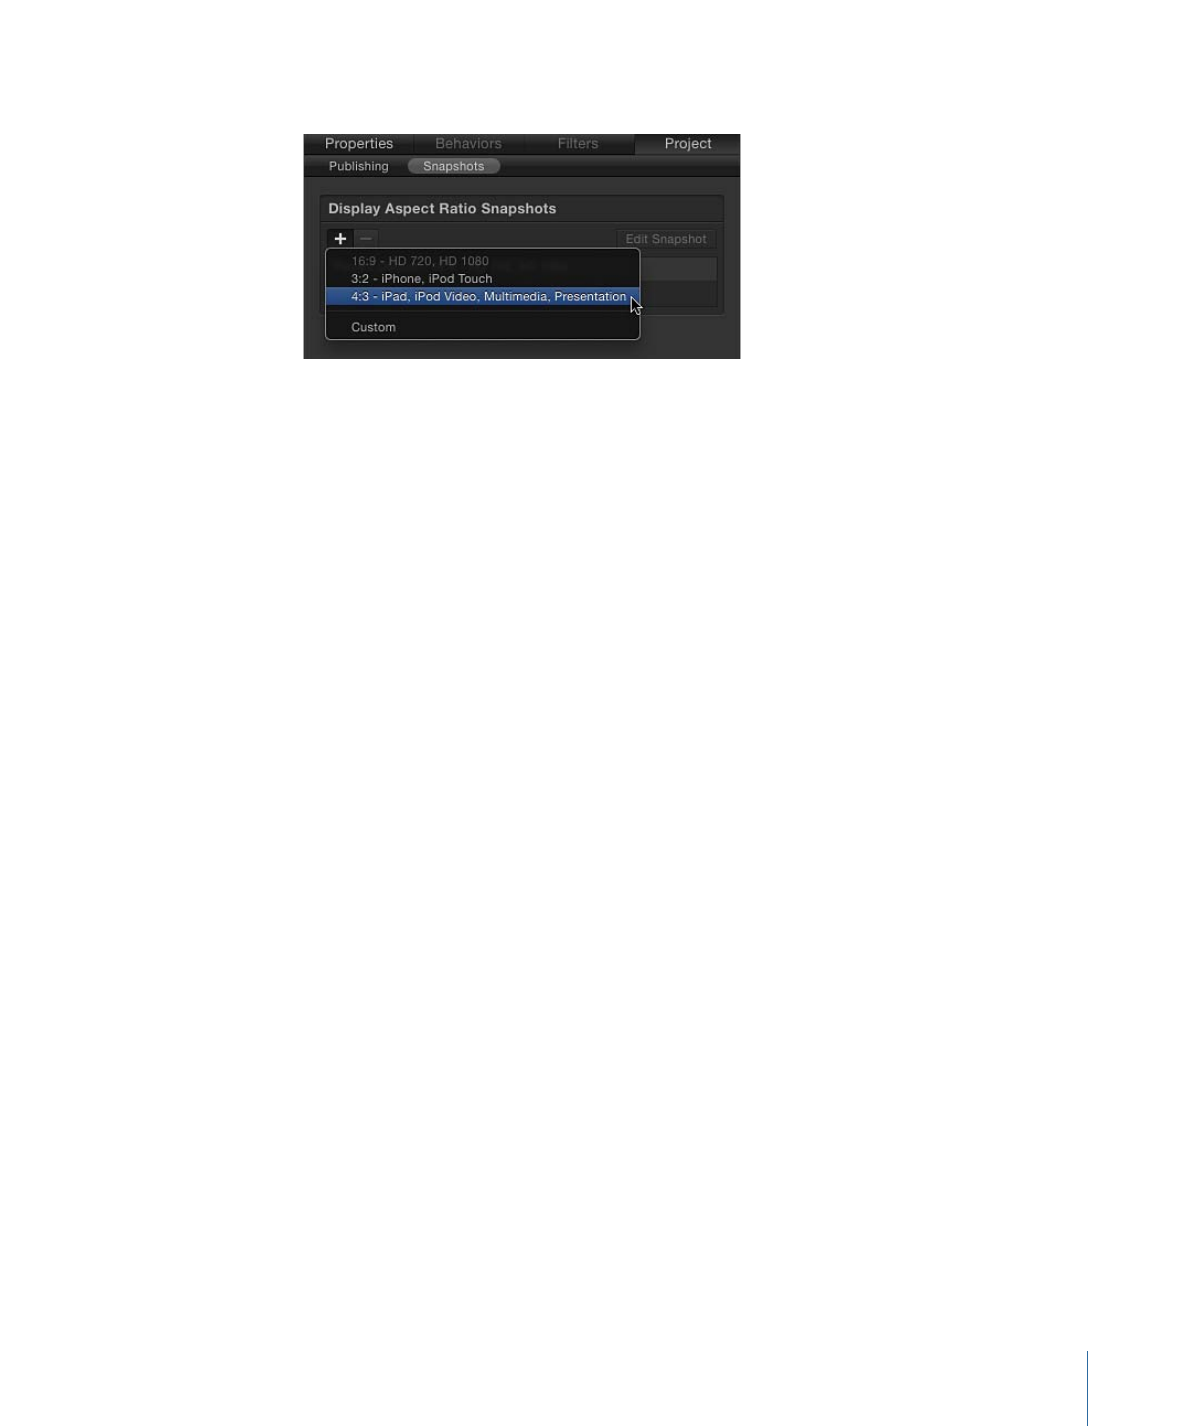
3
Click the Add button (+) and choose a different aspect ratio from the shortcut menu.
If you chose Custom, the Custom Display Aspect Ratio calculator appears.
The new aspect ratio appears in the Display Aspect Ratio Snapshots list and the project
adjusts.
Note: You cannot add a snapshot that matches an existing Display Aspect Ratio snapshot.
4
To reposition your objects to better fit the new aspect ratio, click Edit Snapshot.
A small floating window appears, indicating that you are in aspect ratio-edit mode.
5
Position and scale the layers in your project to fit the new display aspect ratio, then click
the Stop Rig Edit Mode button in the floating window.
Click the items in the Display Aspect Ratio Snapshots list to view the results in the Canvas.
Note: When working with an alternate snapshot, the resolution listed in the Properties
pane of the Inspector (when Project is selected in the Layers list) may seem strange. This
is because the Display Aspect Ratio is shown, rather than the Pixel Aspect Ratio.
6
Choose File > Save or File > Save As.
a
In the save dialog, enter a name for your template.
b
Choose a category from the Category pop-up menu.
c
If needed, choose a theme from the Theme pop-up menu.
d
To retain unused media in the project (media or audio in the Media list not used in the
project), select “Include unused media.”
When the template is applied to the Final Cut Pro Timeline, the template aspect ratio
that matches the Final Cut Pro project is used.
To create a custom display aspect ratio (DAR) snapshot
1
In the Layers list, select the Project object.
2
In the Project Inspector, click Snapshots.
3
Click the Add button (+) and choose Custom from the shortcut menu.
4
Choose an option from the Pixel Aspect Ratio pop-up menu, such as NTSC D1/DV.
The pixel aspect ratio (PAR) appears in the field to the right of the pop-up menu.
561
Chapter 11
Creating Templates for Final Cut Pro X

5
Enter the width and height in the fields to the right of the PAR value, such as 720 x 480.
The new custom DAR is listed in the Display Aspect Ratio Snapshots list.