
General Settings
The following parameter controls appear in the General section of the Properties Inspector:
Preset:
Use this pop-up menu to choose a common video format to base your preset
on. After choosing a preset, you can adjust the other parameters in the Properties Inspector
to customize your format settings. For more information about managing Motion project
presets, see
Creating, Editing, and Deleting Presets
.
Width and Height:
Use this value slider to define the size of the Canvas and the default
output resolution of your project. Drag left or right over the values to decrease or increase
them. Frame size is usually defined by the video format you plan on outputting to. For
example, NTSC DV format video is 720 x 480, whereas PAL DV format video has a frame
size of 720 x 576.
Pixel Aspect Ratio:
Use this pop-up menu to set whether the project is created using
square or nonsquare pixels. Computer displays, film, and high-definition video use square
pixels, while standard-definition video uses nonsquare pixels. Choose Square for projects
intended for the web, high-definition projects, and film, or choose a nonsquare pixel ratio
corresponding to each international standard-definition broadcast format. A value slider
to the right of this pop-up menu displays the numerical aspect ratio, in case you need to
change the dimensions manually.
Field Order:
Use this pop-up menu to set field order if the project uses interlaced video.
Project field order should match the field order of the device being used to output the
resulting QuickTime file to video. When working with progressive-scan video or film,
choose None.
Frame Rate:
Use this display field to see the project frame rate (in frames per second).
Frame rate should match that of the format you output to. For example, film is 24 fps,
PAL video is 25 fps, and NTSC video is 29.97 fps.
Important:
Frame rates cannot be changed for existing projects.
Duration:
Use this value field to modify the project’s Timeline duration. Use the adjacent
pop-up menu to define the duration units (Frames, Timecode, or Seconds).
Overwrite FCP Duration:
(This checkbox appears only in Final Cut Transition projects.)
When creating custom transitions in Motion for use in Final Cut Pro X, select this checkbox
to overwrite the default transition duration (as defined in the Editing pane of Final Cut Pro
Preferences). For more information, see
Creating Templates for Final Cut Pro X
.
Start Timecode:
Use this value field to set the starting timecode displayed in the project.
Background Color:
Use this color well to set the background color of the Canvas.
Theme:
Use this pop-up menu to assign a theme to the project.
200
Chapter 6
Creating and Managing Projects
Background:
Use this pop-up menu to define whether the Background Color is rendered
as part of the alpha channel. Regardless of the selection, the Background Color is visible
in the Canvas. There are three options:
• Transparent: The background color does not render as part of the alpha channel.
• Solid: The background color creates a solid alpha channel.
• Environment: The background color creates a solid alpha channel and interacts with
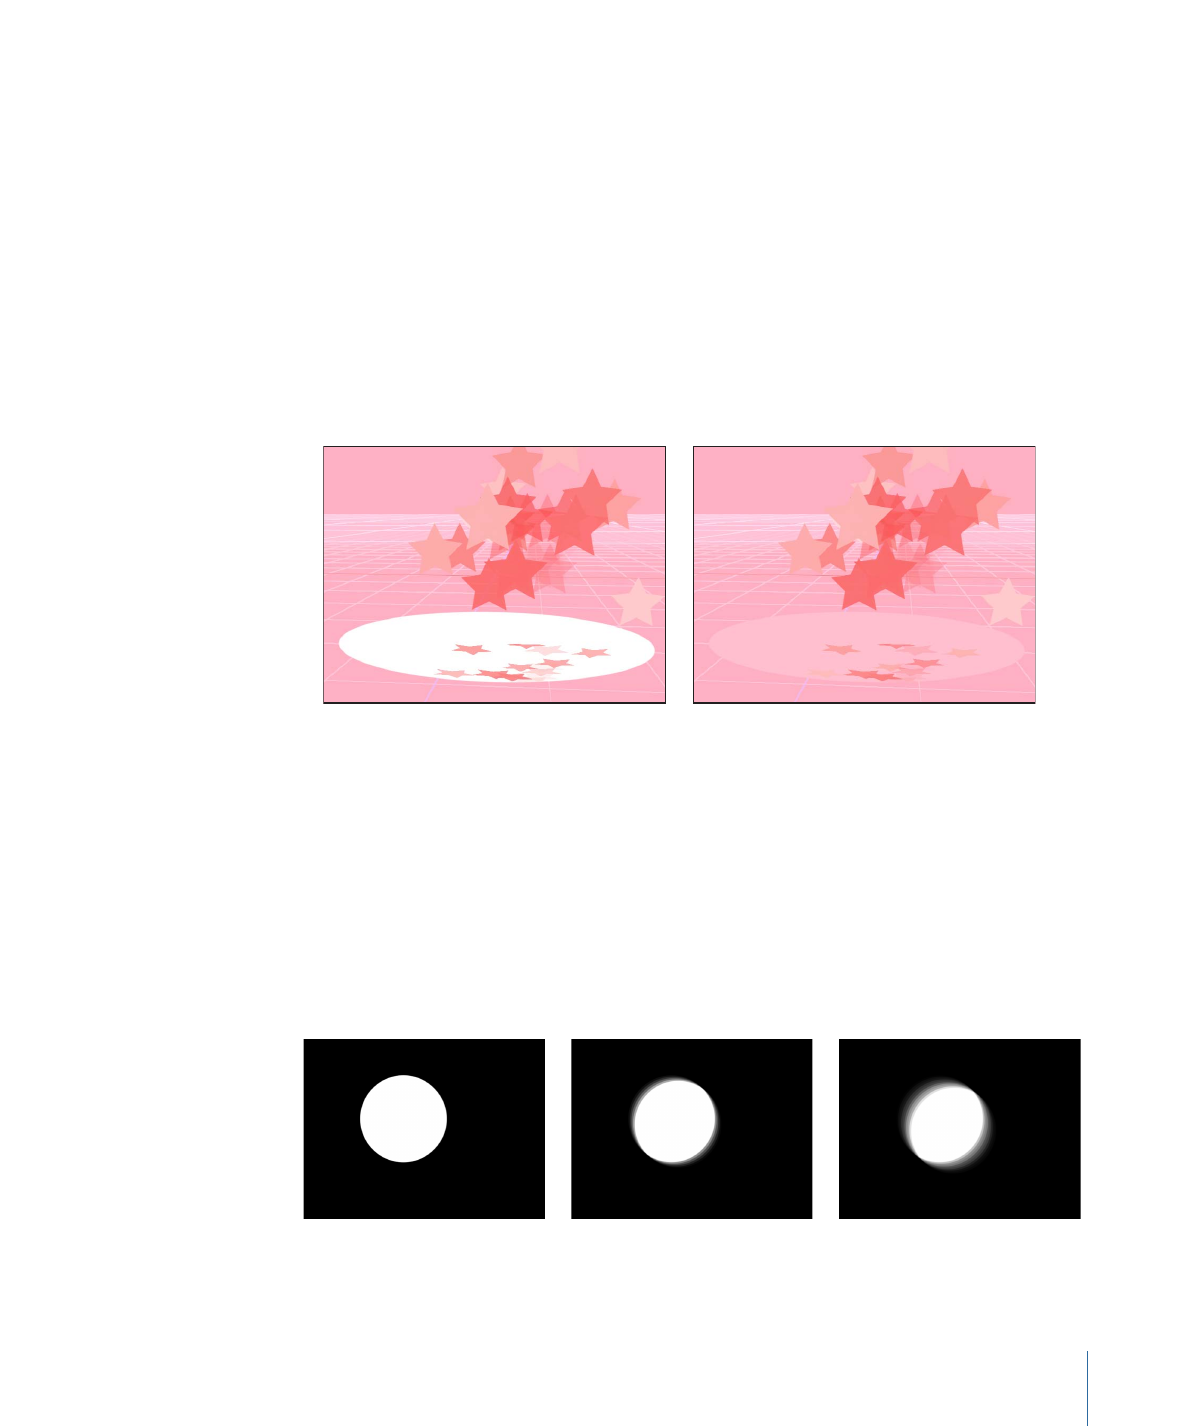
3D projects, including blend modes and reflections. In the following images of the
Canvas, Reflection is turned on for the elliptical shape (in the shape’s Properties
Inspector). In the left image, the elliptical shape retains its original white color because
Background is set to Solid. In the right image, the pink background is reflected in the
elliptical shape because Background is set to Environment.