
Modifying Drop Zone Images
After you add a source image to the drop zone, you can pan or scale the image within
the boundary of the drop zone. You can add a solid color to the drop zone to fill empty
areas that are the byproduct of panning or resizing the image.
To add an image to a drop zone
Do one of the following:
µ
Drag an image from the File Browser or Library to the Drop Zone in the Layers list. When
the pointer changes to a curved arrow, release the mouse button.
µ
Drag an image from the File Browser, Library, or Media list (in the Project pane) to the
Drop Zone in the Canvas. When the pointer changes to a curved arrow and the drop zone
is highlighted in yellow in the Canvas, release the mouse button.
µ
Drag an image from the Media list to the Source Media well in the Image Inspector.
µ
In the Image Inspector, click To and select a media item in the project from the pop-up
menu.
To scale a drop zone image in the Canvas
1
Select the drop zone.
247
Chapter 6
Creating and Managing Projects
2
Do one of the following:
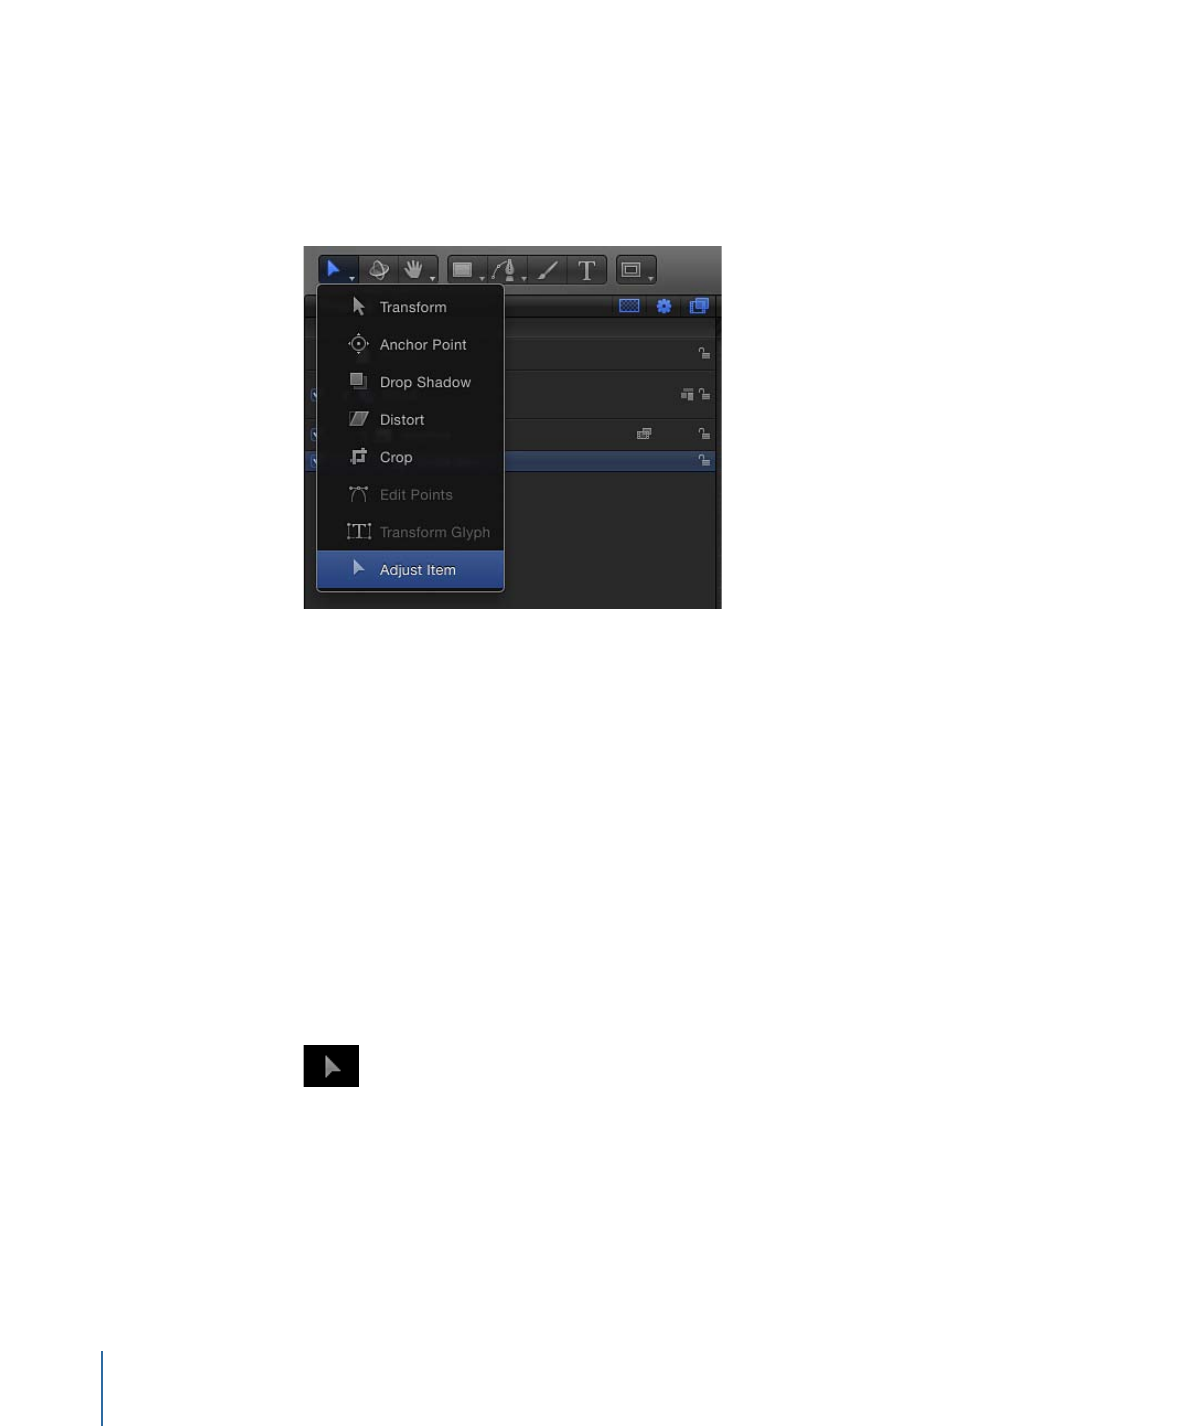
• In the Canvas, double-click the drop zone.
The Adjust Item tool is selected.
• In the toolbar, select the Adjust Item tool.
The drop zone bounding box appears as a dotted line.
3
Drag the scale handles in the Canvas to resize the image.
The image’s bounding box appears as a solid line and scales uniformly. Portions of the
image that extend beyond the edges of the drop zone appear semitransparent.
To scale a drop zone image in the Inspector
1
Select the drop zone.
2
In the Image Inspector, drag the Scale slider. To adjust the horizontal or vertical scale
independently, click the Scale disclosure triangle to reveal the X and Y subparameters.
To pan a drop zone image in the Canvas
1
Select the drop zone.
2
In the toolbar, select the Adjust Item tool.
The drop zone bounding box appears as a dotted line.
3
The Pan tool appears when the pointer is over the drop zone image. Drag within the
drop zone to pan the image.
The image’s bounding box appears as a solid line. The dotted line represents the edges
of the drop zone. Portions of the image that extend beyond the edges of the drop zone
appear semitransparent.
248
Chapter 6
Creating and Managing Projects

To pan a drop zone image via the Inspector
1
Select the drop zone.
2
In the Image Inspector, adjust the Pan parameter X and Y value sliders. Click the Pan
disclosure triangle to reveal individual X and Y sliders.
To assign a background color to a drop zone
1
Select the drop zone.
2
In the Image Inspector, select the Fill Opaque checkbox.
Any empty portion of the drop zone is filled with black.
3
Use the Fill Color well to choose a custom drop zone fill color.