Using the Texture Image Well
Use the Texture image well to apply, replace, and remove textures.
To apply a texture to text
1
Select the text.
2
In the Inspector, open the Style pane of the Text Inspector.
3
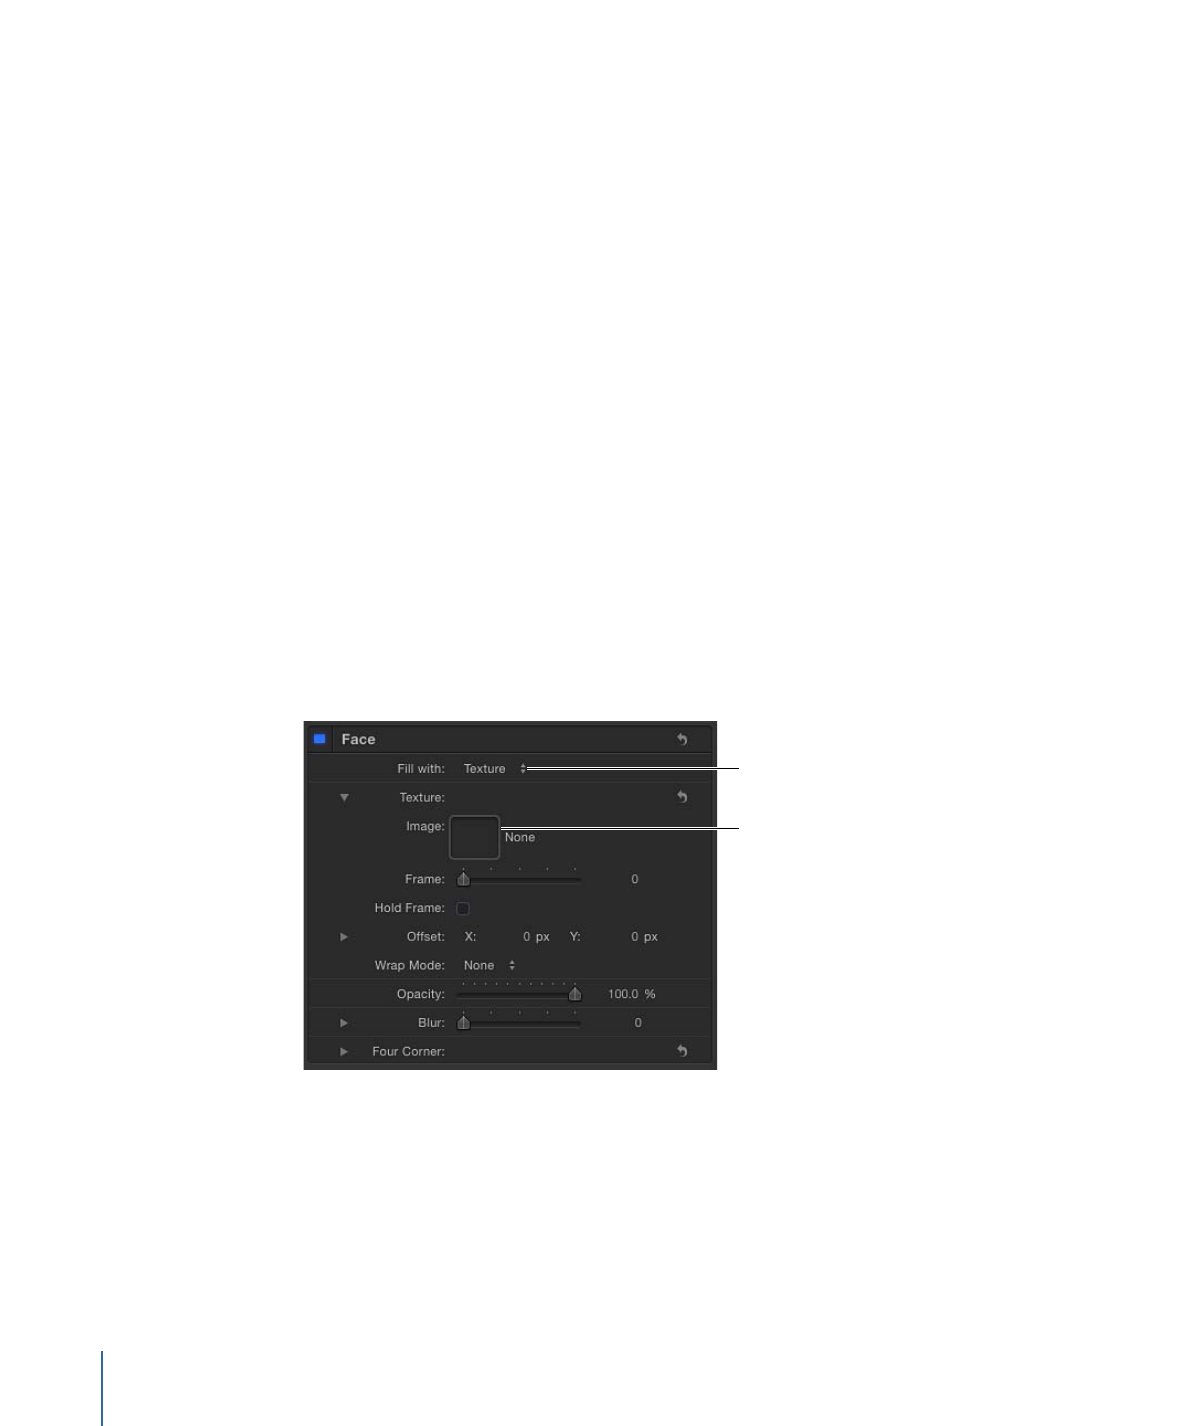
Choose Texture from the “Fill with” pop-up menu.
The Color (or Gradient) controls are replaced with the Texture controls.
“Fill with” pop-up menu
is set to Texture.
Image well
By default, no texture is applied to the text.
4
In the Layers list or Media list, drag the image to use for the texture to the Image well.
The image appears in the well and is applied to the text. When text is filled with an image,
the texture is applied to each text character. To learn how to make the texture continuous
through all text characters, see
Applying a Continuous Texture to a Text Object
.
850
Chapter 16
Creating and Editing Text

Important:
When dragging an image to the well, be sure to click and drag in one
movement. If you click the image and release the mouse button, the image is selected
and its Inspector appears.
To replace a texture
1
Select the text and display the expanded Texture controls in the Style pane.
2
In the Layers list or Media list, drag an image into the Image well.
The new image appears in the well and is applied to the text.
Note: When an image (or a movie clip) is replaced in the Layers list or Media list and that
image is used as a texture source, the texture for the text is replaced with the new image.
To remove a texture
Do one of the following:
µ
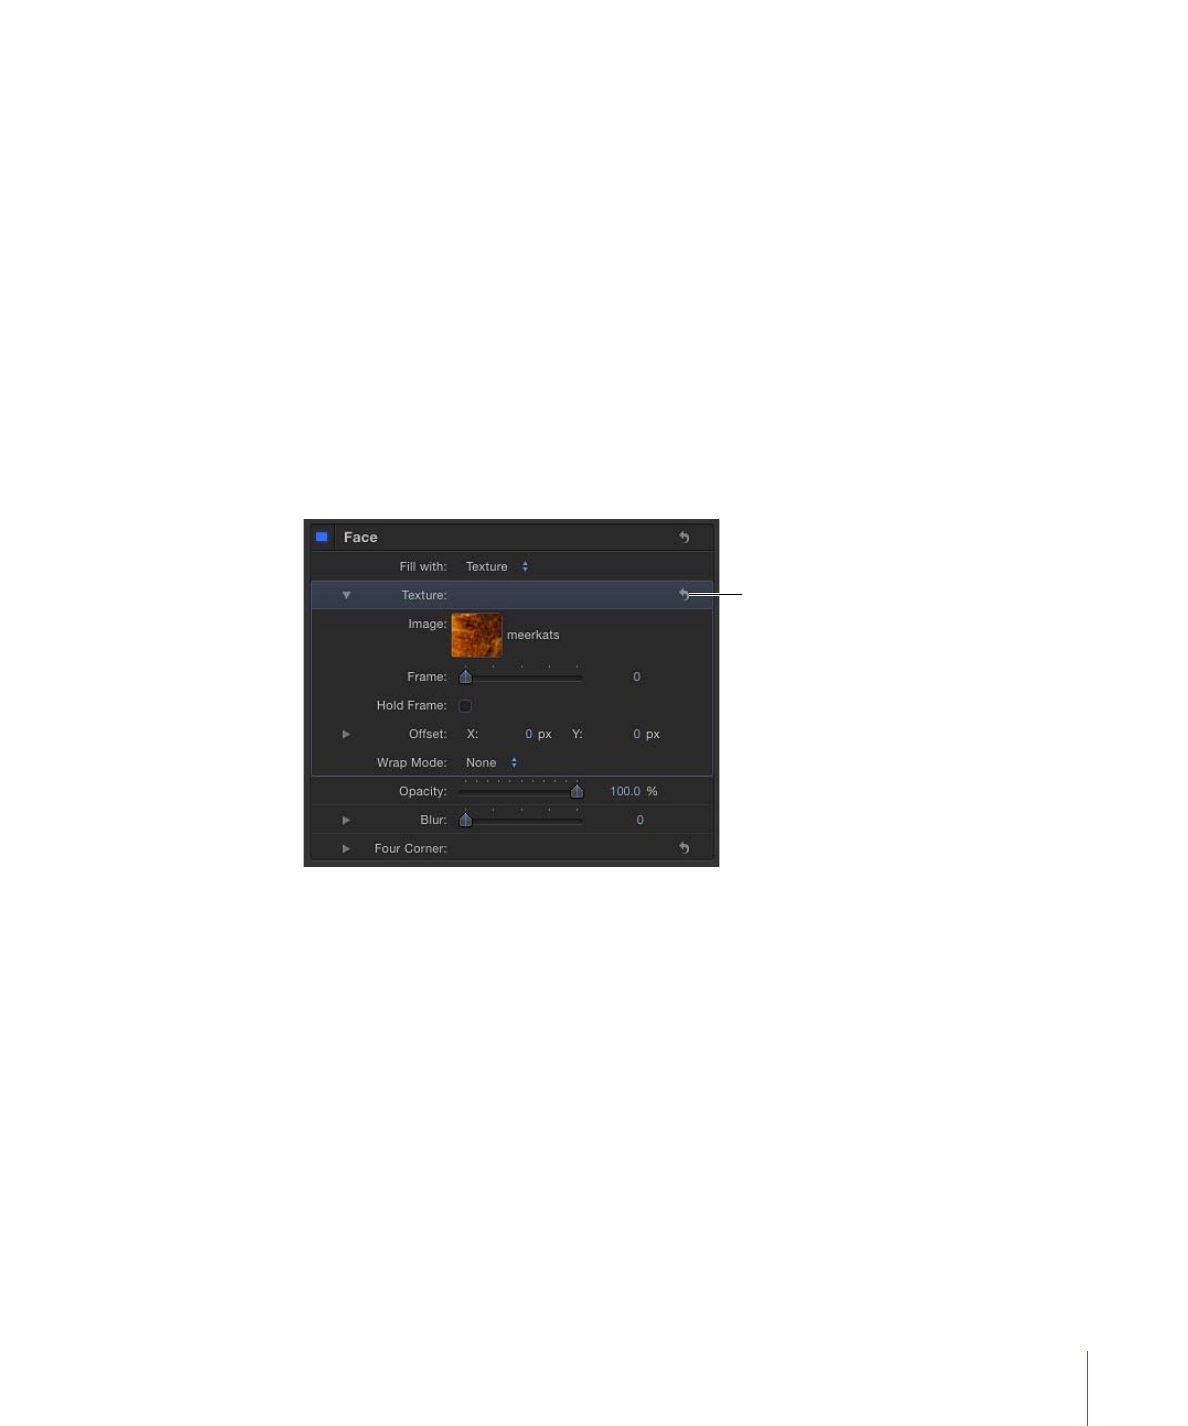
Click the Texture parameter reset button.
Reset button
µ
Drag the image out of the well, then release the mouse button. The image disappears.