Exposing All Layers
Using the Expose All Layers key command, you can get a visual sense of all elements in
your project and select an element to manipulate.
To expose all layers in your project
1
Click anywhere in the Canvas.
2
Press Shift-X.
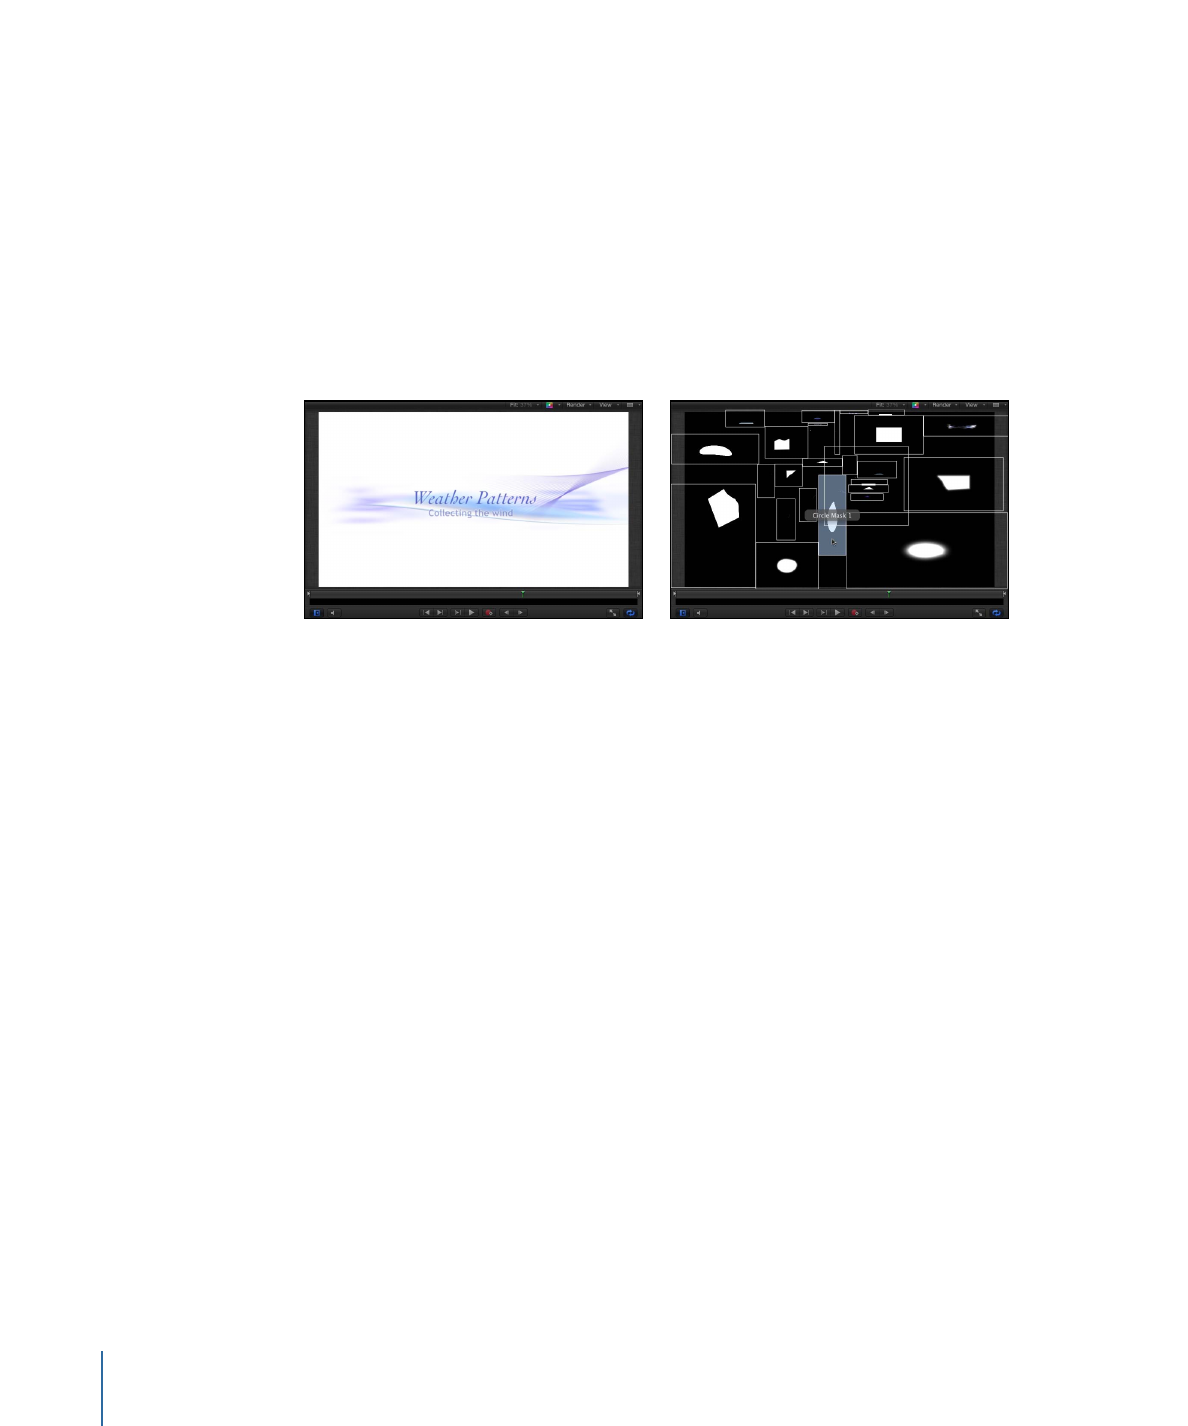
Layers in the project temporarily scale down and spread out over the Canvas. Each layer
in the project is represented by a white frame in the Canvas. Moving the pointer over a
frame shows the layer’s name.
Before
After Expose command
3
Select the layer to work on.
The layers move and rescale back to their original positions; the element is selected in
the Canvas; and the playhead moves to the first frame of the selected layer.
316
Chapter 7
Basic Compositing

The Timeline, one of the most flexible and valuable elements of the Motion interface, is
where you control all timing aspects of the project. Whether you want to line up multiple
objects to begin or end together, lengthen or shorten an object, or change which portion
of a clip is used, the Timeline provides the tools you need.
You can organize your objects to begin and end on the frames you choose. You can also
align multiple effects so they occur simultaneously. You can control objects’ durations
and even perform common trim operations to edit the objects as you would in a nonlinear
video editing application.
Additional controls let you manipulate masks, filters, behaviors, keyframes, and audio
elements. The Timeline ruler provides an exact reference for managing timing and
synchronizing effects. You can lock tracks to prevent changes, temporarily hide an object
from view, and manage links between audio and video.
At the bottom of the Canvas (above the Timeline and toolbar) is an abbreviated version
of the Timeline, called the “mini-Timeline.” The mini-Timeline provides an at-a-glance
look at where selected objects fit into your overall project. It also provides controls to
perform quick edits such as moving, trimming, and slipping without opening the Timing
pane.
This chapter covers the following:
•
About the Timeline
(p. 318)
•
Timeline Layers List
(p. 320)
•
Adding Objects to the Timeline Layers List
(p. 325)
•
Adding Layers to the Track Area
(p. 329)
•
Editing Objects in the Timeline
(p. 335)
•
Working in the Ruler
(p. 349)
•
Adding Markers
(p. 356)
•
Mini-Timeline
(p. 360)
317