Blend Modes That Manipulate Alpha Channels
The Stencil and Silhouette blend modes let you use a single layer’s alpha channel or luma
values to isolate regions of background layers and groups.
Note: Similar effects can be accomplished using shape and image masks. In addition,
masks might provide you with a greater degree of control, depending on your needs.
For more information, see
Using Shapes, Masks, and Paint Strokes
.
Stencil modes crop out all non-overlapping parts of layers underneath the layer used as
the stencil. Silhouette modes do the opposite, punching holes in overlapping layers
underneath in the shape of the layer used as the silhouette.
When working in a 3D group, changes in depth order affect the Stencil and Silhouette
blend modes differently. For example, if you have two layers in a 3D group and the upper
layer is set to Stencil Alpha or Stencil Luma, the blend mode remains in effect when the
upper layer is moved behind the lower layer in Z space. If you have two layers in a 3D
group and the upper layer is set to Silhouette Alpha or Silhouette Luma, the blend mode
does not remain in effect when the upper layer is moved behind the lower layer in Z
space.
306
Chapter 7
Basic Compositing
Limiting the Effect of Stencil and Silhouette Blend Modes
When you use the Stencil or Silhouette blend modes in a group set to the Pass Through
blend mode, the resulting effect carries down through every layer in every group that
lies underneath it in the Layers list, unless the group that contains it is rasterized. This
is a powerful, but not always desired effect, because it prevents you from placing a
background group to fill the transparent area.
You can limit the Stencil or Silhouette blend mode to affect only those layers in the
same enclosing group by setting the group’s blend mode to anything other than Pass
Through.
For example, if you set the enclosing group of the two layers in the Silhouette Alpha
example to Normal, then add a group underneath containing additional layers, those
layers show through the transparent areas created by the silhouetted group.
Stencil Alpha
The Stencil Alpha blend mode uses the alpha channel of the affected layer to crop out
all non-overlapping parts of layers and groups underneath it in the Layers list.
Object used for stencil
End result
Object underneath
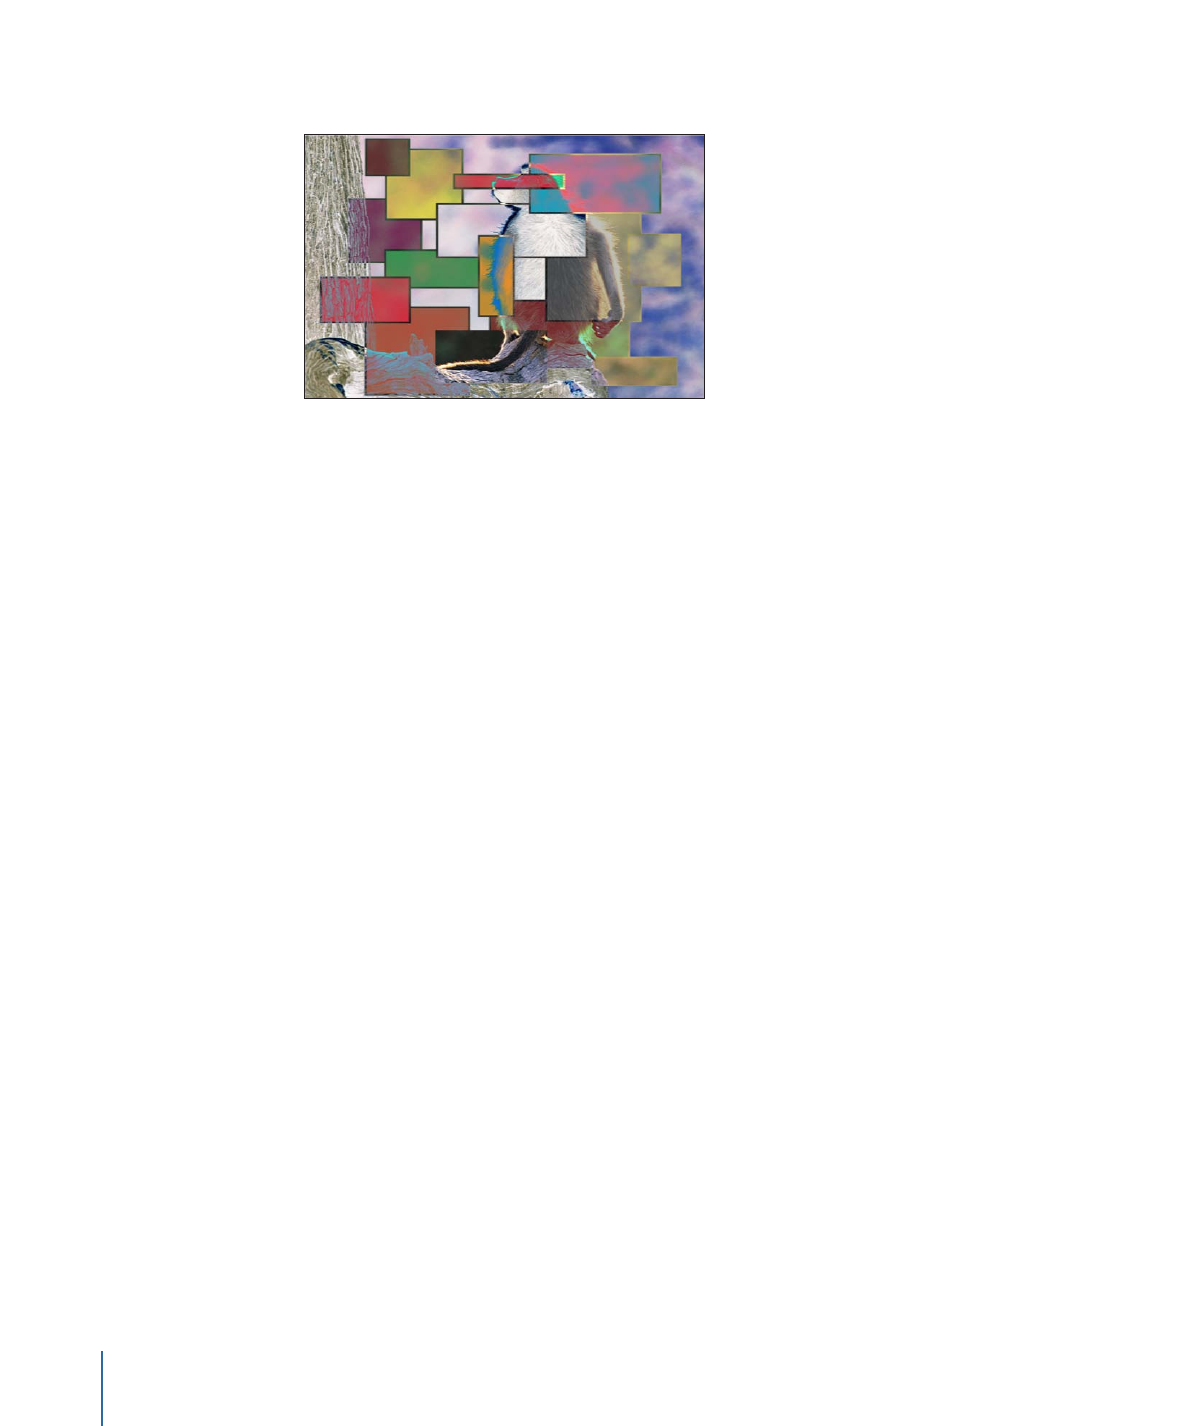
Stencil Luma
The Stencil Luma blend mode does the same thing as the Stencil Alpha blend mode, but
uses the affected layer’s luma value to define transparency. Stencil Luma is useful if the
layer you want to use for cropping has no alpha channel of its own.
307
Chapter 7
Basic Compositing
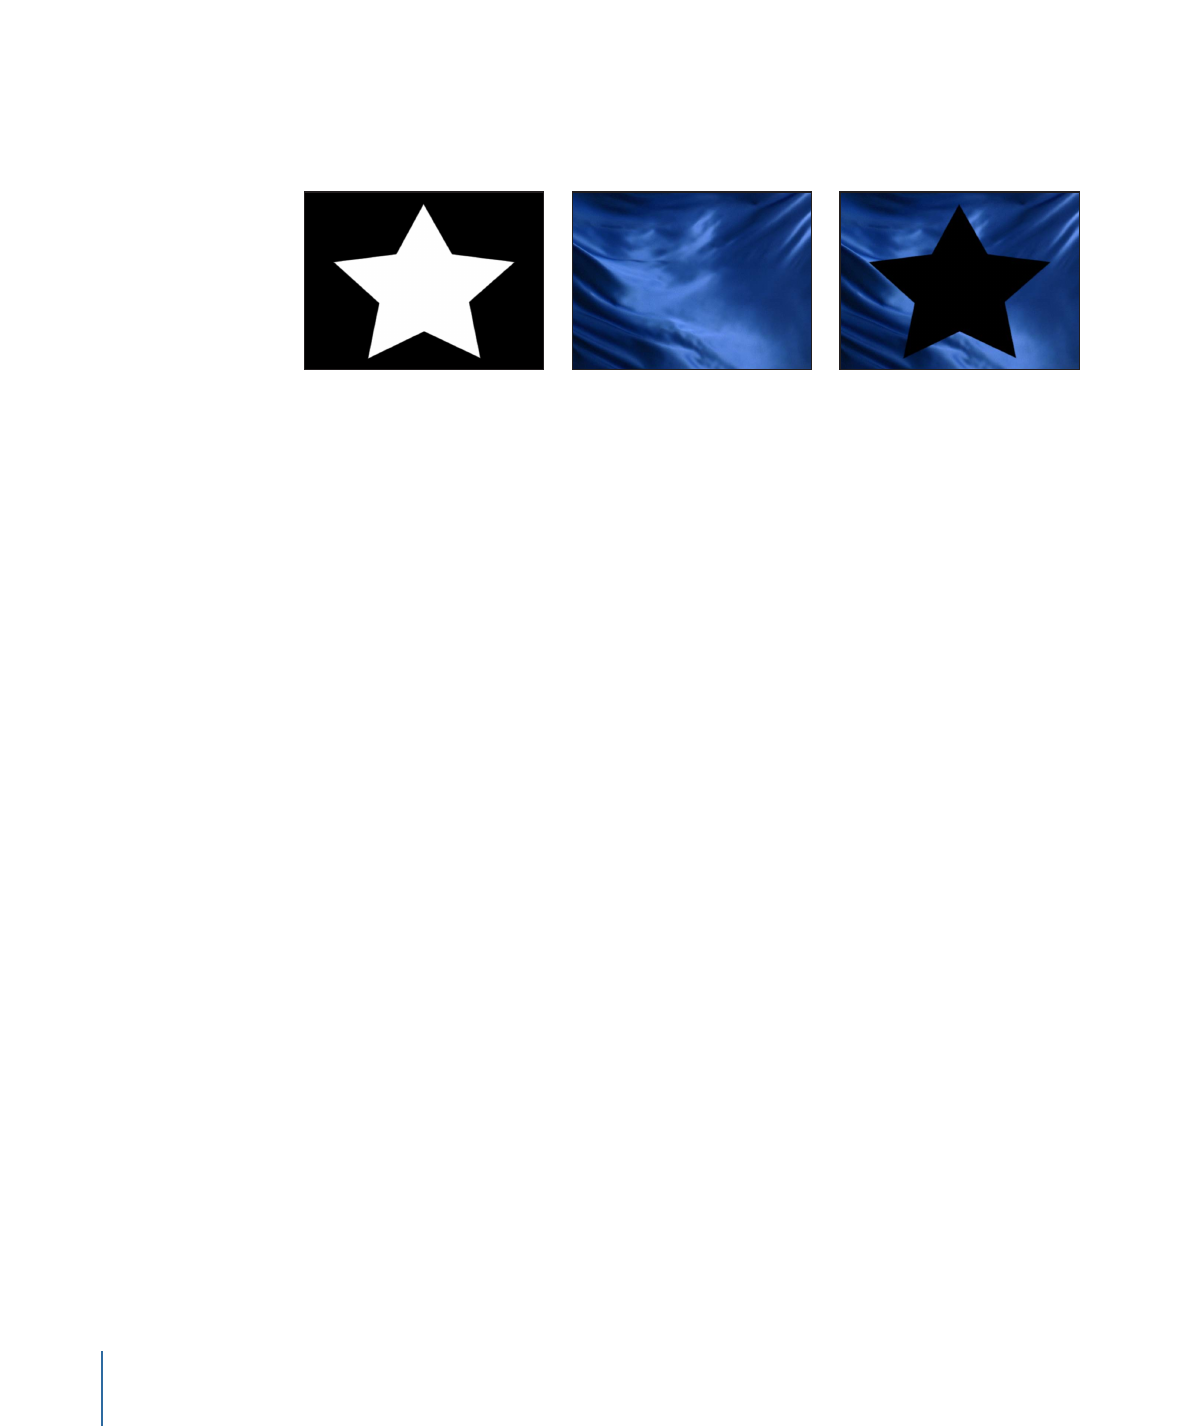
Silhouette Alpha
Silhouette Alpha is the reverse of the Stencil Alpha blend mode and is useful for cutting
holes in layers underneath.
Object used for silhouette
End result
Object underneath
Silhouette Luma
Silhouette Luma is the reverse of Stencil Luma.
Behind
The Behind blend mode forces the layer to appear behind all other layers and groups,
regardless of its position in the Layers list and Timeline.
If multiple layers or groups are set to Behind, they appear behind all other groups not
set to Behind, in the order in which they appear in the Layers list.
Alpha Add
The Alpha Add blend mode works similarly to the Add blend mode, but instead of adding
the color channels of overlapping layers, it adds their alpha channels together. Try using
this blend mode instead of Motion’s default method of alpha channel compositing for a
different treatment of overlapping areas of translucency.
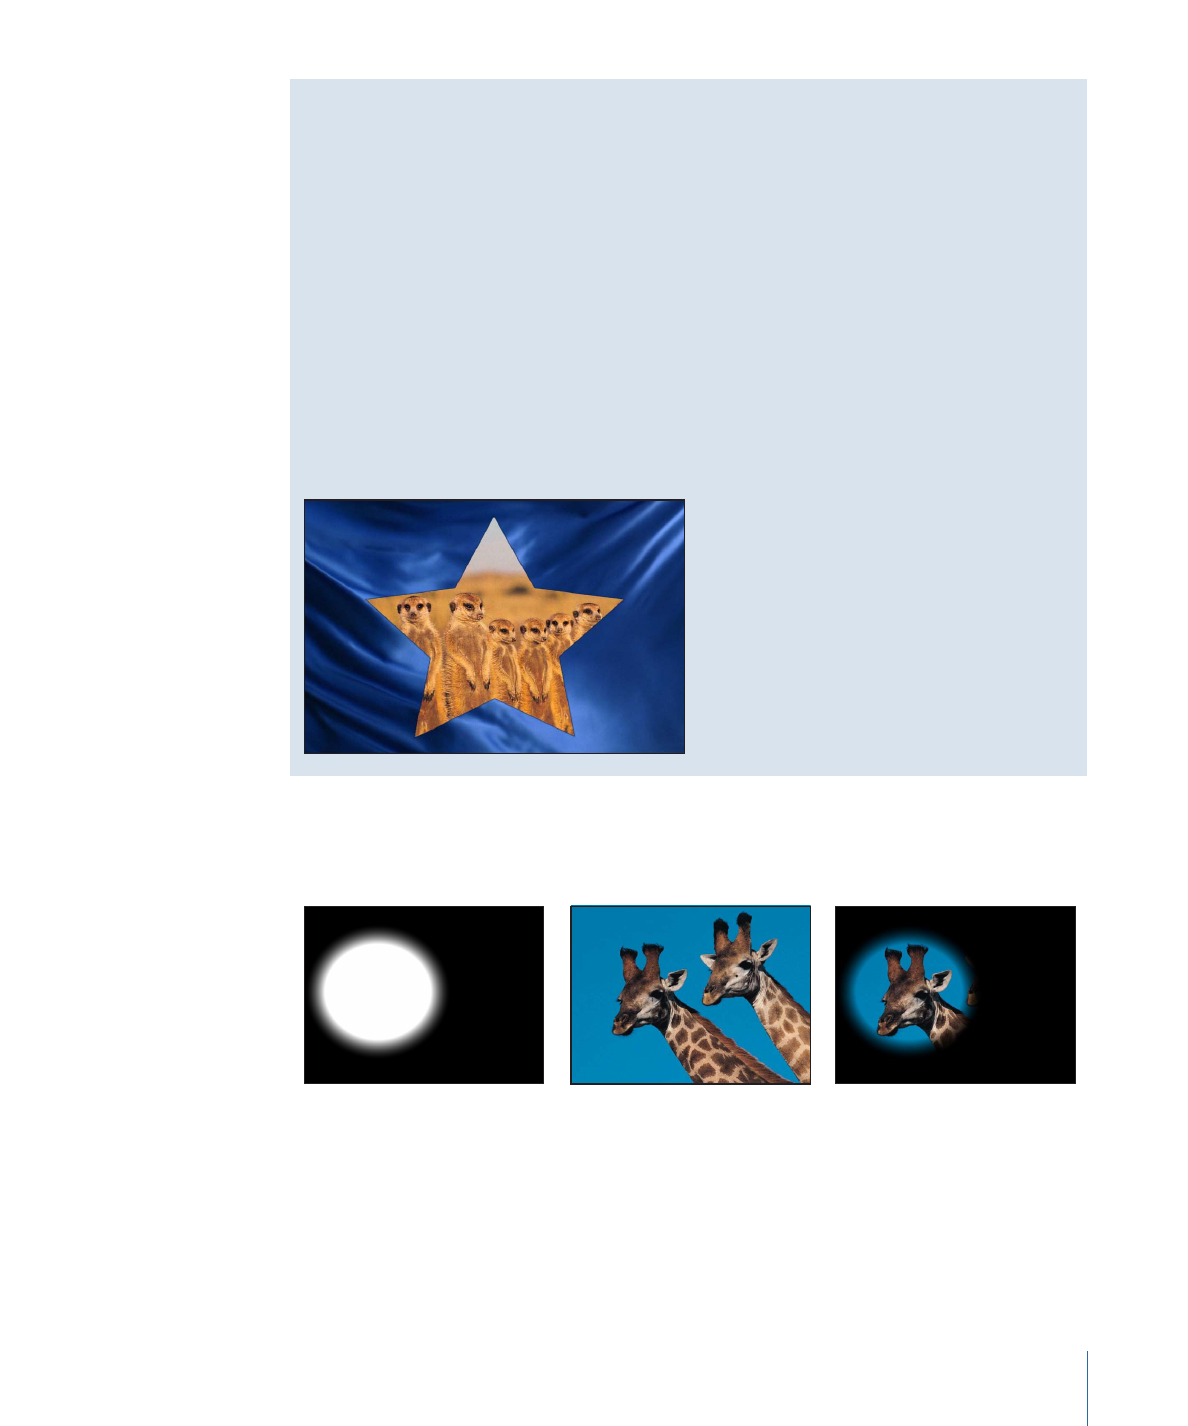
Light Wrap
This mode takes bright areas from the background layer at the edge of the matte and
blurs them into the foreground layer.
This is intended to create a more organic, seamless composite, where light from the
background appears to bleed onto the foreground layer as would occur in a natural,
non-composited image. To adjust the parameters that affect the Light Wrap, such as the
Amount, Intensity, Opacity, and Mode, apply the Keyer filter and make those adjustments
in the Filters Inspector. For more information, see
Keyer
.
Note: Motion applies the Light Wrap effect at the end of the rendering process. When
you add other filters to the layer, such as color correction effects, they are rendered before
the Light Wrap.
308
Chapter 7
Basic Compositing