Using the Anchor Point Tool
Using the Anchor Point tool, you can move any layer’s anchor point, changing the way
different geometric transforms are performed.
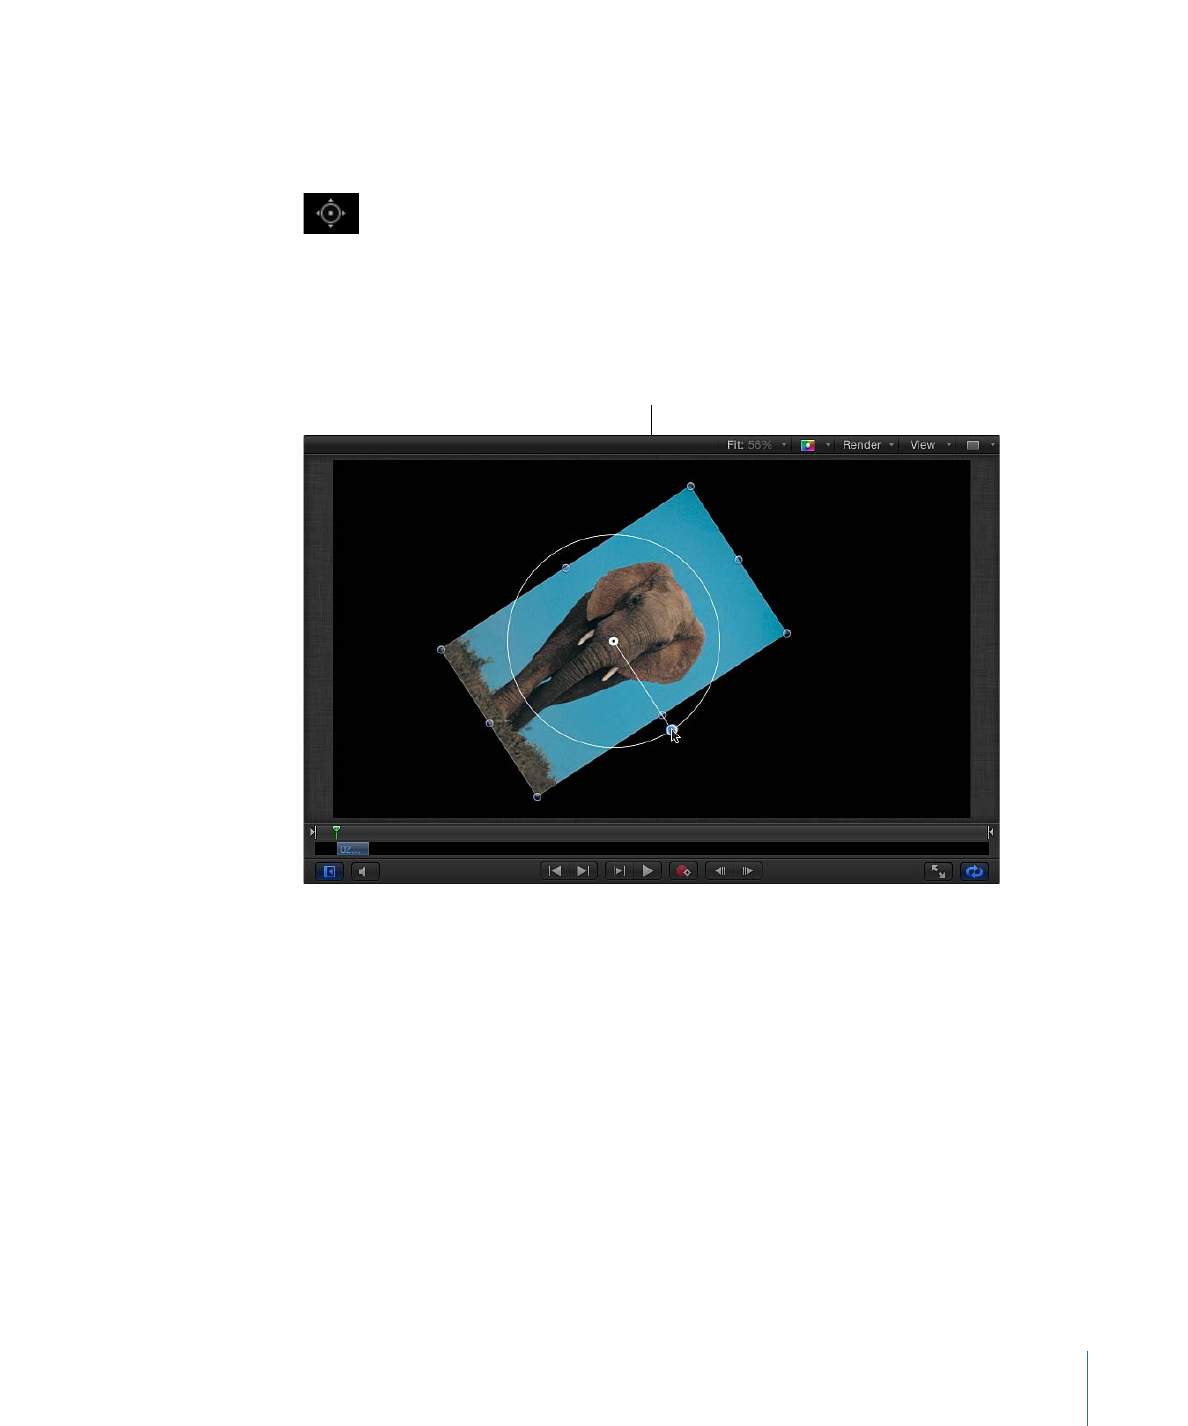
Layers rotate around the anchor point, but the anchor point also affects resizing operations.
For example, the default anchor point for any layer is the center of the bounding box
that defines its edges. If you rotate a layer, it spins around this central anchor point.
Object rotated
around center point
273
Chapter 7
Basic Compositing
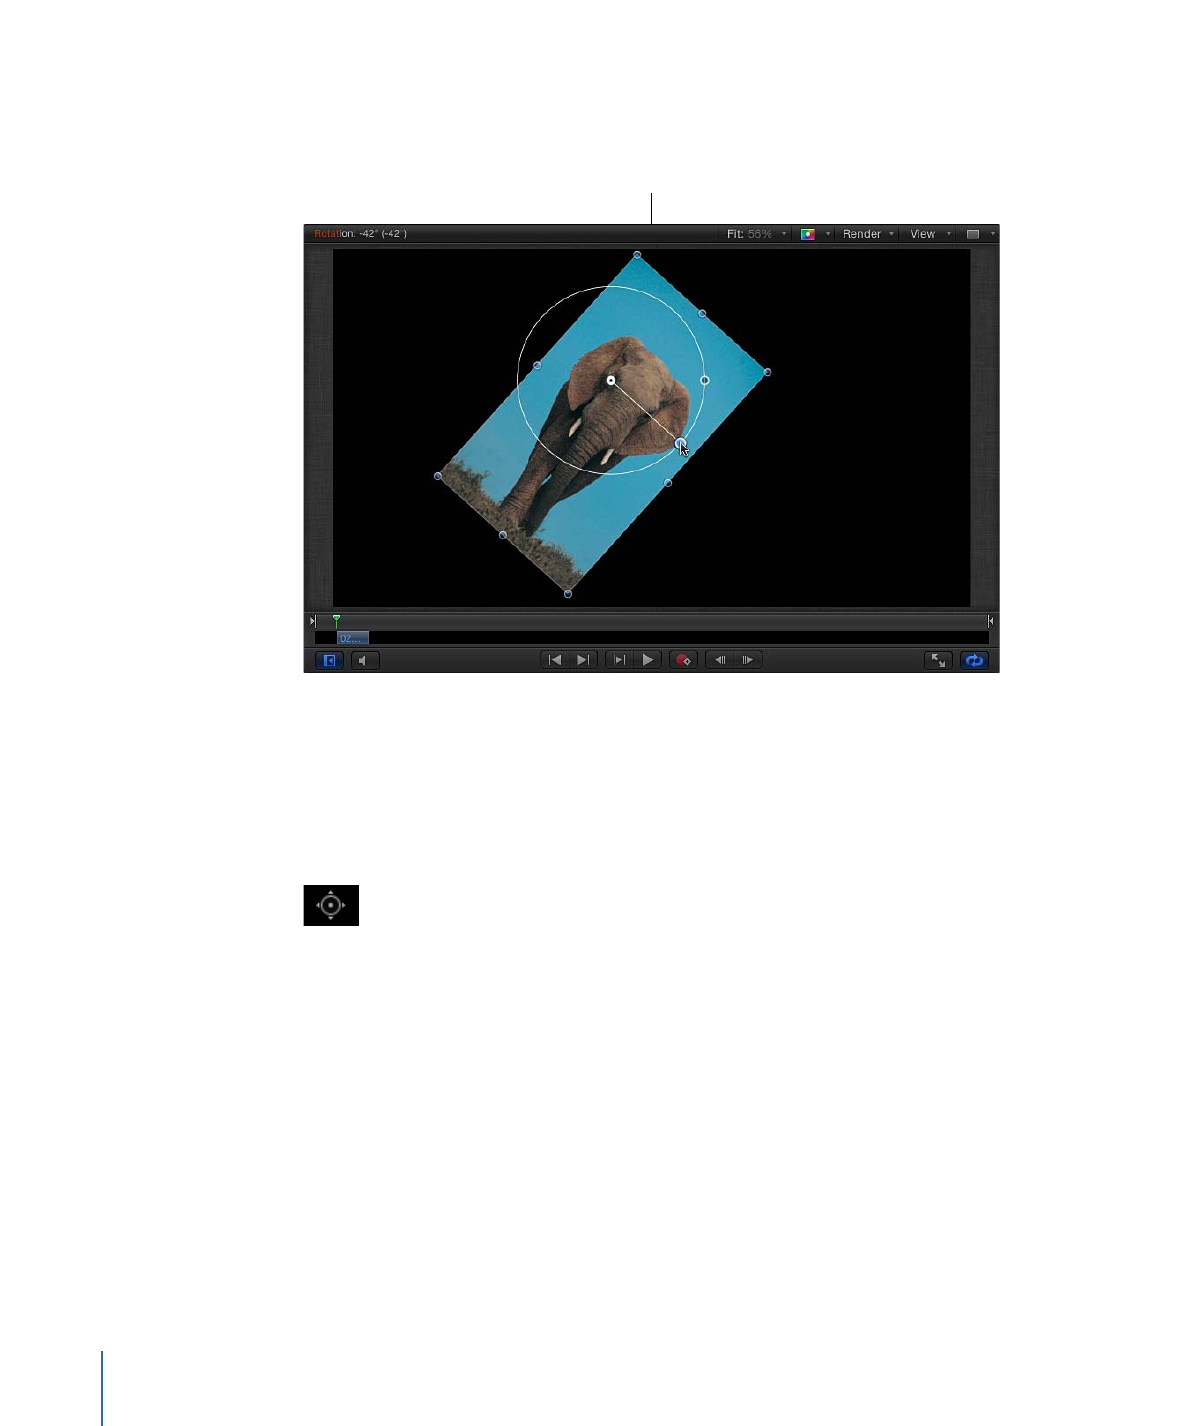
If you offset the anchor point, however, the layer no longer rotates around its own center,
but instead rotates around the new anchor point.
Object rotated
around anchor point
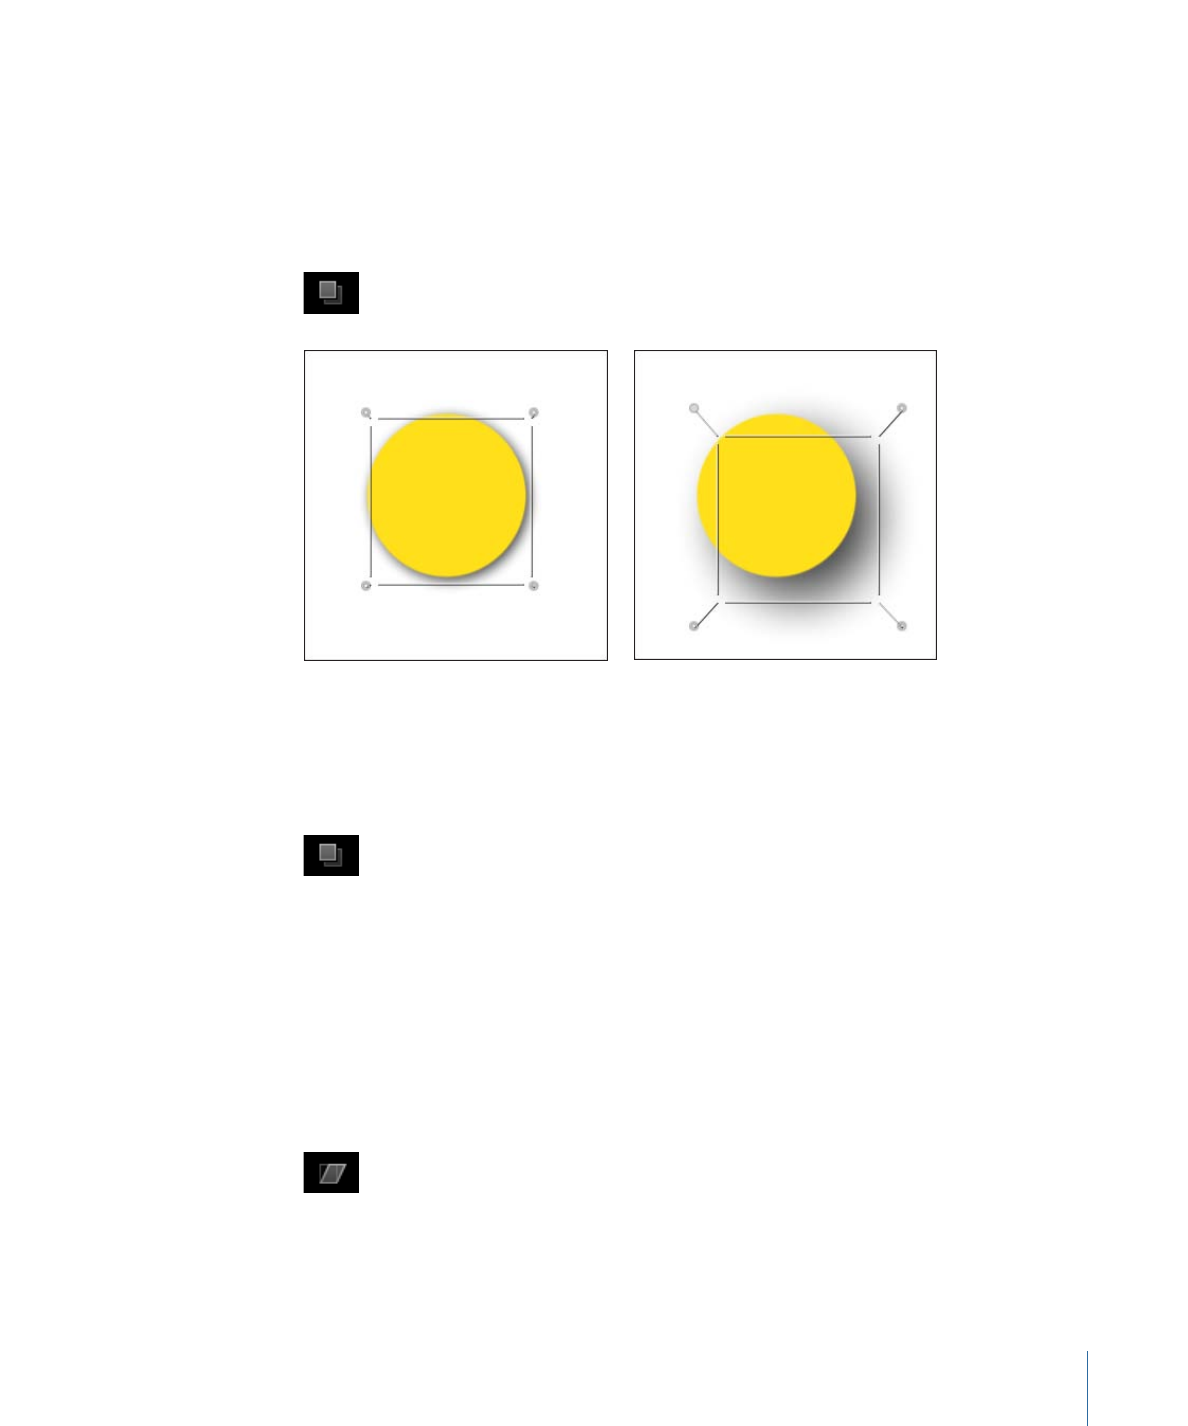
This not only affects the rotation of a layer, but any moving and scaling operations
performed upon that layer as well. Changes made to a layer’s anchor point are stored in
the Anchor Point parameter of the Properties Inspector.
To change the anchor point of a layer in the Canvas
1
Choose the Anchor Point tool from the 2D tools pop-up menu in the toolbar.
In the Canvas, the layer’s anchor point appears as a round target surrounded with three
colored arrows representing the X, Y, and Z coordinate axes. For more information on
coordinate axes, see
3D Transform Onscreen Controls
.
2
Do one of the following:
• Drag the white circle to move the anchor point vertically or horizontally.
• Drag an arrow to move the anchor point along the corresponding axis.
As you drag the anchor point, a line stretches from the default position of the anchor
point to its new position. Additionally, the status bar shows you the anchor point’s new
coordinates and the delta (amount of change) between the anchor point’s new and
old positions.
274
Chapter 7
Basic Compositing
Note: If the anchor point is close to the center or edges of the layer, and both Snapping
and Dynamic Guides are turned on, the anchor point snaps to that location.