Customizing a Text Sequence Behavior
In this section, the Flare In behavior (from the Glow group) is used to show how to modify
a Text Sequence behavior.
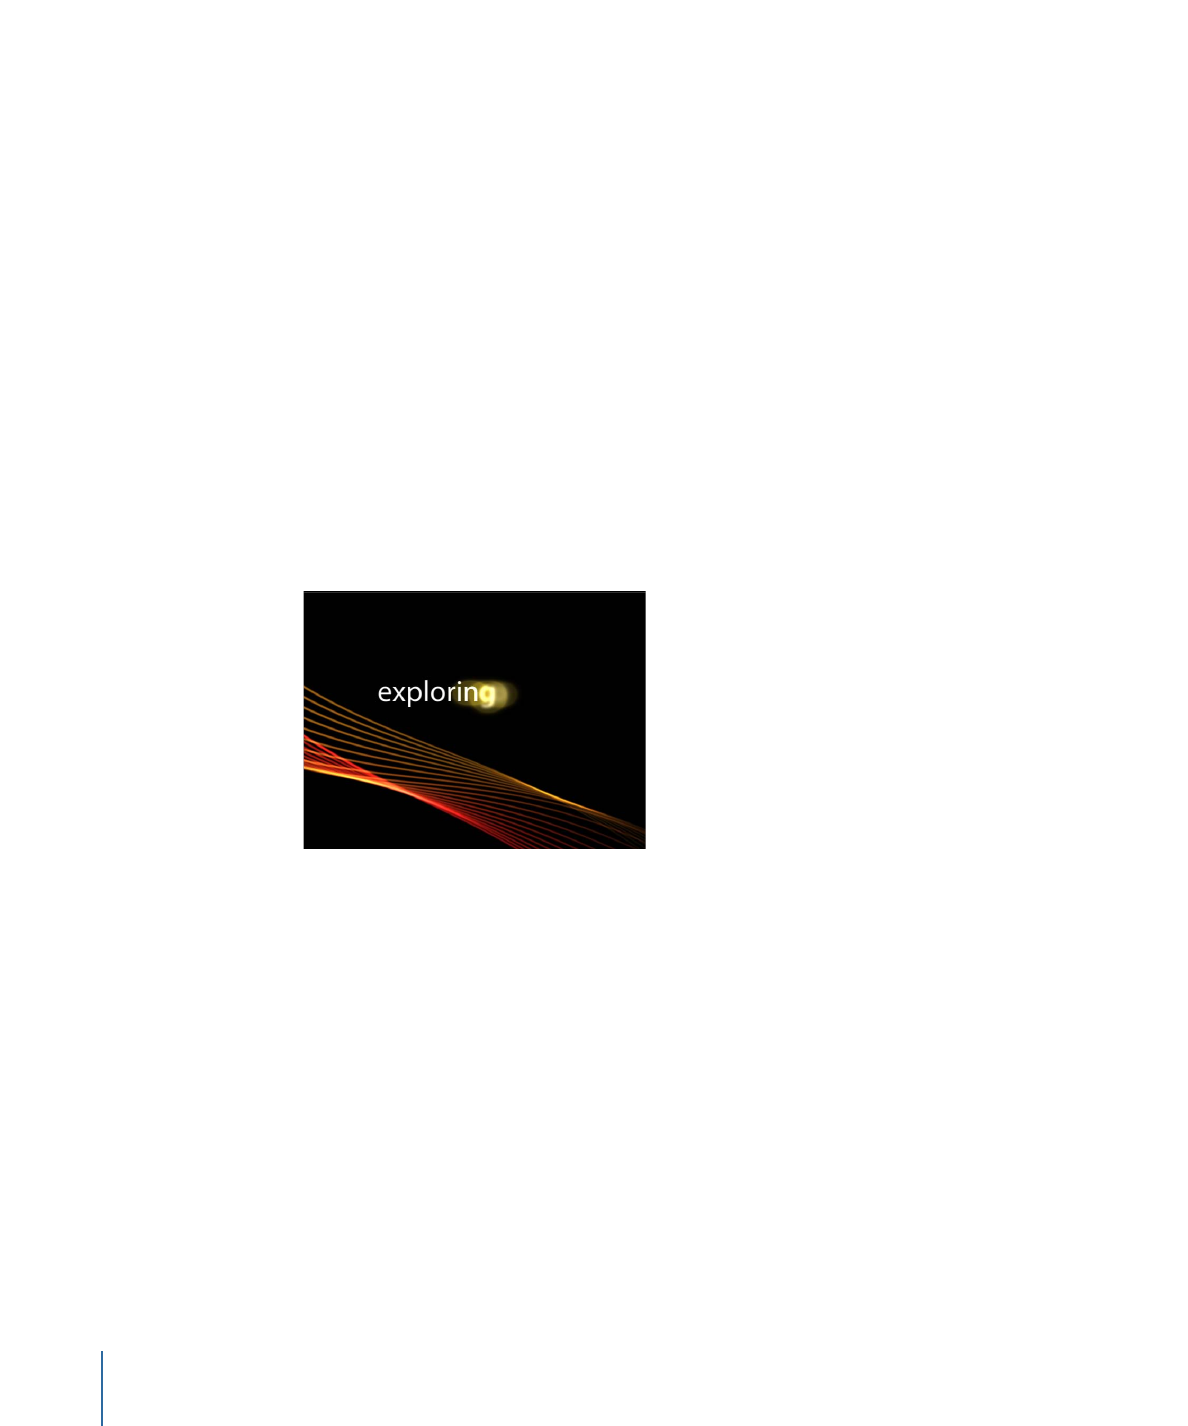
The following steps begin at the first frame of the text.
To modify the Flare In behavior
1
Select the text object to be animated, then choose Text-Glow > Flare In from the Add
Behavior pop-up menu in the toolbar.
At the first frame, the text is not visible because Face opacity and Glow opacity are
animating from 0% to 100%.
2
Click Play (or press the Space bar).
The text characters fade in from 0% to 100% percent opacity, and sharpen from a blur
value of 10. A glow rides the effect in as the text appears.
3
With the Flare In behavior selected, open the Behaviors Inspector (if it is not open).
928
Chapter 17
Animating Text
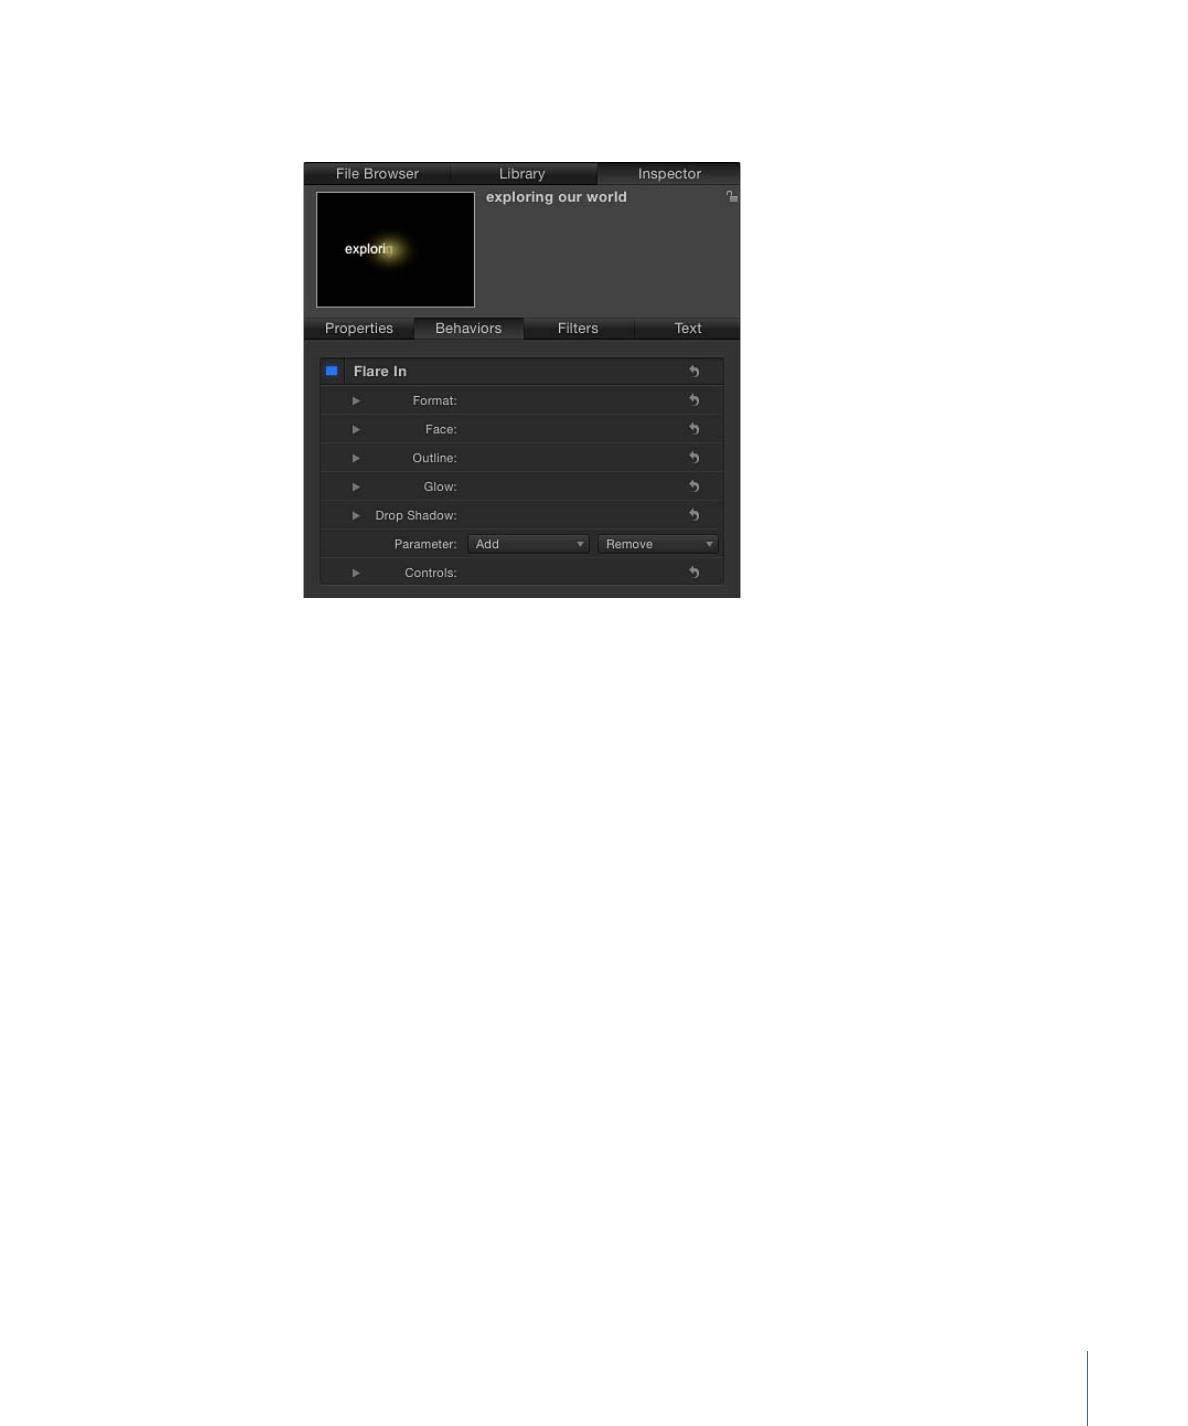
The Inspector lists the specific text parameters used to create the animation (above the
Add and Remove pop-up menus). The sequence Controls are not disclosed by default.
Although most sequence Controls appear in the Flare In HUD, the Add and Remove
pop-up menus (and the parameters they affect) do not.
Note: In the Canvas, an editable animation path appears with the selected text. This is
because Sequencing is set to Custom. For more information, see
Using the Custom
Sequencing Option
.
4
In the Parameter row of the Behaviors Inspector, choose Format > Rotation from the Add
pop-up menu.
929
Chapter 17
Animating Text
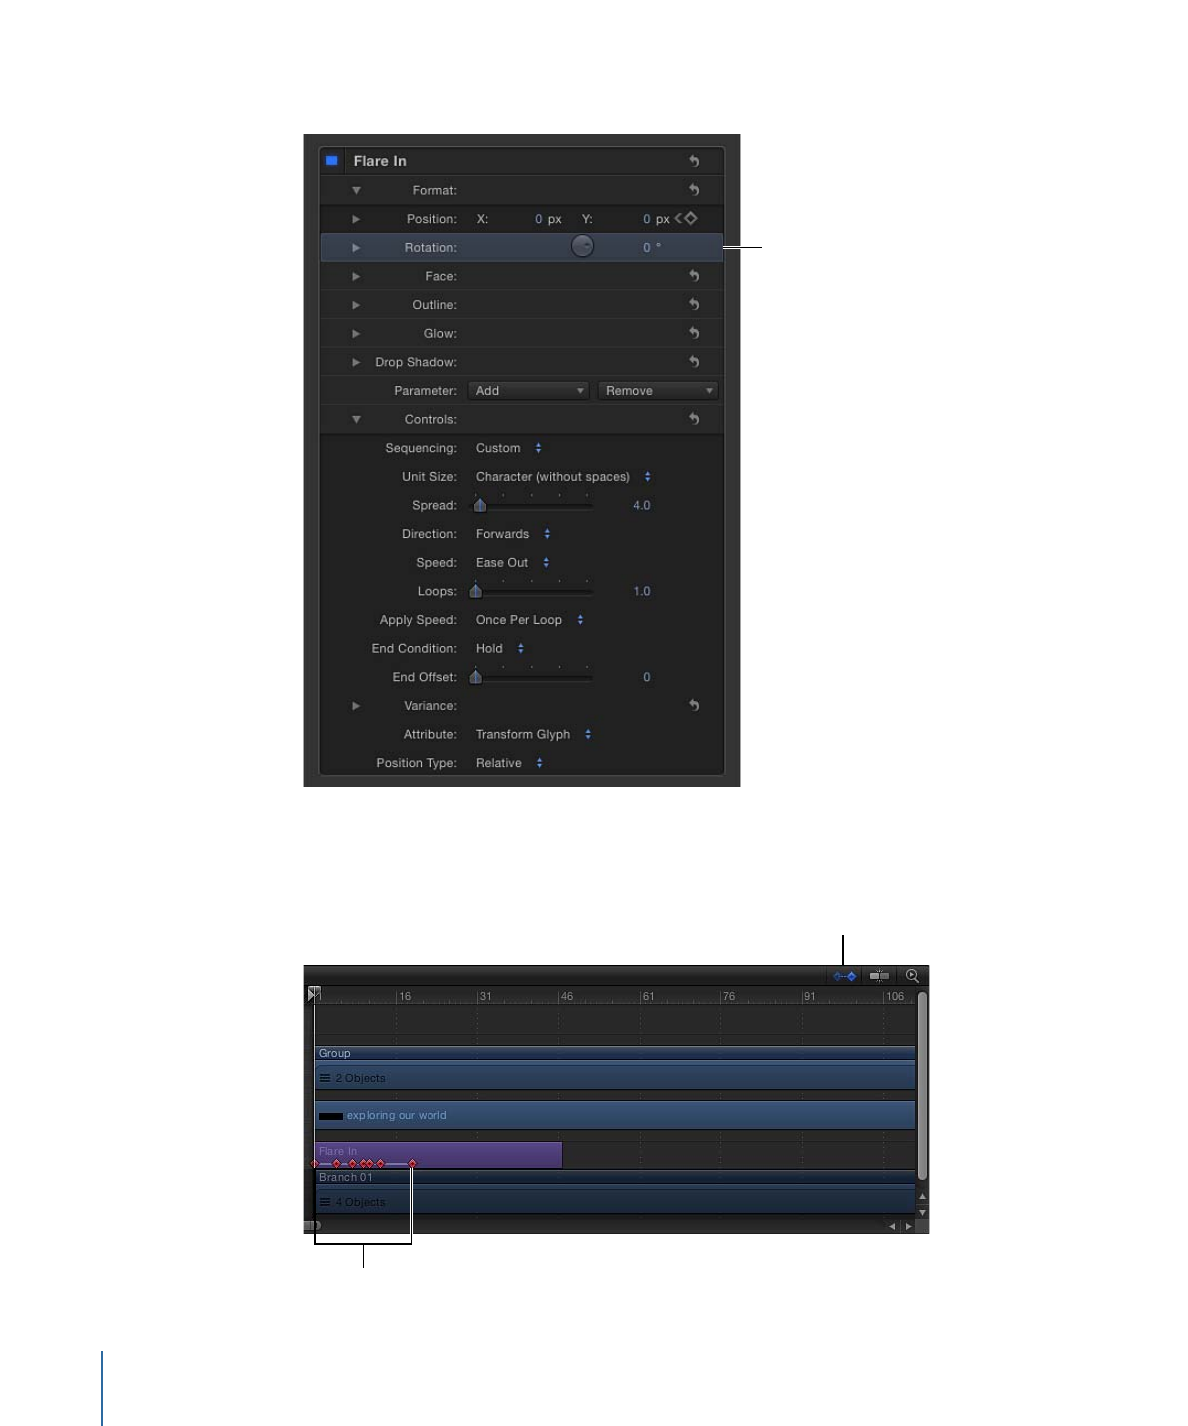
A Rotation parameter is added to the sequence.
Rotation parameter
is added.
Tip: Because most preset text sequence behaviors are keyframed, it is often helpful to
see where the keyframes occur when customizing. In the Timeline, click the Show/Hide
Keyframes button. The keyframes appear on the behavior’s bar.
Keyframes
Show Keyframes button
930
Chapter 17
Animating Text
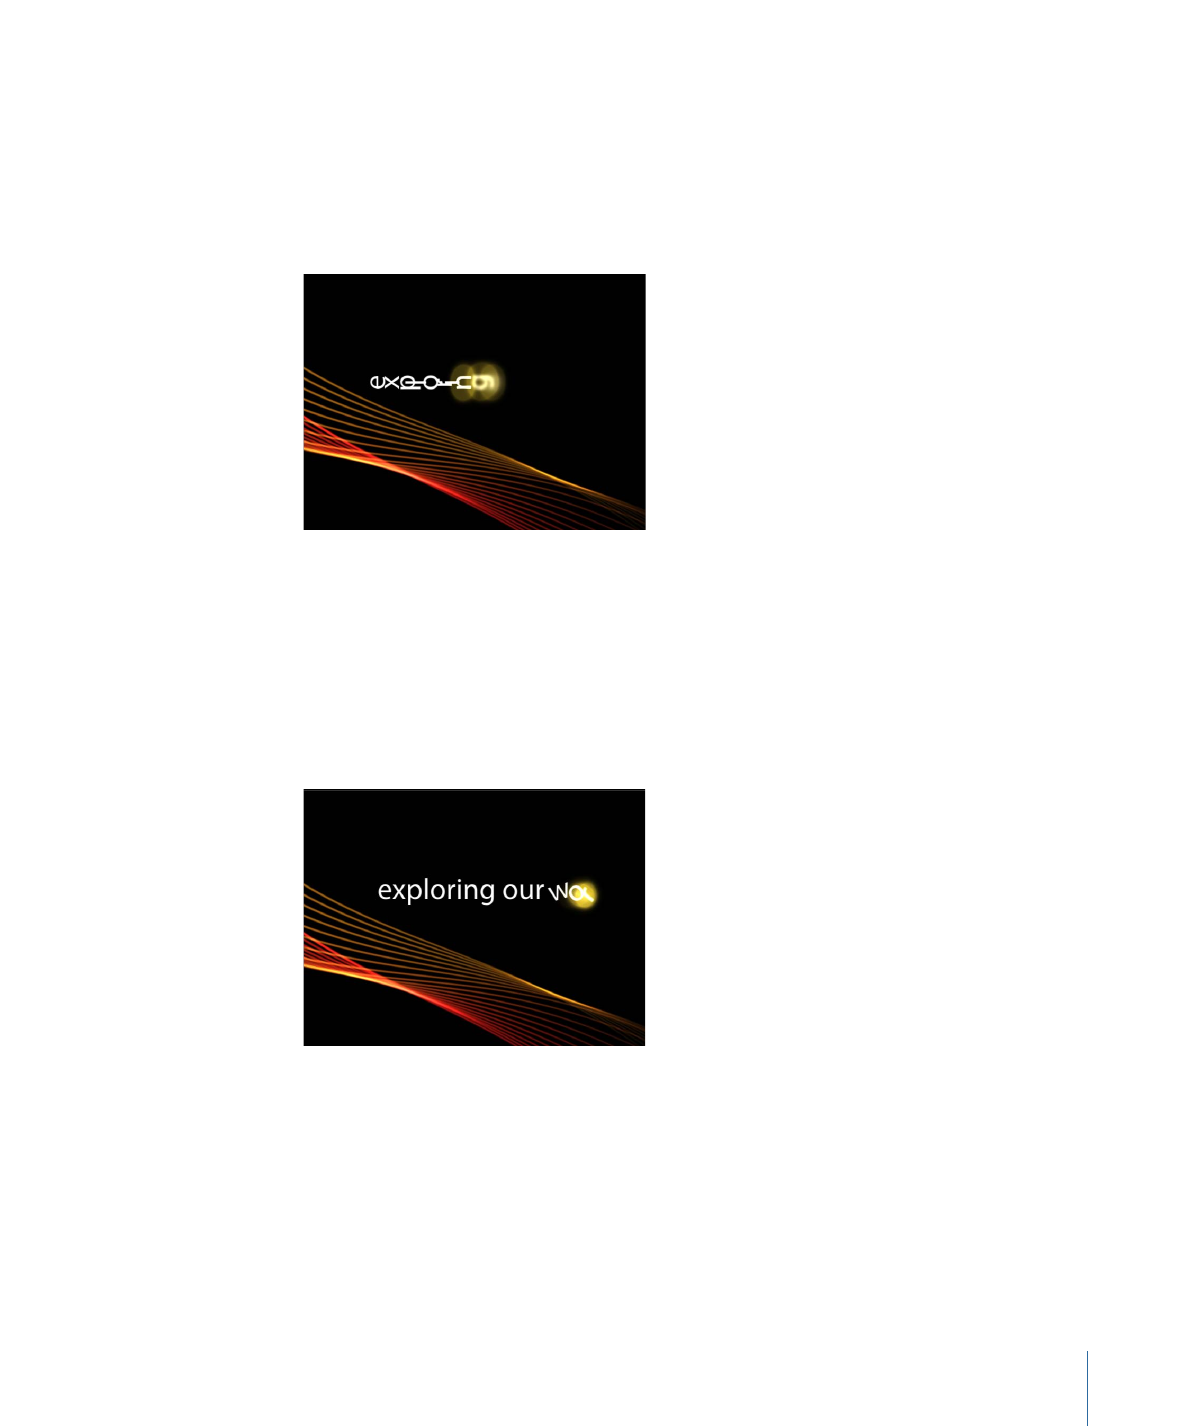
5
Move the playhead to frame 1, then click Record to turn on keyframing.
6
In the Behaviors Inspector, set the Rotation dial to 90.
7
Play the project (press the Space bar).
Because the Rotation parameter has only a single keyframe, the text remains static at
90 degrees.
8
Move the playhead to frame 30, and set Rotation to 0.
Now that you’ve set a second keyframe value, the sequence is animated.
Note: You can edit the keyframes in the Keyframe Editor. For more information, see
Keyframes and Curves
.
9
Return the playhead to frame 1 and play the project (press the Space bar).
As the project plays, the text rotates from 90 degrees to 0 degrees.
You can change the color or other attributes of the text glow by using the Glow controls
in the Style pane of the Text Inspector.